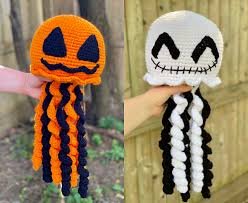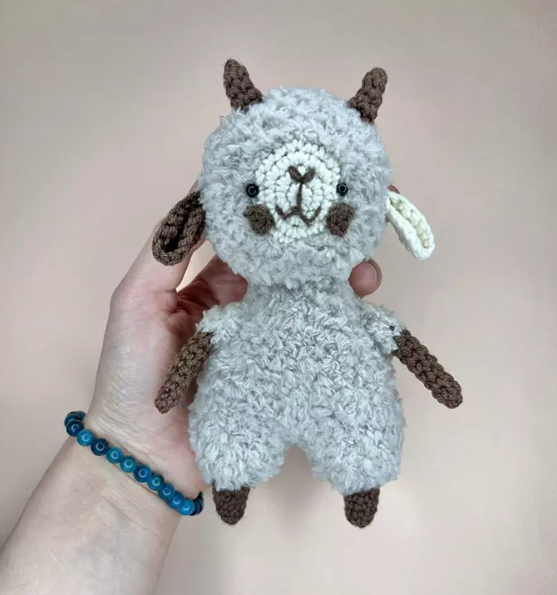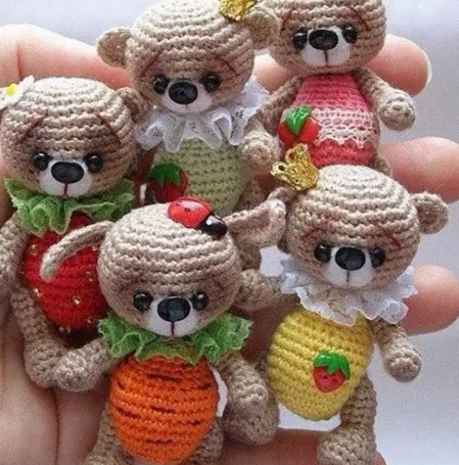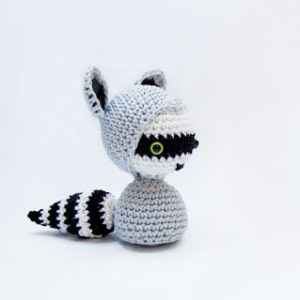
Hello amigurumi lovers and beautiful visitors, I wanted to share the free amigurumi patterns for you here. In my article I will share 1 pattern and how to make it for you. At the end of my article, I will share amigurumi patterns that can generate ideas for you.
Scissors
1 Skein in JOANN Big Twist Value (Light Green)
1 Skein in JOANN Big Twist Value (In Black)
1 Skein in JOANN Big Twist Value (In Varsity Red)
1 Skein in JOANN Big Twist Value (Burnt Orange)
1 Skein in JOANN Big Twist Value (Purple)
Polyfill
Measuring tape
4mm Hook
2 x 12mm Safety Eyes
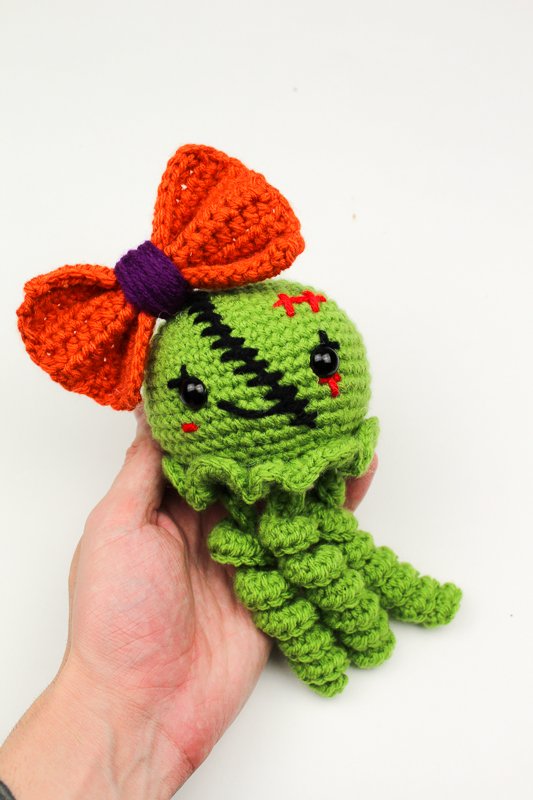
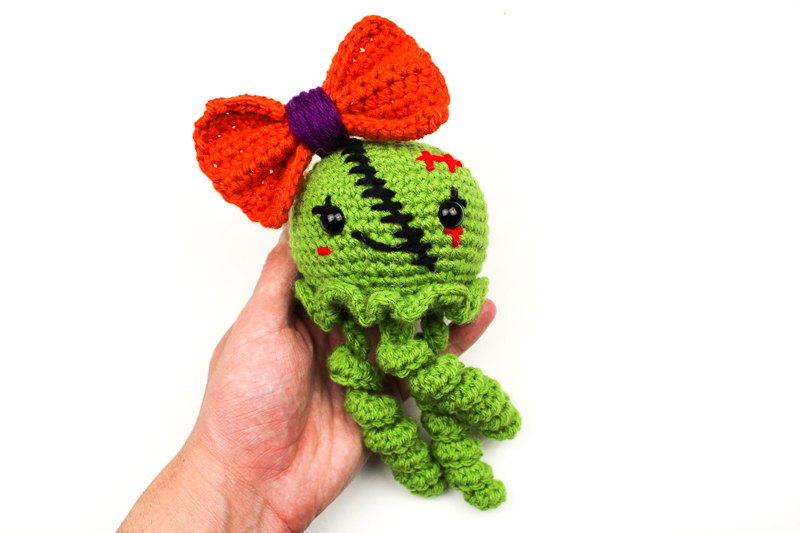
Dimensions
Height: 9″ inches roughly (Top of bow to bottom of stinger)
Width: 4.5″ inches roughly
Skill Level:
Easy+ (uses the basics of crochet and sewing)
Abbreviations:
Ch – chain
Sl st – Slip Stitch
Sc – Single Crochet
Hdc – Half Double Crochet
FLO – Front Loop Only
Dec – Decrease
* *- Repeat
FO -Finish Off
Notes:
- This pattern is worked in the round and not joined.
- The pattern will guide you in how to make the pieces – at the bottom will be where you find the assembly
- You can find helpful tutorials throughout, but if you would like to find some of my tips and tricks you can head HERE!
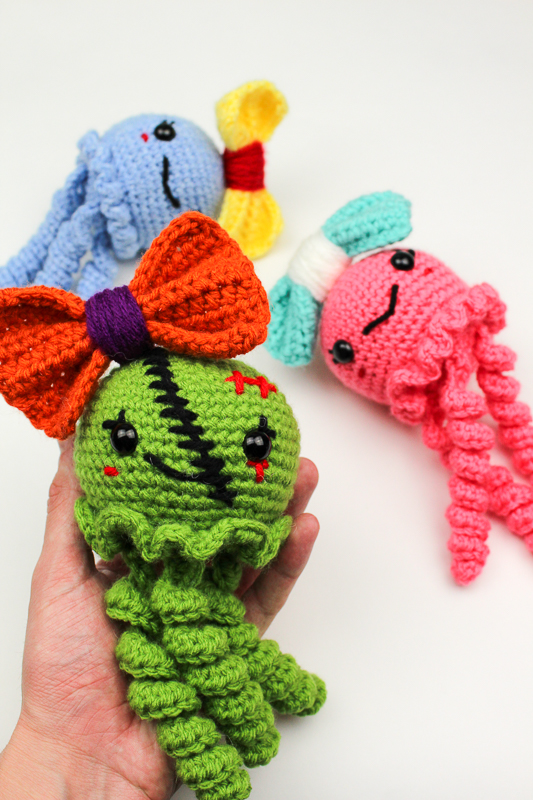
- Feel Free to change out the Bow colors to whatever you desire!
Lets Get Started!
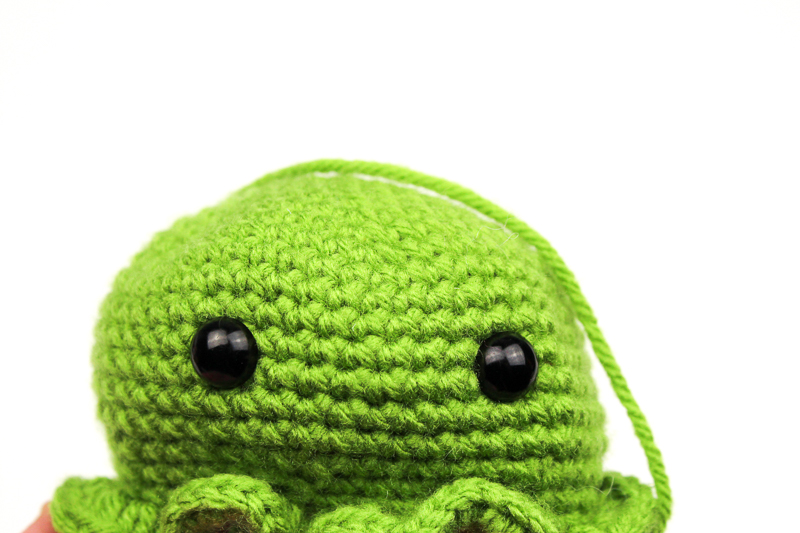
Body / Head
(Begin in Green)
Rnd 1: 6 Single crochet into Magic Ring (6)
Rnd 2: *Inc* around (12)
Rnd 3: *Sc, Inc* around (18)
Rnd 4: *Sc 2, Inc* around (24)
Rnd 5: *Sc 3, Inc* around (30)
Rnd 6: *Sc 4, Inc* around (36)
Rnd 7: *Sc 5, Inc* around (42)
Rnd 8: *Sc 6, Inc* around (48)
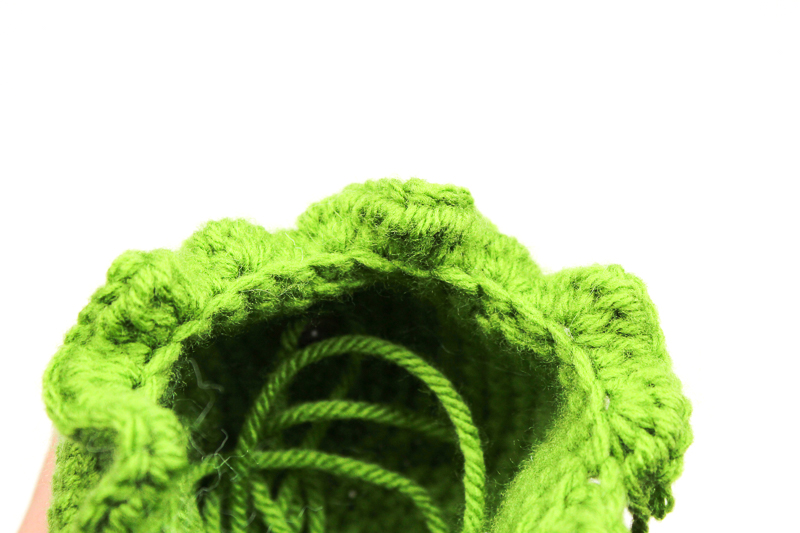
Rnd 9-15: Sc around (48)
Rnd 16: *Sc 6, Dec* around (42)
Rnd 17: *Sc 5, Dec* around (36)
Rnd 18: *Sc 4, Dec* around (30)
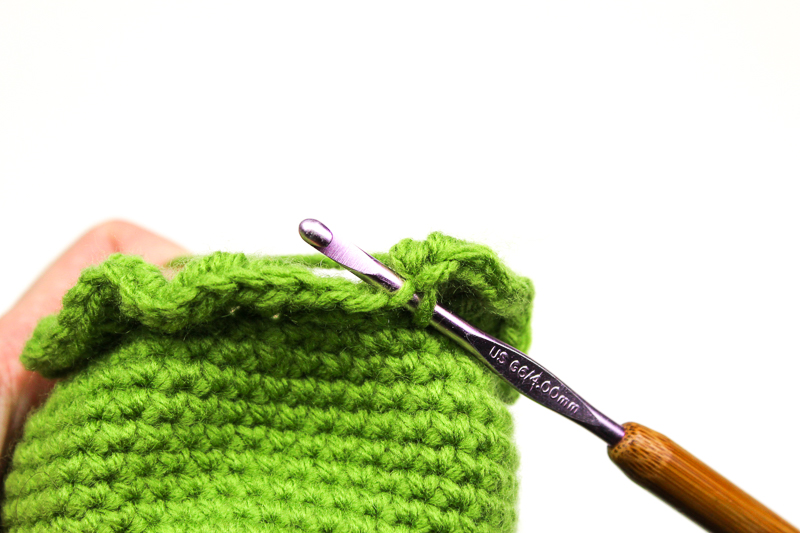
Rnd 19: (Ruffles): Ch 1, work in front loops only. *2 hdc in first, 4 hdc in next* around. (See photos below working in FLO!)
(Insert eyes into round 12 with 8 stitches apart)
Bottom of Body
Rnd 1: 6 Single crochet into Magic Ring (6)
Rnd 2: *Inc* around (12)
Rnd 3: *Sc, Inc* around (18)
Rnd 4: *Sc 2, Inc* around (24)
Rnd 5: *Sc 3, Inc* around (30)
Finish off and leave tail for sewing
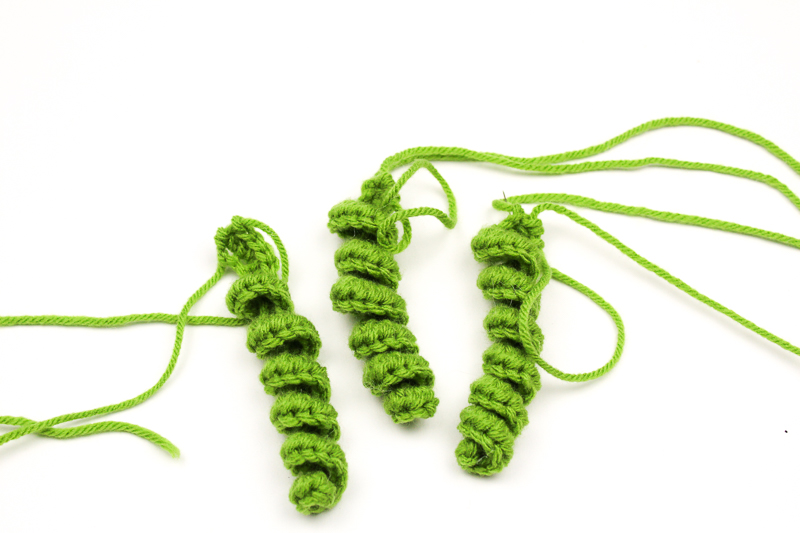
Stingers: (make 3)
Begin in Green
Ch 35
Hdc into second chain from hook, hdc 1 more time into that same stitch. 2 hdc into each stitch across.
(Your stingers will begin to naturally curl!)
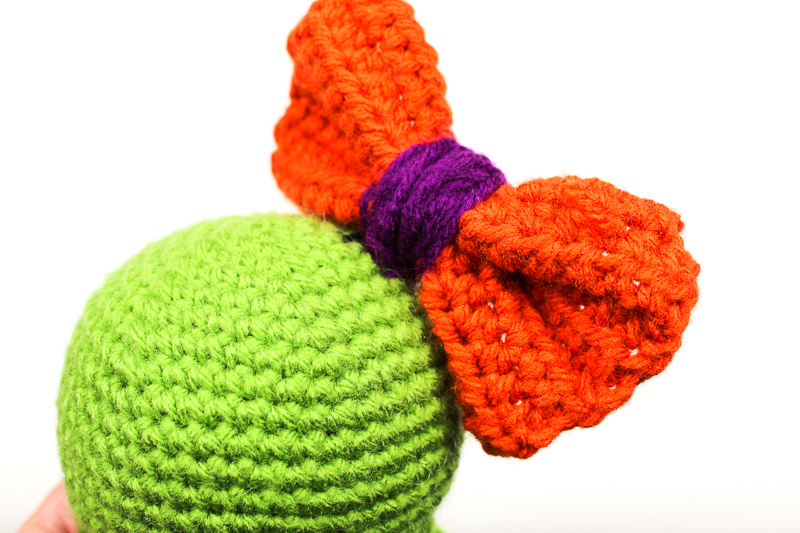
Main Bow
Begin in Burnt Orange
Ch 17
Row 1: In second chain from hook, hdc. Hdc across. (16)
Row 2-11: Ch 1, turn. Hdc across. (16)
Finish off and weave in ends.
With your body of the bow, pinch together in the center
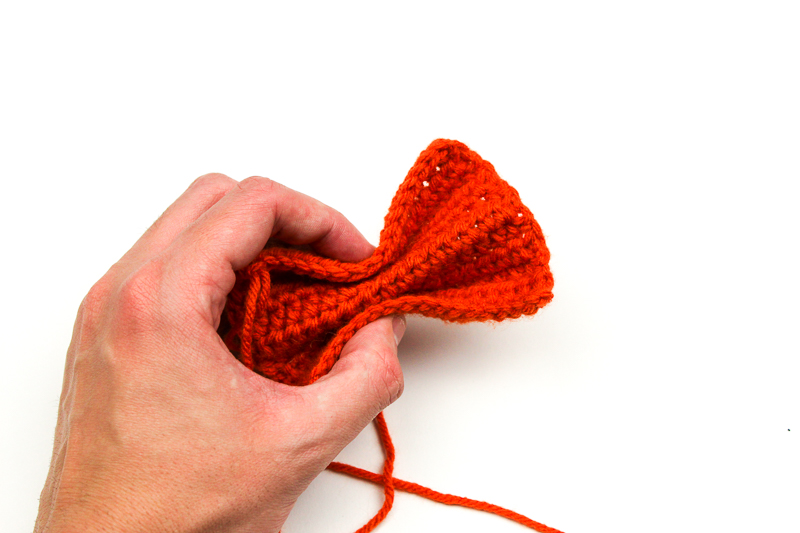
Pull your yarn through the center
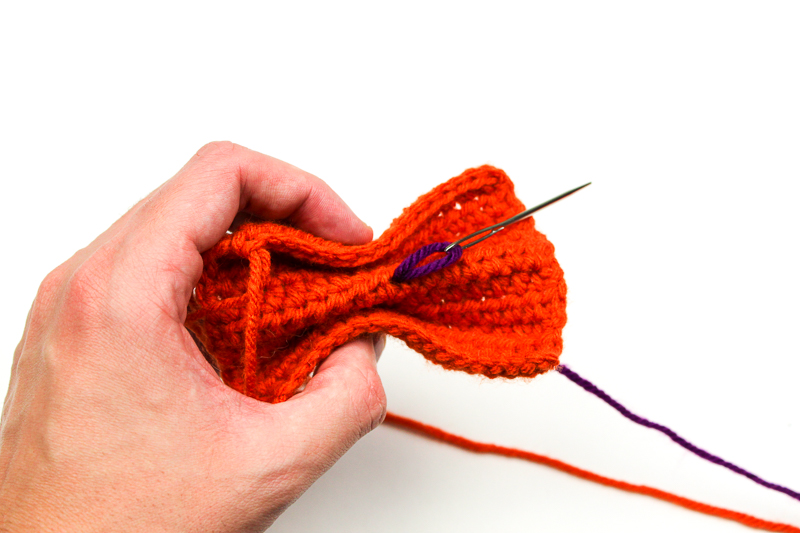
Begin wrapping your yarn tightly around the center!
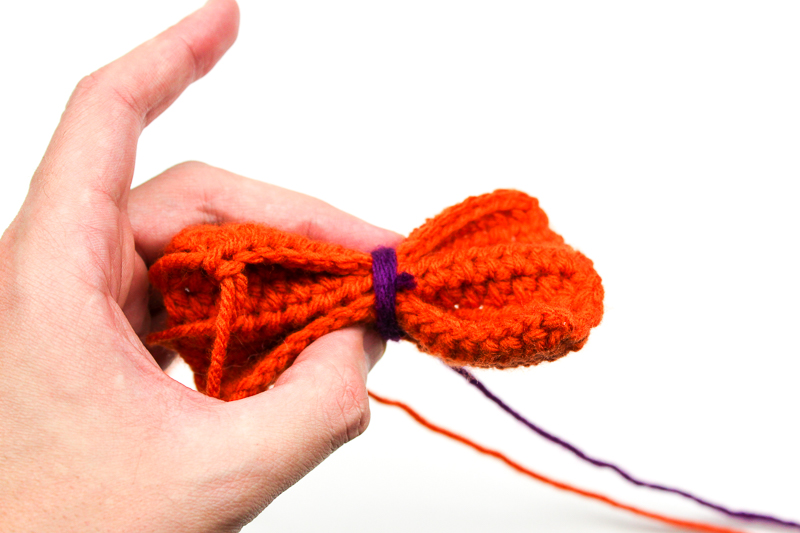
The thickness is up to you! Weave your yarn through the back to fasten and leave tail for sewing on.
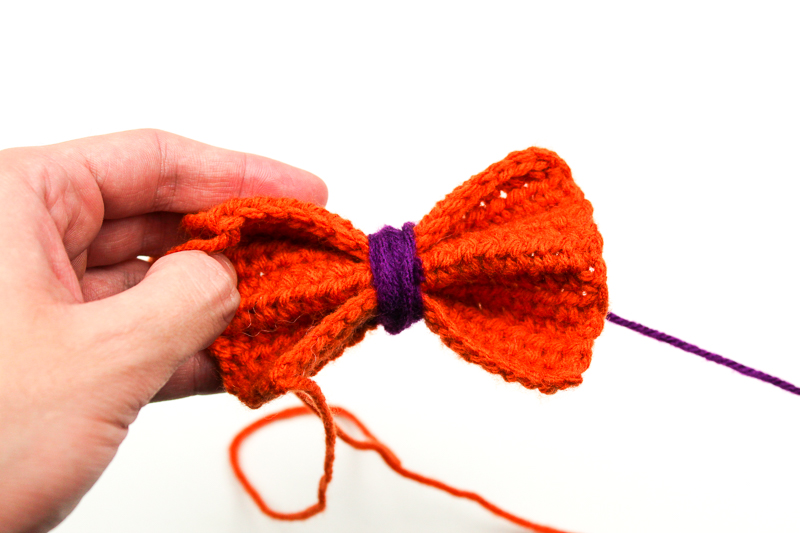
You can find the full Bow tutorial with three different sizes HERE!
Assembly
(After sewing on the bottom, the pieces can be assembled in any order)
With the bottom of your project, you will now be sewing this piece to the bottom of the body into the remaining black loops!
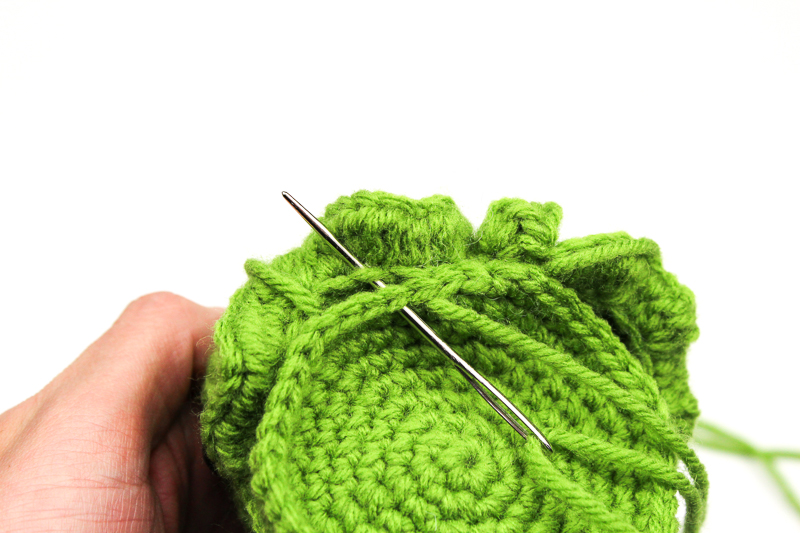
Don’t forget to stuff when you are close to closing off!
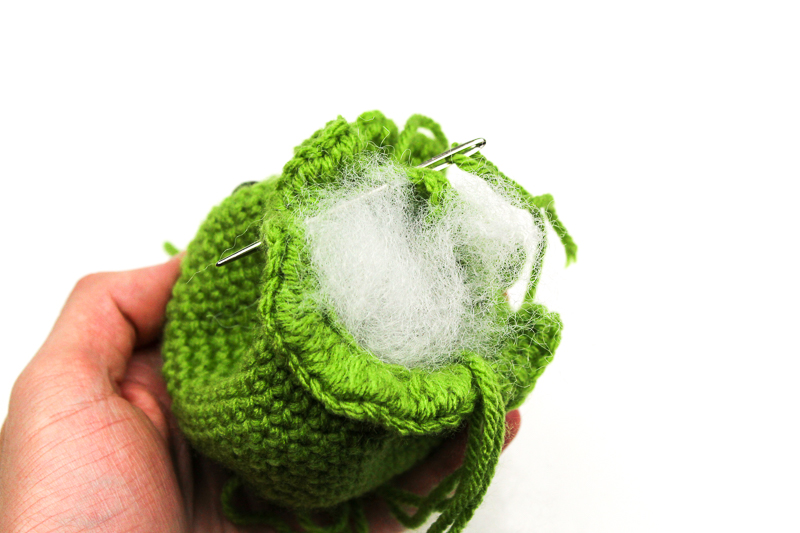
Now it’s time to sew on the stingers! You will be sewing in a triangle formation where you see the pins (photo below) and then sew on your stingers. If you would like one more stinger, feel free to create another!


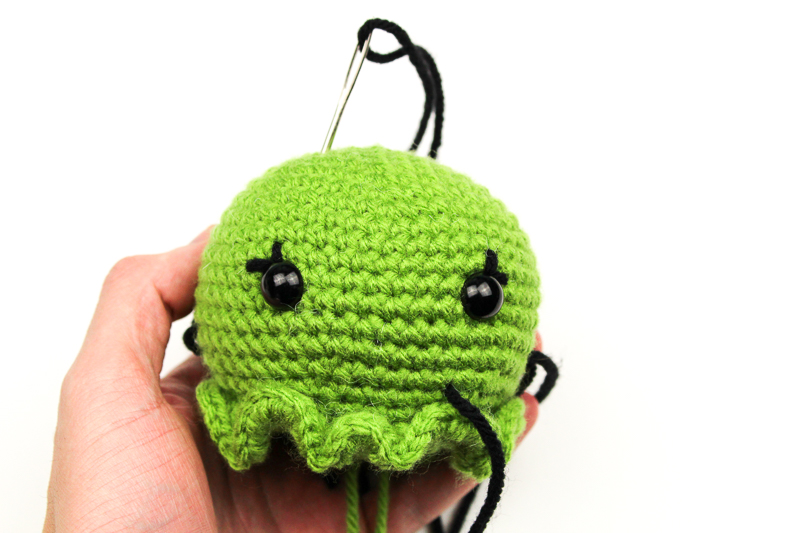
Now it’s time to embroider on all the fun details to the face! For the sew marks. start from the bottom and pull yarn yarn through to the top at and angle.
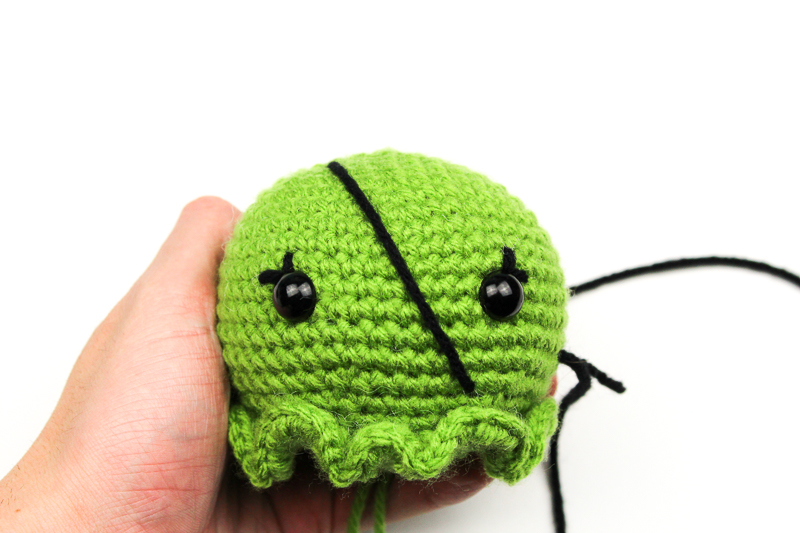
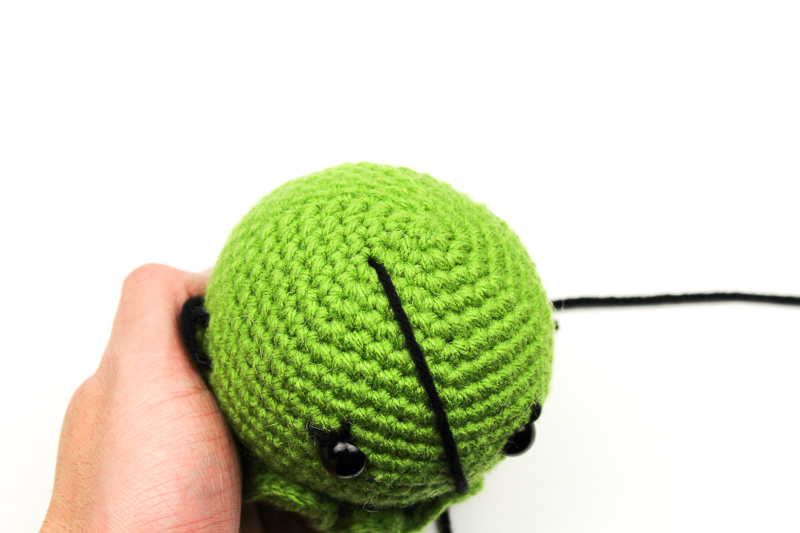
And now work on everything else on the face! the rest come after that large line. Here are some closeups to try and mimic but you can always do your own too! Embroidery just takes practice but I believe you can make the cutest face ever!
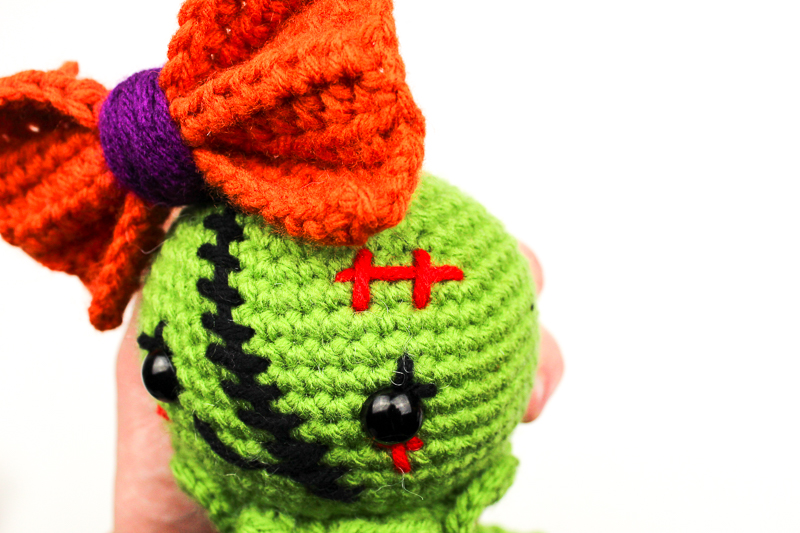
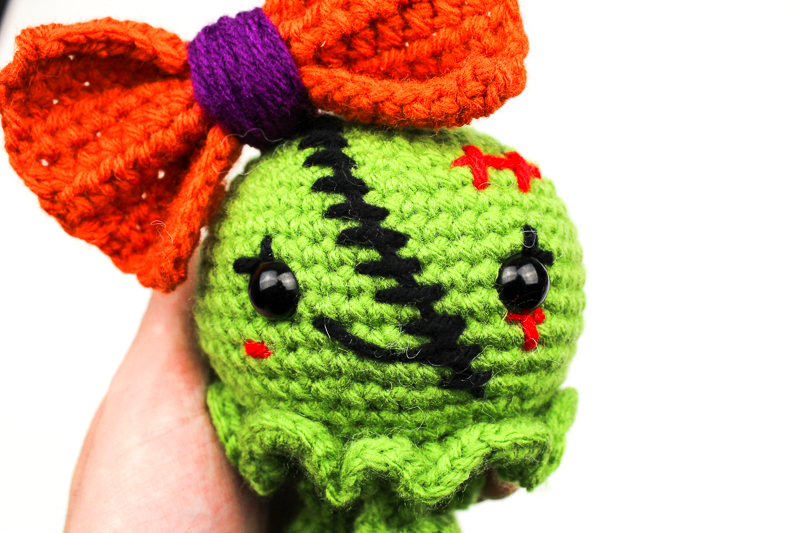
And the last step is adding on your bow! Sew from behind:
Feel free to tag me (@freeamigurumii) in your photos on Instagram or Facebook if you’d like
All Finished.