Hello amigurumi lovers and beautiful visitors, I wanted to share the free amigurumi patterns for you here. In my article I will share 1 pattern and how to make it for you. At the end of my article, I will share amigurumi patterns that can generate ideas for you.
Necessary materials:
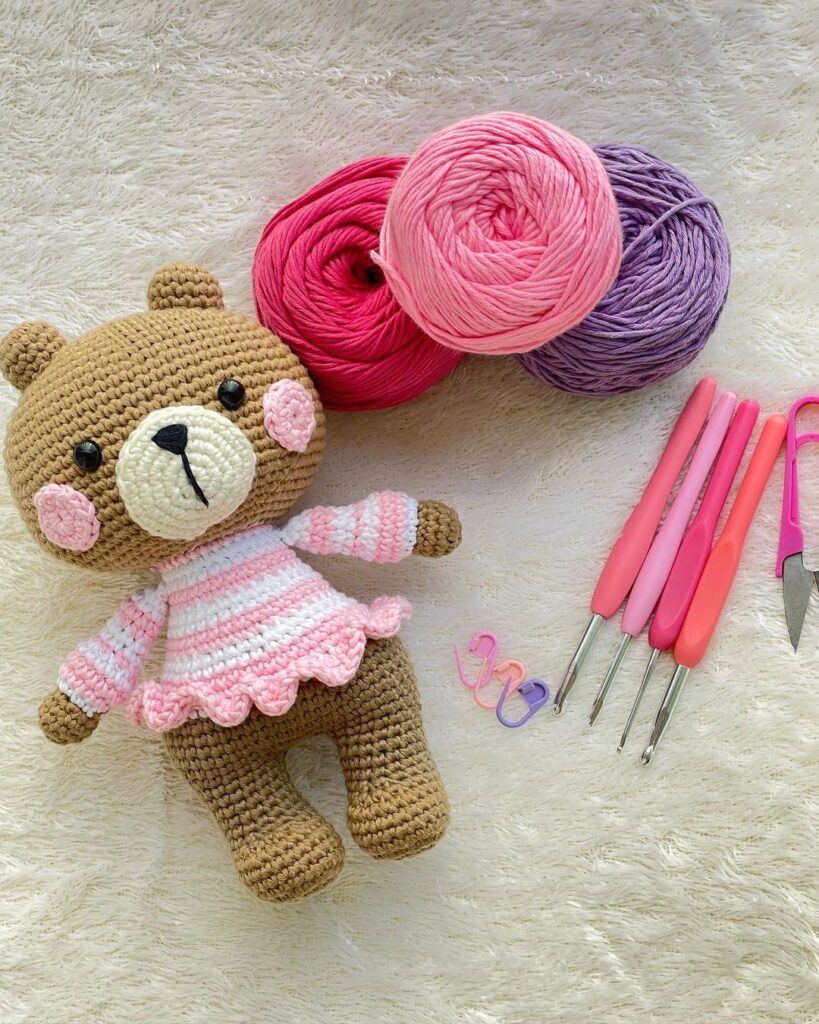
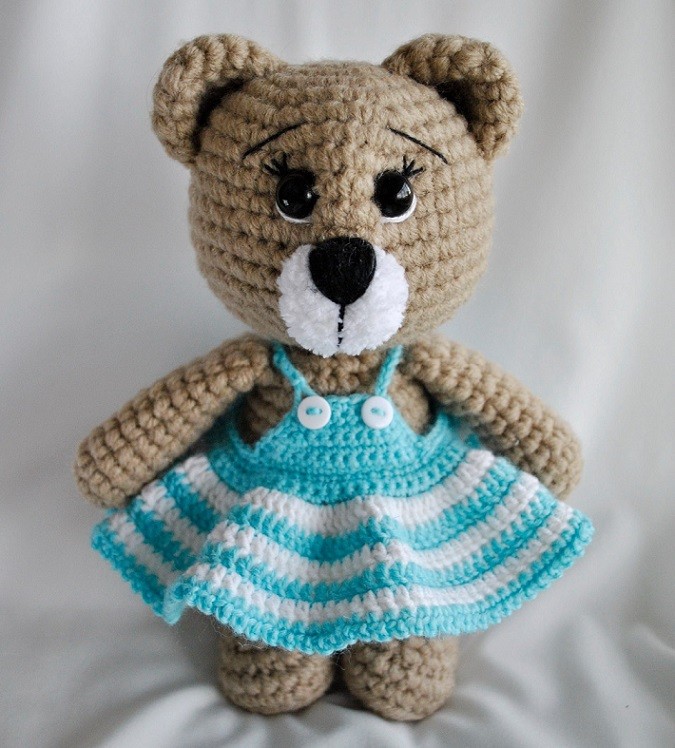
- yarn of the main color (beige Alize Lanagold Plus)
- yarn of additional color for the muzzle (white Alize Softy in 2 additions)
- yarn in black or another contrasting color to decorate the muzzle
- a hook suitable for your yarn (for the toy in the photo, hook No. 6 is used)
- filler
- a pair of peepholes
- scissors
- needle
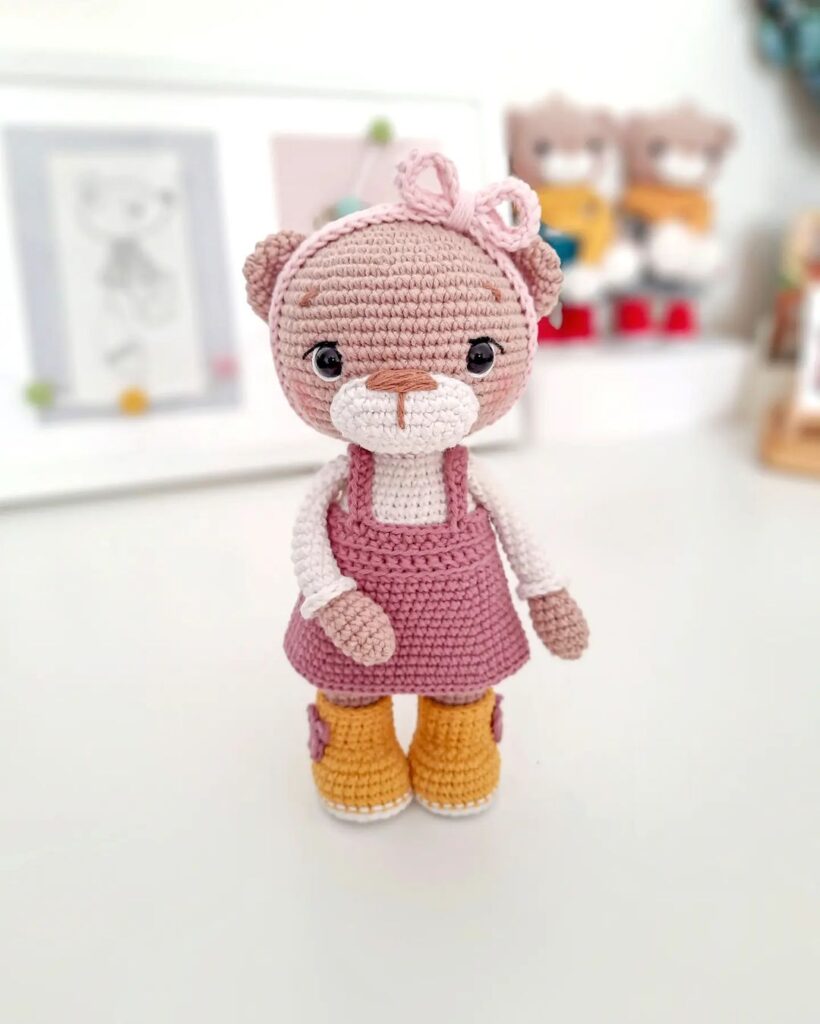
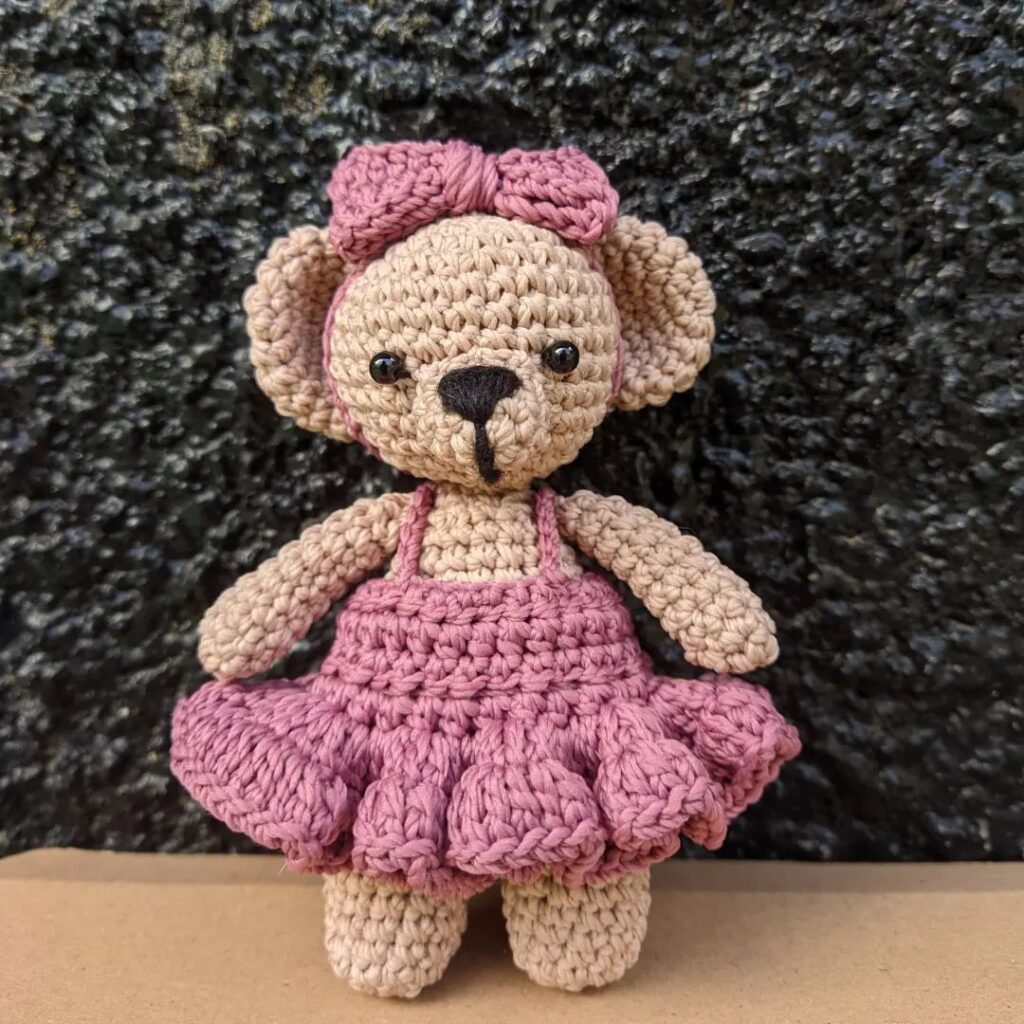
With the indicated sizes of the hook and yarn, we got a bear measuring 20 cm.
Legend:
sc – single crochet
pr – increase
ub — beauty
ss – connecting column
VP – air loop
CCH – double crochet
Head
1: 6 sc in the amigurumi ring
2: 6 sc (12)
3: (1 sc, inc) x6 times (18)
4: (2 sc, inc) x6 times (24)
5: (3 sc, inc) x6 times (30)
6: (4 sc, inc) x6 times (36)
7: (5 sc, inc) x6 times (42)
8-15: 8 rows unchanged
16: (5 sc, dec) x6 times (36)
17: (4 sc, dec) x6 times (30)
18: (3 sc, dec) x6 times (24)
19: (2 sc, dec) x6 times (18)
20: (1 sc, dec) x6 times (12)
We stuff the part, we fix the thread. Leave the long end of the thread for sewing.
Torso
1: 6 sc in the amigurumi ring
2: 6 sc (12)
3: (1 sc, inc) x6 times (18)
4: (2 sc, inc) x6 times (24)
5: (3 sc, inc) x6 times (30)
6: (4 sc, inc) x6 times (36)
7-9: 3 rows unchanged (36)
10. (4 sc, dec) x6 times (30)
11: 1 row unchanged (30)
12: (3 sc, dec) x6 times (24)
13-15: 3 rows unchanged (24)
16: (2 sc, dec) x6 times (18)
17: (1 sc, dec) x6 times (12)
We stuff the part, we fix the thread.
Muzzle (additional color)
1: 6 sc in the amigurumi ring
2: 6 sc (12)
3: 1 row unchanged (12)
We fix the thread, leave a long end for sewing. Stuff a little while sewing.
Ears (2 pcs.)
1: 6 sc in the amigurumi ring
2: 6 sc (12)
3: (1 sc, inc) x6 times (18)
4-5: 2 rows unchanged (18)
You don’t need to hit. We fold the part in half and knit 9 sbn, closing the hole. Sew with an arc to the head.
Hands (2 pcs.)
1: 5 sc in the amigurumi ring
2: 5 sc (10)
3-12: 10 rows unchanged (10)
We fill only the lower part of the handles. Fold the part in half and knit 5 sbn, closing the hole.
Legs (2 pcs.)
1: We collect a chain of 6 VP, from the 2nd loop from the hook we knit 4 sc, 3 sc in the next loop: on the other side of the chain: 3 sc, inc (12)
2: inc, 3 sc, 3 inc, 3 sc, 2 inc (18)
3: inc, 4 sc, (inc, 1 sc) x3 times, 3 sc, (inc, 1 sc) x2 times (24)
4: 1 row unchanged behind the back wall of the loop (24)
5: 1 row unchanged (24)
6: 6 sc, 5 dec, 8 sc (19)
We start to stuff the leg
7: 6 sc, dec, 1 sc, dec, 8 sc (17)
8: 5 sc, dec, 1 sc, dec, 7 sc (15)
9: 5 sc, dec, 8 sc (14)
10-13: 4 rows unchanged (14)
We fill only the lower part of the leg. We fold the part in half, knit 7 sbn, closing the hole. We fix the thread, leave the long end of the thread for sewing.
Tail
1: 6 sc in the amigurumi ring
2: 6 sc (12)
3: 1 row unchanged (12)
We fix the thread, leave a long end for sewing. Stuff while sewing.
Dress
Yarn: blue – Pekhorka “Children’s whim”, white – YarnArt “Jeans”
Hook #3
We collect the VP chain along the circumference of the waist, close it in a ring.
! We knit a row of sc, finish a row of ss. Next, we do 2 lifting VPs, we knit pr CCH in each loop.
Then we knit without increments 1 dc in each loop as many rows as you want.
Each row we start 2 VP and finish ss.
Binding of the bottom of the dress: sc, 2 VP in a circle to the end of the row in each loop.
To make the “breast” we attach the thread and knit the sc to the desired width.
Then we knit in rotary rows. 1 row unchanged. In the remaining rows, we make a kill at the beginning and at the end of the row to make a trapezoid.
We tie the resulting “breast” around the edges with sc. We attach a thread to the upper edges of the breast and knit straps from the VP chain, fasten the straps at the back. Optionally, you can sew 2 buttons.
Feel free to tag me (@freeamigurumii) in your photos on Instagram or Facebook if you’d like!
All Finished.