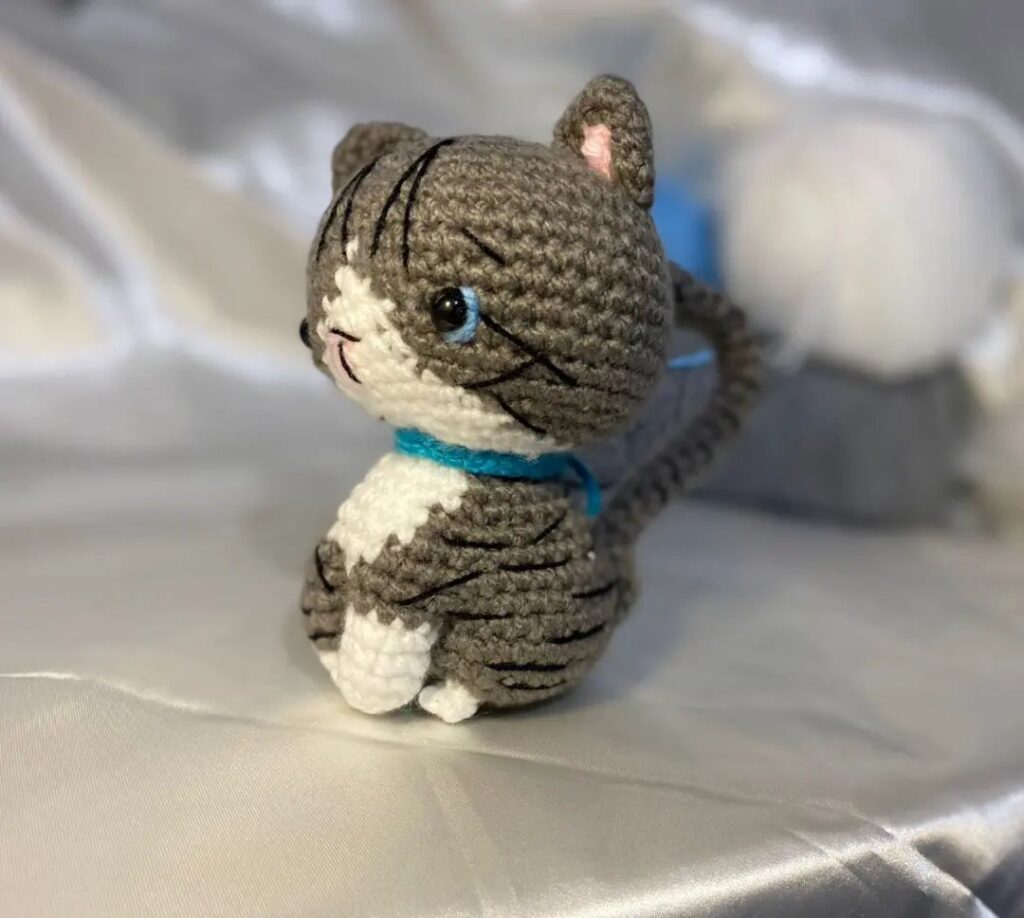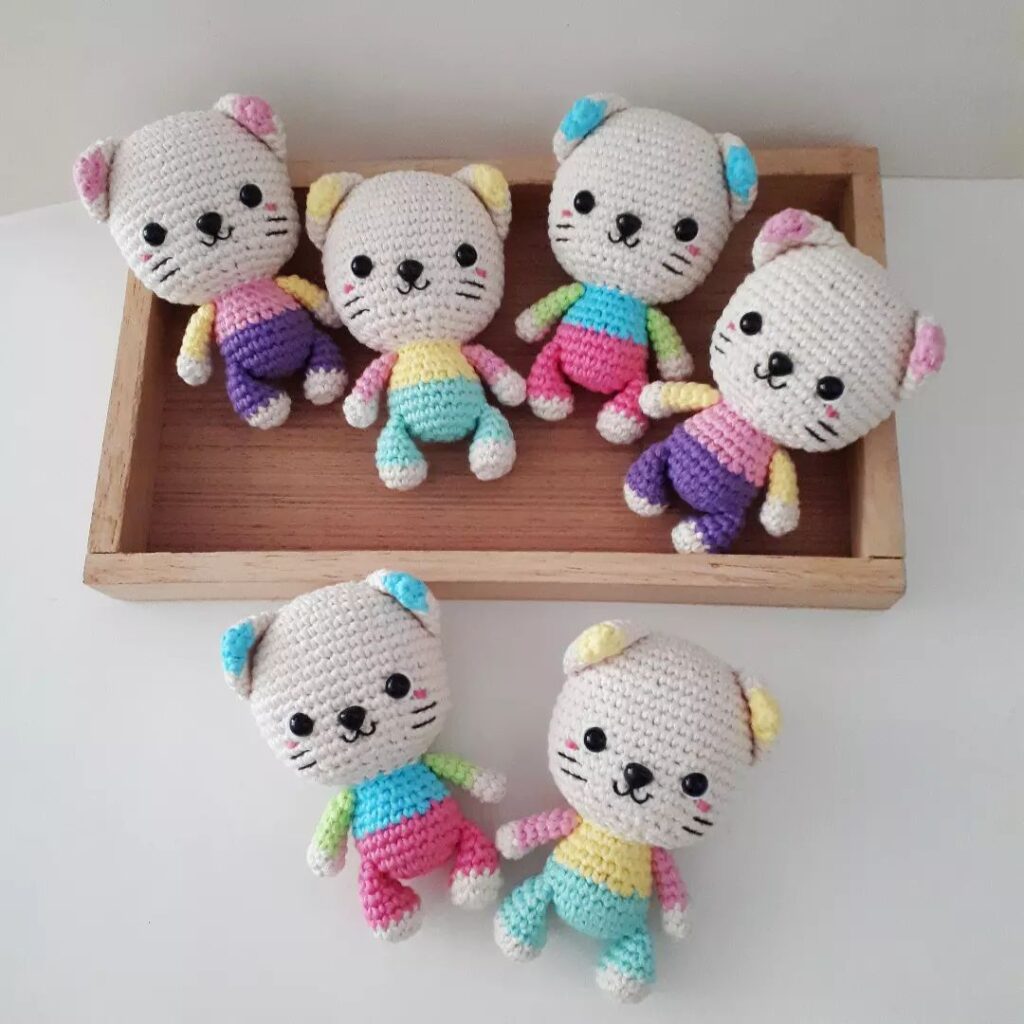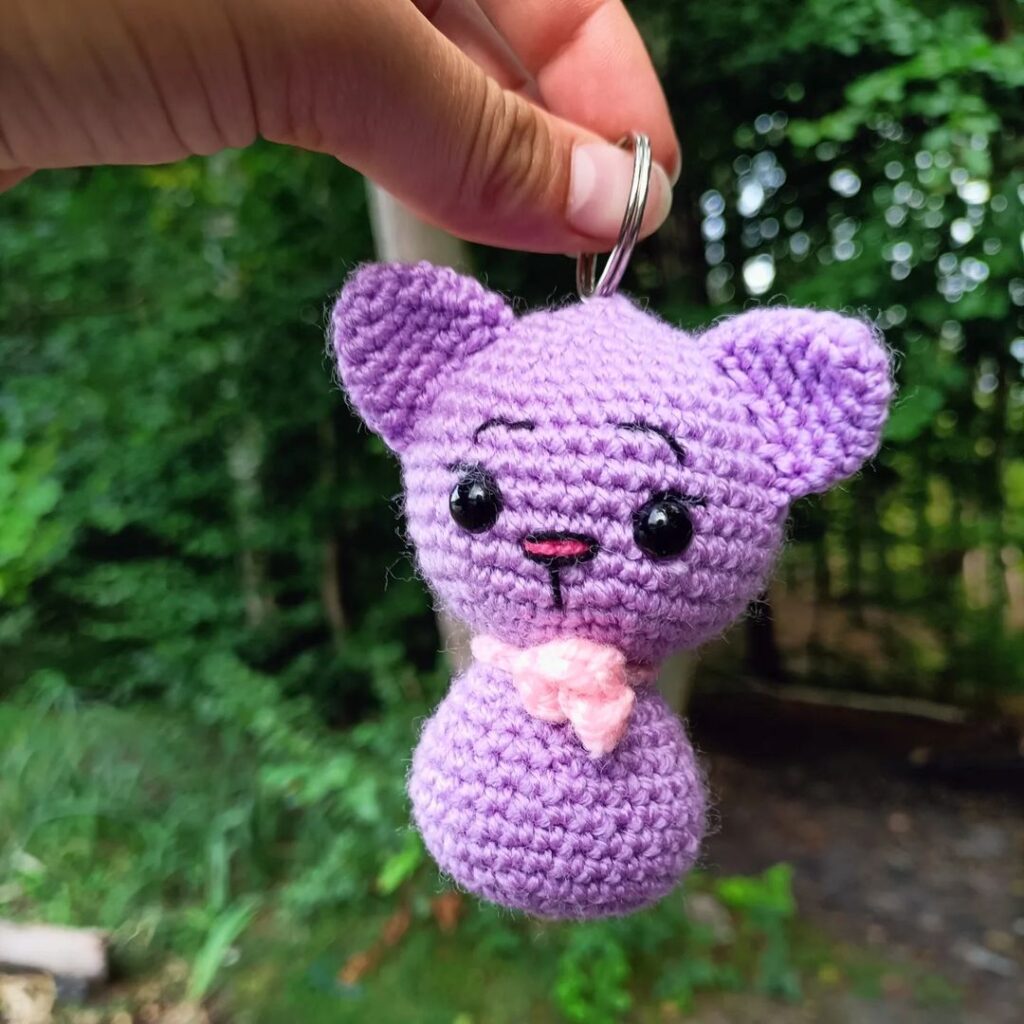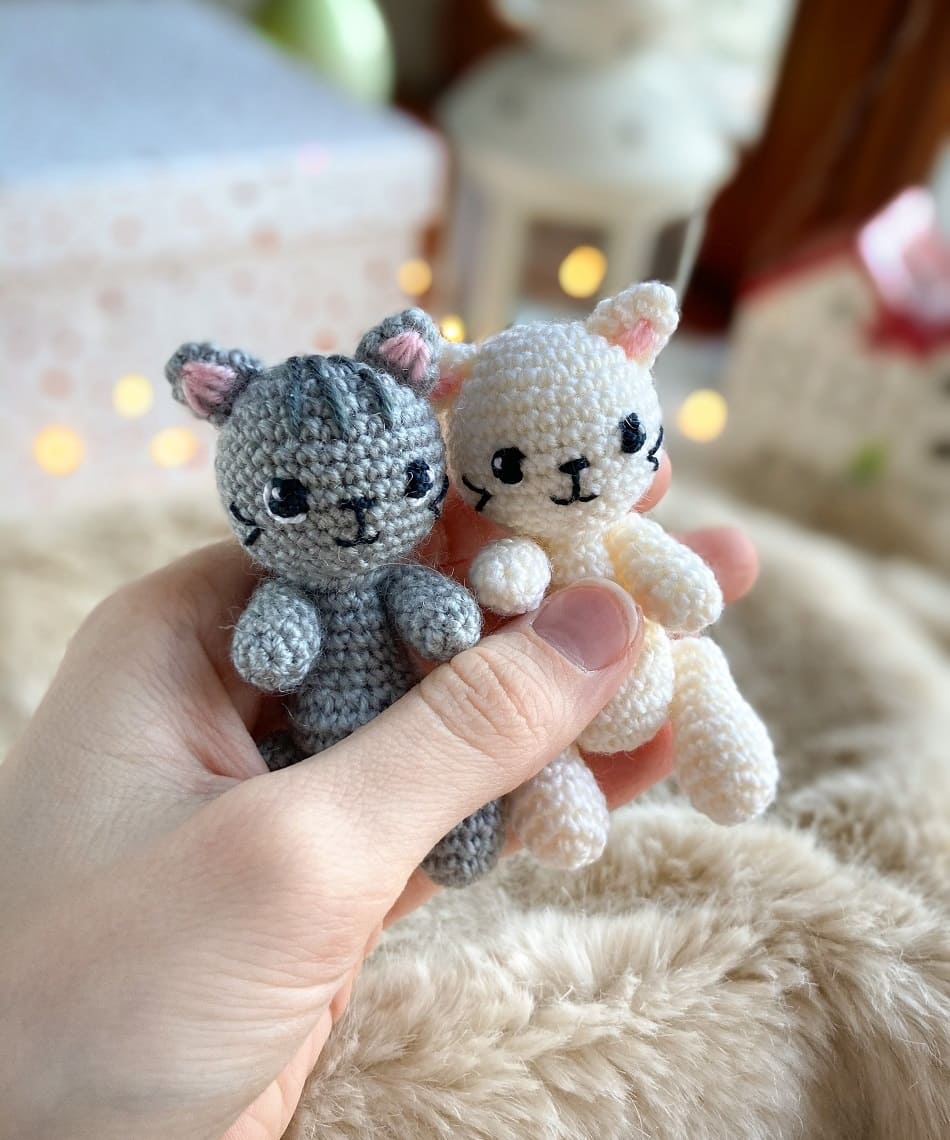
Hello amigurumi lovers and beautiful visitors, I wanted to share the free amigurumi patterns for you here. In my article I will share 1 pattern and how to make it for you. At the end of my article, I will share amigurumi patterns that can generate ideas for you.
Necessary materials:
- Yarn Vita Brilliant (45% wool, 55% acrylic, 380 m/100 g)
- Hook 1.5-1.75 mm
- Threads “Iris” (black, white) for embroidering eyes, you can use plastic threads, size – 4 mm
- Needle, pins, scissors
- Filler
Legend:
KA – amigurumi ring vp
– air loop
sbn – single crochet
pr – increase
dec – decrease
(…) * 6 – repeat indicated in brackets 6 times
(12) – number of sb at the end of the row
Head
1: 6 sc in KA (6)
2: (pr) * 6 (12)
3: (1 sc, inc) * 6 (18)
4: (2 sc, inc) * 6 (24)
5: (3 sc, inc) * 6 (30)
6-11: 30 sc (6 rows)
12: (3 sc, dec) * 6 (24)
13: (2 sc, dec) * 6 (18)
14: (1 sc , ub) * 6 (12)
Fasten the thread, cut it off and hide it inside. Fill.
Ears (2 parts)
1: 6 sbn in KA (6)
2: 6 sbn
3: (1 sbn, inc) * 3 (9)
Sew the edges with a needle. Leave the thread for sewing.
Body
1: 6 sc in KA (6)
2: (pr) * 6 (12)
3: (1 sc, inc) * 6 (18)
4: (2 sc, inc) * 6 (24)
5-7: 24 sc (3 rows)
8: 6 dec, (1 sc, dec) * 4 (14)
9-11: 14 sc (3 rows)
12: (5 sc, dec) * 2 (12)
13: 12 sc
Leave sewing thread. Fill.
Legs (2 parts)
1: 6 sc in KA (6)
2: (pr) * 6 (12)
3-5: 12 sc (3 rows)
6: (2 sc, dec) * 3 (9)
7-10 : 9 sc (4 rows)
Stuff. Pull the hole, fasten the thread and hide inside.
Hands (2 parts)
1: 6 sc in KA (6)
2: (1 sc, inc) * 3 (9)
3-4: 9 sc (2 rows)
5: (1 sc, dec) * 3 (6)
6-7: 6 sc (2 rows)
Stuff. Pull the hole, fasten the thread and hide inside.
Tail
1: 6 sc in KA (6)
2: (1 sc, inc) * 3 (9)
3-8: 9 sc (6 rows)
9: (1 sc, dec) * 3 (6)
Stuff. Sew the edges with a needle. Leave the thread for sewing.
Assembly
1. Sew ears on 2-4 rows on the sides of the head.
2. Embroider a spout between rows 9 and 10, a smile between rows 11 and 12, a vertical line between them. Embroider the antennae with two stitches on the 10th and 11th rows on the sides (stitch length is about 1 sc).
3. Embroider / glue / sew on the eyes on the 9th row, between the eyes – 5 sc.
4. Sew the head to the body.
5. Attach the handles with a thread fastener (or sew) 1 row below the seam between the head and body.
6. Attach the legs with a thread fastener (or sew) between the 4th and 5th rows of the body on the sides.
7. Sew the tail on the back of the toy in about 5-6 rows.
Feel free to tag me (@freeamigurumii) in your photos on Instagram or Facebook if you’d like!
All Finished.