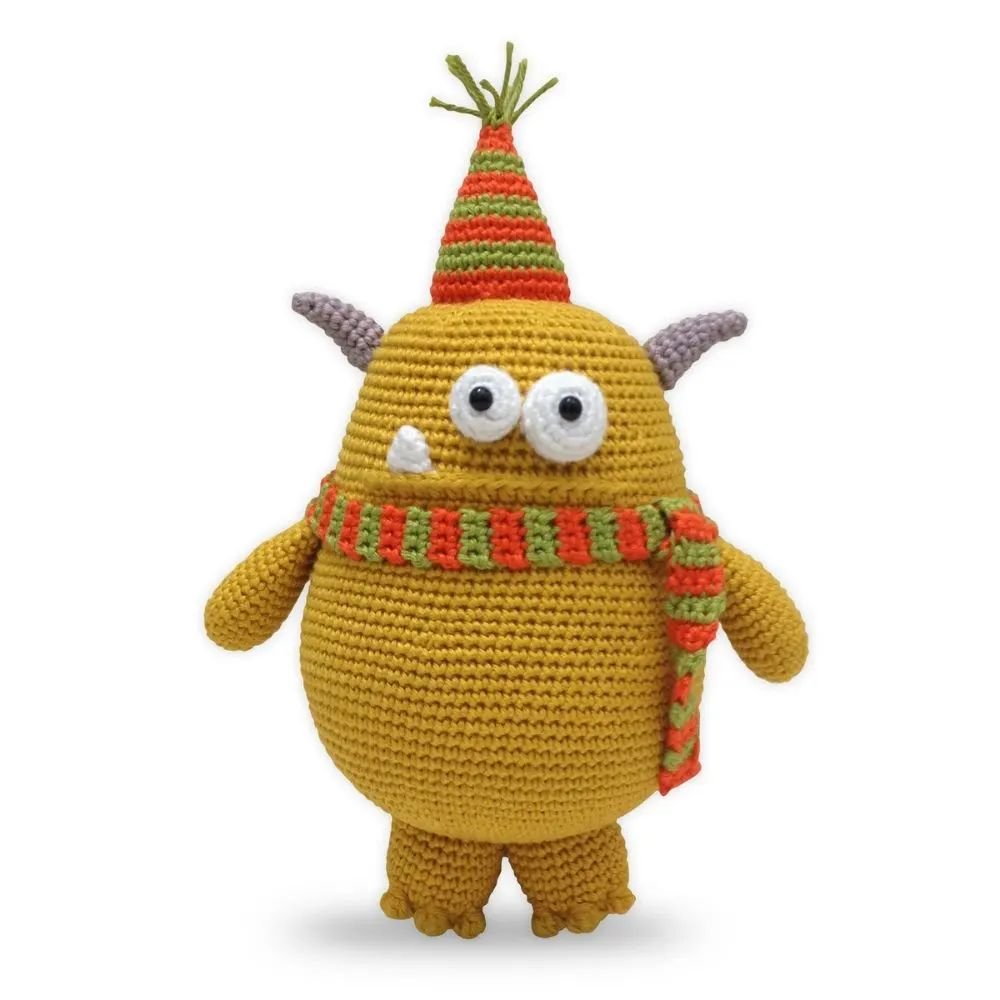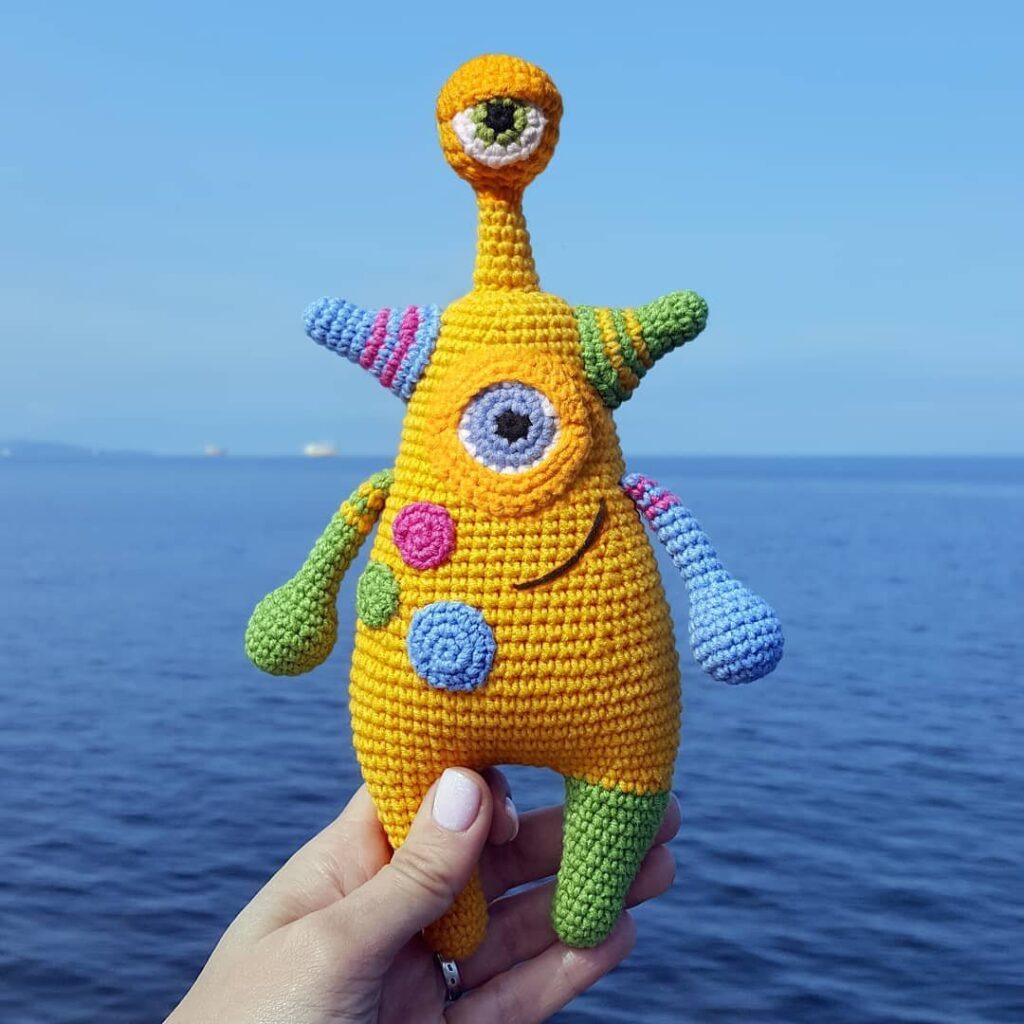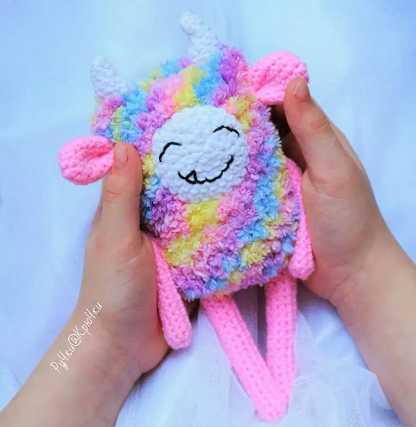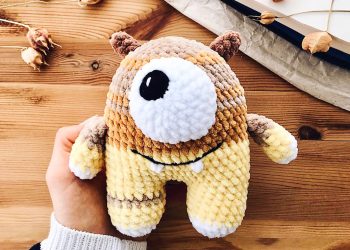
Hello amigurumi lovers and beautiful visitors, I wanted to share the free amigurumi patterns for you here. In my article I will share 1 pattern and how to make it for you. At the end of my article, I will share amigurumi patterns that can generate ideas for you.
Supplies:
• Yarn 4/Medium Weight Yarn in…
White, Yellow, Orange, and Blue
• Yarn 6/Bulky Weight Yarn in…
Lion Brand Go for Faux
Meow Pink (Pink)
Dori (Blue)
Glow Worm (Green)
Lightning Bug (Yellow)
Tamarin (Orange)
Note:
You don’t have to use the same fuzzy yarn as me. Here are other options. With some of these you can use 1 multicolored skein of fuzzy yarn!
•Lion Brand’s That 70’s Yarn
•Lion Brand’s Spinella Yarn
•Red Heart’s Hygge Fur
•Bernat’s Pipsqueek
• 4mm Crochet Hook
We will use the 4mm crochet hook only for the 4/Medium weight Yarn
• 7mm Crochet Hook
We will use the 7mm crochet hook only for the 6/Bulky weight Yarn
•12mm safety eyes
•Tapestry needle
•Scissors
•Stuffing
Additional Information:
Difficulty: Easy
• Use the right yarn
To make this monster truly a monster we must use fuzzy yarn. If you don’t use a similar fuzzy yarn, it’s very likely yours will come out much smaller. Please use one of the suggested yarns with a 7mm hook to make this pattern!
• Working with fuzzy yarn
Next, working with fuzzy yarn doesn’t have to be difficult! Though it’s hard to see your stitches, there’s an easy way to crochet with this yarn. Simply count every stitch as you make it for every round. This will ensure you have the correct stitch count. Don’t stress about being 100% accurate – we’re working with fuzzy yarn so it wont stand out if you make a mistake here and there!
• Making the Monster!
Time to get started! To make the monster we start with making the body. Next, we make all of his facial features, then his horns, arms, and legs!
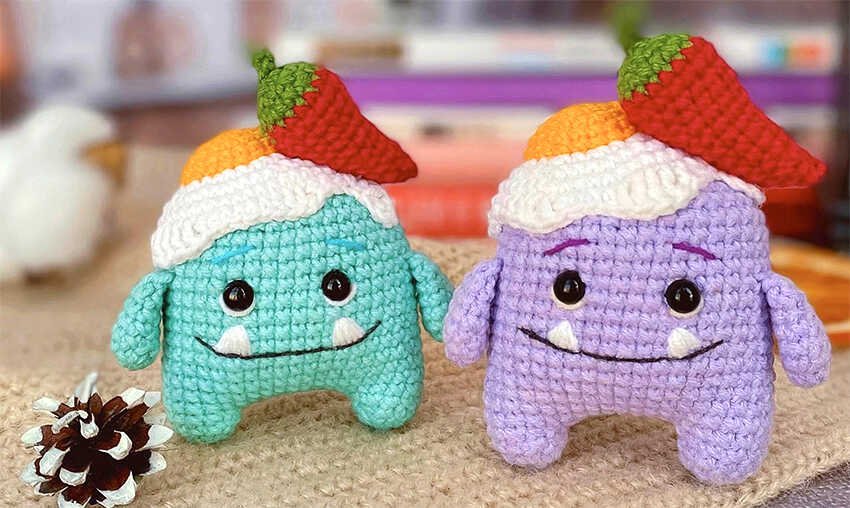
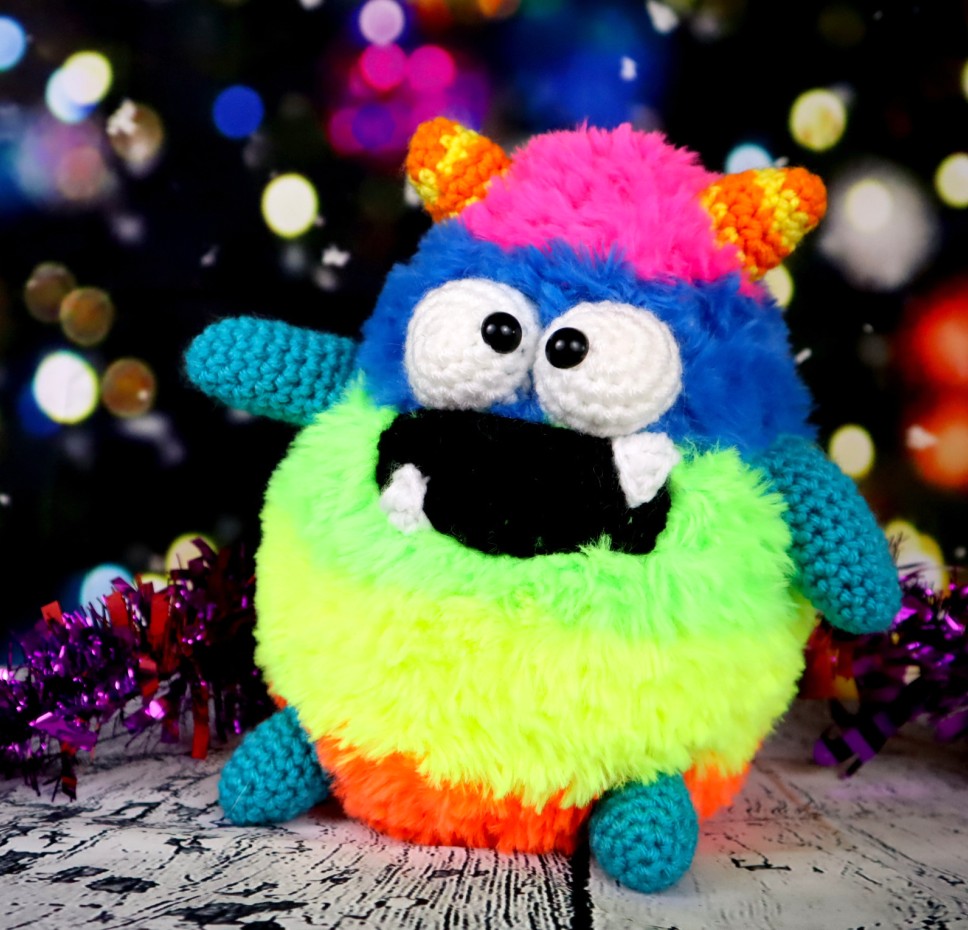
Fuzzy Monster:
In Pink
To make the monster we start at the top of the head and work our way down to the bottom. Let’s get started!
Round 1: 6 Sc in Magic Ring (6)
Round 2: *Inc* all around (12)
Round 3: *Sc* all around (12)
Round 4: *Inc, Sc* all around (18)
Round 5: *Sc* all around (18)
Round 6: *Inc, Sc 2* all around (24)
Round 7-8: Change to Blue. *Sc* all around (24)
Round 9: *Inc, Sc 3* all around (30)
Round 10-11: *Sc* all around (30)
Round 12: Change to Green. *Inc, Sc 4* all around (36)
Round 13-15: *Sc* all around (36)
Round 16-19: Change to Yellow. *Sc* all around (36)
Round 20: Change to Orange. *Sc* all around (36)
Round 21: *Dec, Sc 4* all around (30)
Round 22: *Dec, Sc 3* all around (24)
Stuff here. Continue stuffing after each round.
Round 23: *Dec, Sc 2* all around (18)
Round 24: *Dec, Sc* all around (12)
Round 25: *Dec* all around (6)
Finish off and sew closed. Set the body aside for now.
Eyes: (Make 2)
In White
Round 1: 6 Sc in Magic Ring (6)
Round 2: *Inc* all around (12)
Round 3: *Inc, Sc* all around (18)
Round 4-5: *Sc* all around (18)
Finish off, leaving a long tail for sewing.
Place a safety eye anywhere in between Round 3 & 4.Pin on as shown, making sure the pupils are next to each other
Mouth:
In Black
Row 1: Ch 15. Sc in the 2nd Ch from the hook. Sc in the next 13 st (14)
Row 2-3: Turn, Sc next 14 st (14)
Row 4: Turn, Sc in the next 4 st, Dc in the next 2 st, Trc in the next 2 st, Dc in the next 2 st, Sc in the last 4 st (14)
Finish off, leaving a long tail for sewing. Pin the mouth beneath the eyes as shown. Sew on.
Teeth: (Make 2)
In White
Row 1: Ch 4. Sc in the 2nd Ch from the hook. Dc in the next Ch, Trc in the last Ch (3)
Finish off, leaving a long tail for sewing. Pin one tooth at the right corner and the other tooth at the bottom left corner. Sew on.
Horns: (Make 2)
In Yellow
Round 1: 6 Sc in Magic Ring (6)
Round 2: *Inc, Sc 2* all around (8)
Round 3: Change to Yellow. *Sc* all around (8)
Round 4: *Inc, Sc 3* all around (10)
Round 5: Change to Orange. *Sc* all around (10)
Round 6: *Inc, Sc 4* all around (12)
Round 7: Change to Yellow. *Sc* all around (12)
Round 8: *Inc, Sc 5* all around (14)
Finish off, leaving a long tail for sewing. Pin each horn to the head as shown and sew on. Be sure to lightly stuff the horn before fully sewing on.
Arms: (Make 2)
In Blue
Round 1: 6 Sc in Magic Ring (6)
Round 2: *Inc, Sc* all around (9)
Round 3: *Sc* all around (9)
Round 4: *Inc, Sc 2* all around (12)
Round 5-12: *Sc* all around (12)
Finish off and leave a long tail for sewing. Lightly stuff the arm. Now pin each arm to the sides of the monster as shown. Sew on. Weave in any ends.
Legs: (Make 2)
In Blue
Round 1: 6 Sc in Magic Ring (6)
Round 2: *Inc, Sc* all around (9)
Round 3: *Sc* all around (9)
Round 4: *Inc, Sc 2* all around (12)
Round 5-9: *Sc* all around (12)
Finish off and leave a long tail for sewing. Lightly stuff the arm. Now pin each arm to the sides of the monster as shown. Sew on. Weave in any ends.
Feel free to tag me (@freeamigurumii) in your photos on Instagram or Facebook if you’d like!
All Finished.