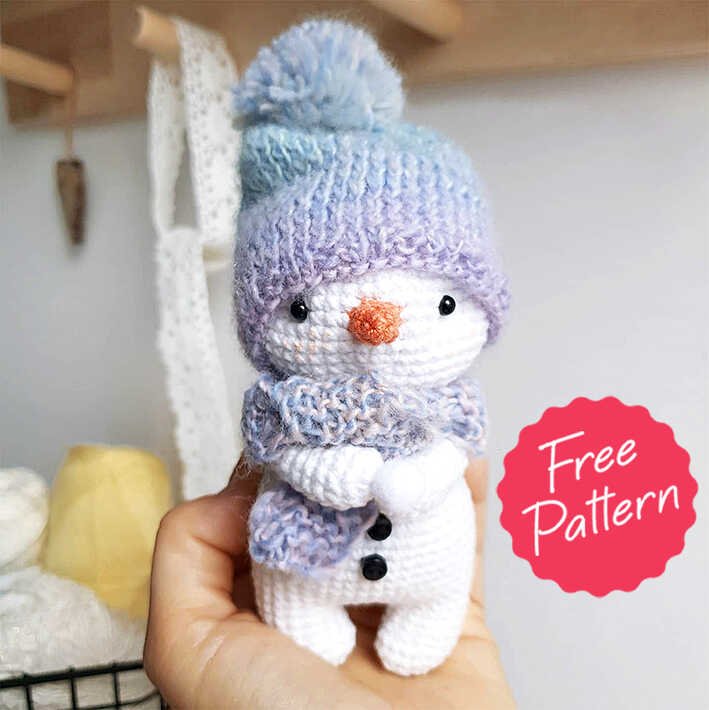
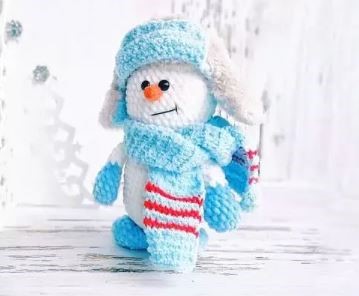
Hello amigurumi lovers and beautiful visitors, I wanted to share the free amigurumi patterns for you here. In my article I will share 1 pattern and how to make it for you. At the end of my article, I will share amigurumi patterns that can generate ideas for you.
MATERIALS NEEDED:
Sport weight cotton yarn in white, blue and orange colour.
2.2 mm crochet hook.
8 mm safety eyes.
Fiber fill for stuffing.
Tapestry needle.
Black embroidery thread.
A small piece of cardboard.
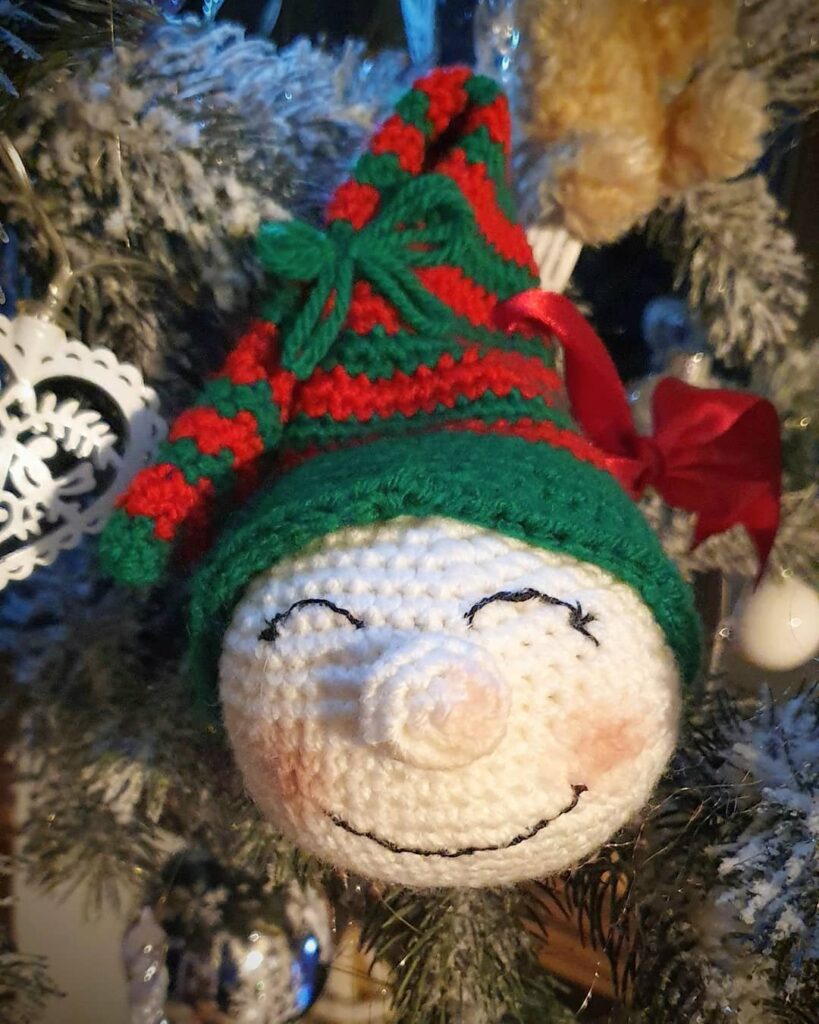
You can also buy the pdf version of snow man pattern along with other 3 crochet ornaments shown
below as a set from my Etsy shop.
Buy the Christmas ornaments pattern bundle
INSTRUCTIONS:
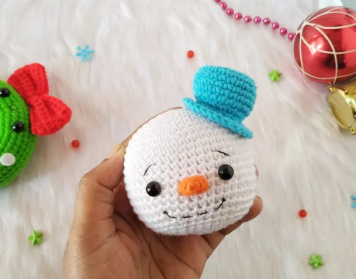
HEAD:
Using white colour yarn,
R1: 6 sc in a magic ring (6).
R2: Inc in each st (12).
R3: [ Sc, inc ] x 6 (18).
R4: [ Sc 2, inc ] x 6 (24).
R5: [ Sc 3, inc ] x 6 (30).
R6: [ Sc 4, inc ] x 6 (36).
R7: [ Sc 5, inc ] x 6 (42).
R8: [ Sc 6, inc ] x6 (48).
R9-18: Sc in each st (48).
R19: [ Sc 6, dec ] x 6 (42).
R20: [ Sc 5, dec ] x 6 (36).
Insert 8 mm safety eyes between R14- R15 with 9 stitches in between.
R21: [ Sc 4, dec ] x 6 (30).
R22: [ Sc 3, dec ] x 6 (24).
Stuff firmly with fiberfill and continue to stuff as you go.
R23: [ Sc 2, dec ] x 6 (18).
R24: [ Sc, dec ] x 6 (12).
R25: Dec x 6 (6).
Finish stuffing.
Fasten off and sew the ends.
NOSE:
Using orange colour yarn,
R1: 4 sc in magic ring (4).
R2: [ Sc, inc ] x 2 (6).
R3: [ Sc, inc ] x 3 (9).
Fasten off leaving a long tail for sewing.
HAT:
Using blue colour yarn,
R1: 6 sc in a magic ring (6).
R2: Inc in each st (12).
R3: [ Sc, inc ] x 6 (18).
R4: [ Sc 2, inc ] x 6 (24).
R5: (Work in back loops only) Sc in each st (24).
R6-9: Sc in each st (24).
R10: [ Sc 2, dec ] x 6 (18).
R11: Sc in each st (18).
R12: (Work in front loops only) Inc x 18 (36).
R13: Sc in each st (36).
Fasten off leaving a long tail for sewing.
Insert a small circular cardboard inside the hat and then fill the hat with fiber fill. This gives a sturdy
top.
ASSEMBLING:
Flatten the nose and sew it in between the eyes.
Embroider two slanting line around R12 for eyebrows.
Add in the mouth using running stitch. Use sewing pins for guide.
Attach the hat slantingly to the head (between R4-R8) using the back loops leftover from R12.
Feel free to tag me (@freeamigurumii) in your photos on Instagram or Facebook if you’d like!
All Finished.