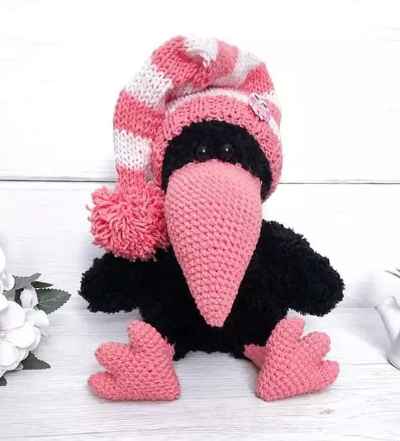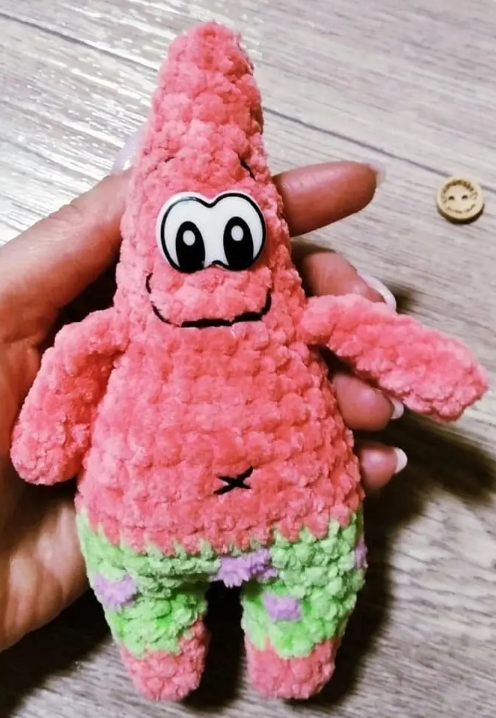
Hello amigurumi lovers and beautiful visitors, I wanted to share the free amigurumi patterns for you here. In my article I will share 1 pattern and how to make it for you. At the end of my article, I will share amigurumi patterns that can generate ideas for you.
Supplies:
4mm crochet hook, 4/Medium weight yarn in any desired colors for crayon, pink yarn for cheeks, black yarn. 8mm safety eyes, black embroidery thread, tapestry needle, scissors, and stuffing.
Additional Information:
Difficulty: Easy
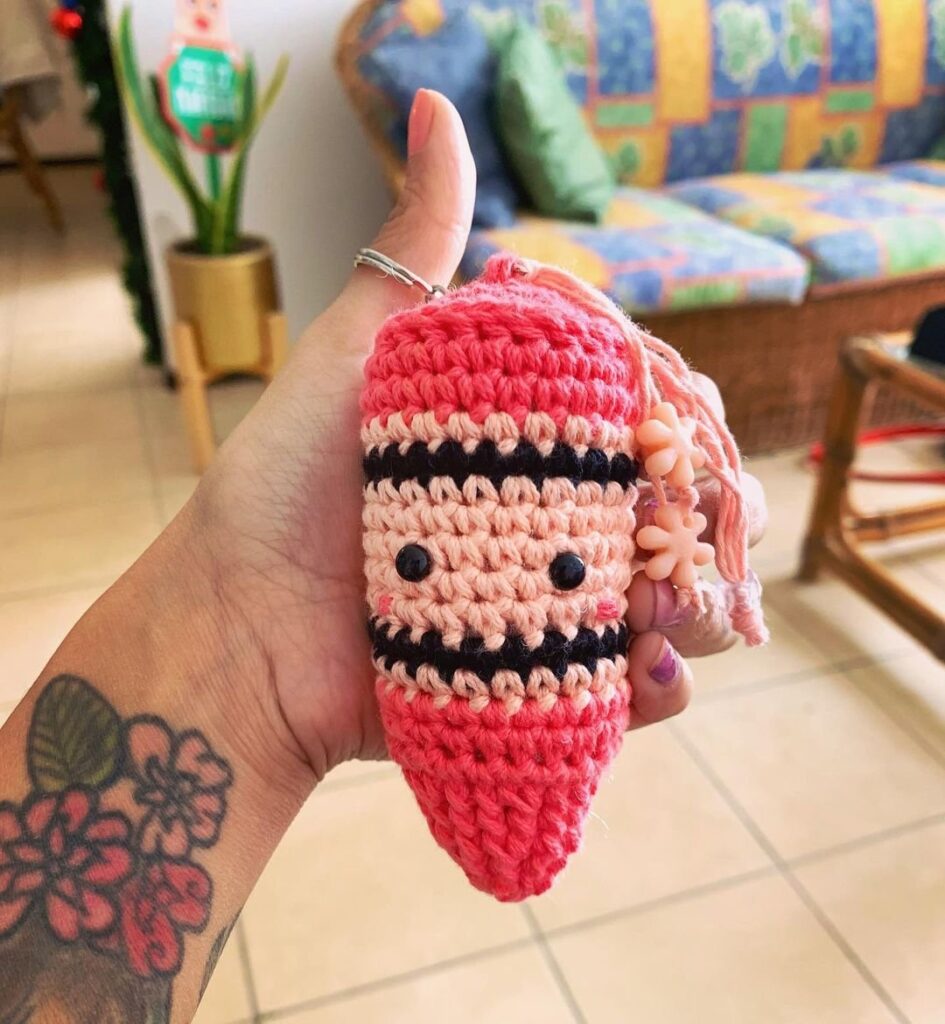
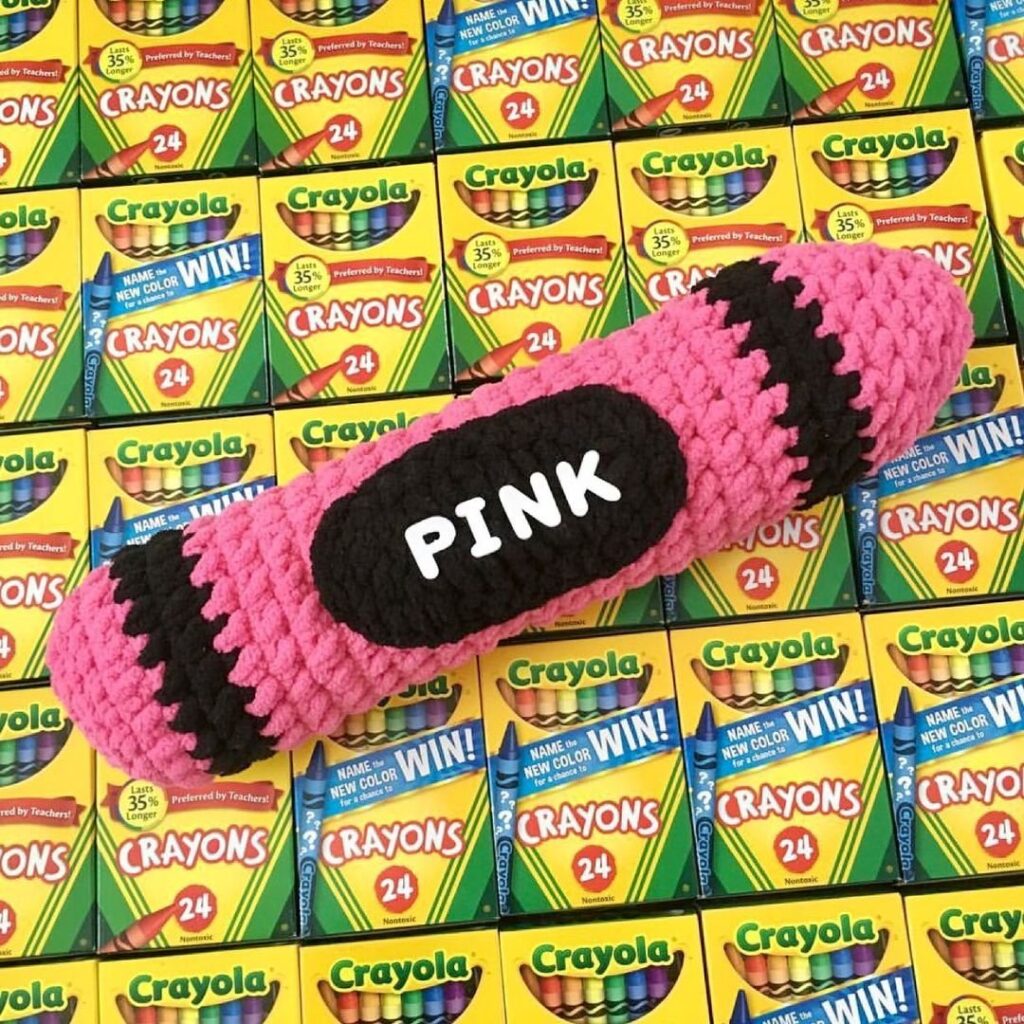
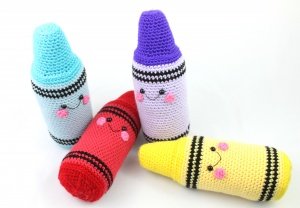
This pattern is to make a cute crayon! From top to bottom a crayon is 12″. The crayon is all one piece, and we start by making it at the tip. We eventually work in front loops and back loops to shape the crayon, so be you can do those stitches.
For colors, pick the “Main Color” you want your crayon to be. This will be the color used at the tip and the end of the crayon. The second color we use is the “Lighter Main Color”. Pick a color significantly lighter than the main color and use if for the paper surrounding the crayon. For example, I used dark purple as the main color and light purple for the lighter main color for the purple crayon.
Crayon:
In Main Color
Round 1: 6 Sc in Magic Ring (6)
Round 2: *Inc* all around (12)
Round 3: *Inc, Sc* all around (18)
Round 4: *Sc* around in BLO (Back Loop Only) (18)
Round 4 Pictured Below
Round 5: In BOTH loops, *Inc, Sc 5* all around (21)
Round 6-7: *Sc* all around (21)
Round 8: *Inc, Sc 6* all around (24)
Round 9-10: *Sc* all around (24)
Round 11: *Inc, Sc 7* all around (27)
Round 12-13: *Sc* all around (27)
Round 14: *Inc, Sc 8* all around (30)
Round 15: *Sc* all around (30)
Round 16: In FLO (Front Loop Only), *Inc, Sc 4* all around (36)
You can sort of flip up this round a little bit so it’s more flat.
Round 17: In FLO, *Inc, Sc 5* all around (42)
Round 18: In BLO, *Sc* all around (42)
Round 19: In BOTH Loops, *Sc* all around (42)
Round 20-21: Switch to Lighter Main Color *Sc* all around (42)
Round 22: Switch to Black and *Sc* all around (42)
Round 23: Switch to Lighter Main Color and *Sc* all around (42)
Round 24: Switch to Black and *Sc* all around (42)
Round 25-27: Switch to Lighter Main Color and *Sc* all around (42)
Round 28: Sc in next 20 St, Sc in next St. Add different colored St marker to Sc just made. This marks where we will place the eye. Sc in next 4 St. Sc in next St and add different colored St marker to Sc just made. Sc in next 16 St (42)
Round 29-47: *Sc* all around (42)
Add safety eyes here. Stuff now.
Round 48: Switch to Black, and *Sc* all around (42)
Round 49: Switch to Lighter Main Color and *Sc* all around (42)
Round 50: Switch to Black and *Sc* all around (42)
Round 51-52: Switch to Lighter Main Color *Sc* all around (42)
Round 53-54: Switch to Main Color and *Sc* all around (42)
Round 55: In BLO, *Dec, Sc 5* all around (36)
Round 56: In BOTH Loops, *Dec, Sc 4* all around (30)
Round 57: *Dec, Sc 3* all around (24)
Round 58: *Dec, Sc 2* all around (18)
Round 59: *Dec, Sc* all around (12)
Round 60: *Dec* all around (6)
Finish off and add any additional stuffing.
Cheeks: (Make 2)
In Pink
Round 1: 6 Sc in Magic Ring (6)
Finish off and pin below and to the sides of the eyes. Sew on.
Smile Assembly:
With Black Embroidery Thread
Insert needle going from the middle bottom part of the mouth, diagonal to the left. Pull thread through. Now reinsert needle to original middle bottom of the mouth, and going diagonal to the right, and pull thread through. Finally, reinsert needle back into the bottom middle of the mouth and pull through. Weave in ends.
Feel free to tag me (@freeamigurumii) in your photos on Instagram or Facebook if you’d like
All Finished.