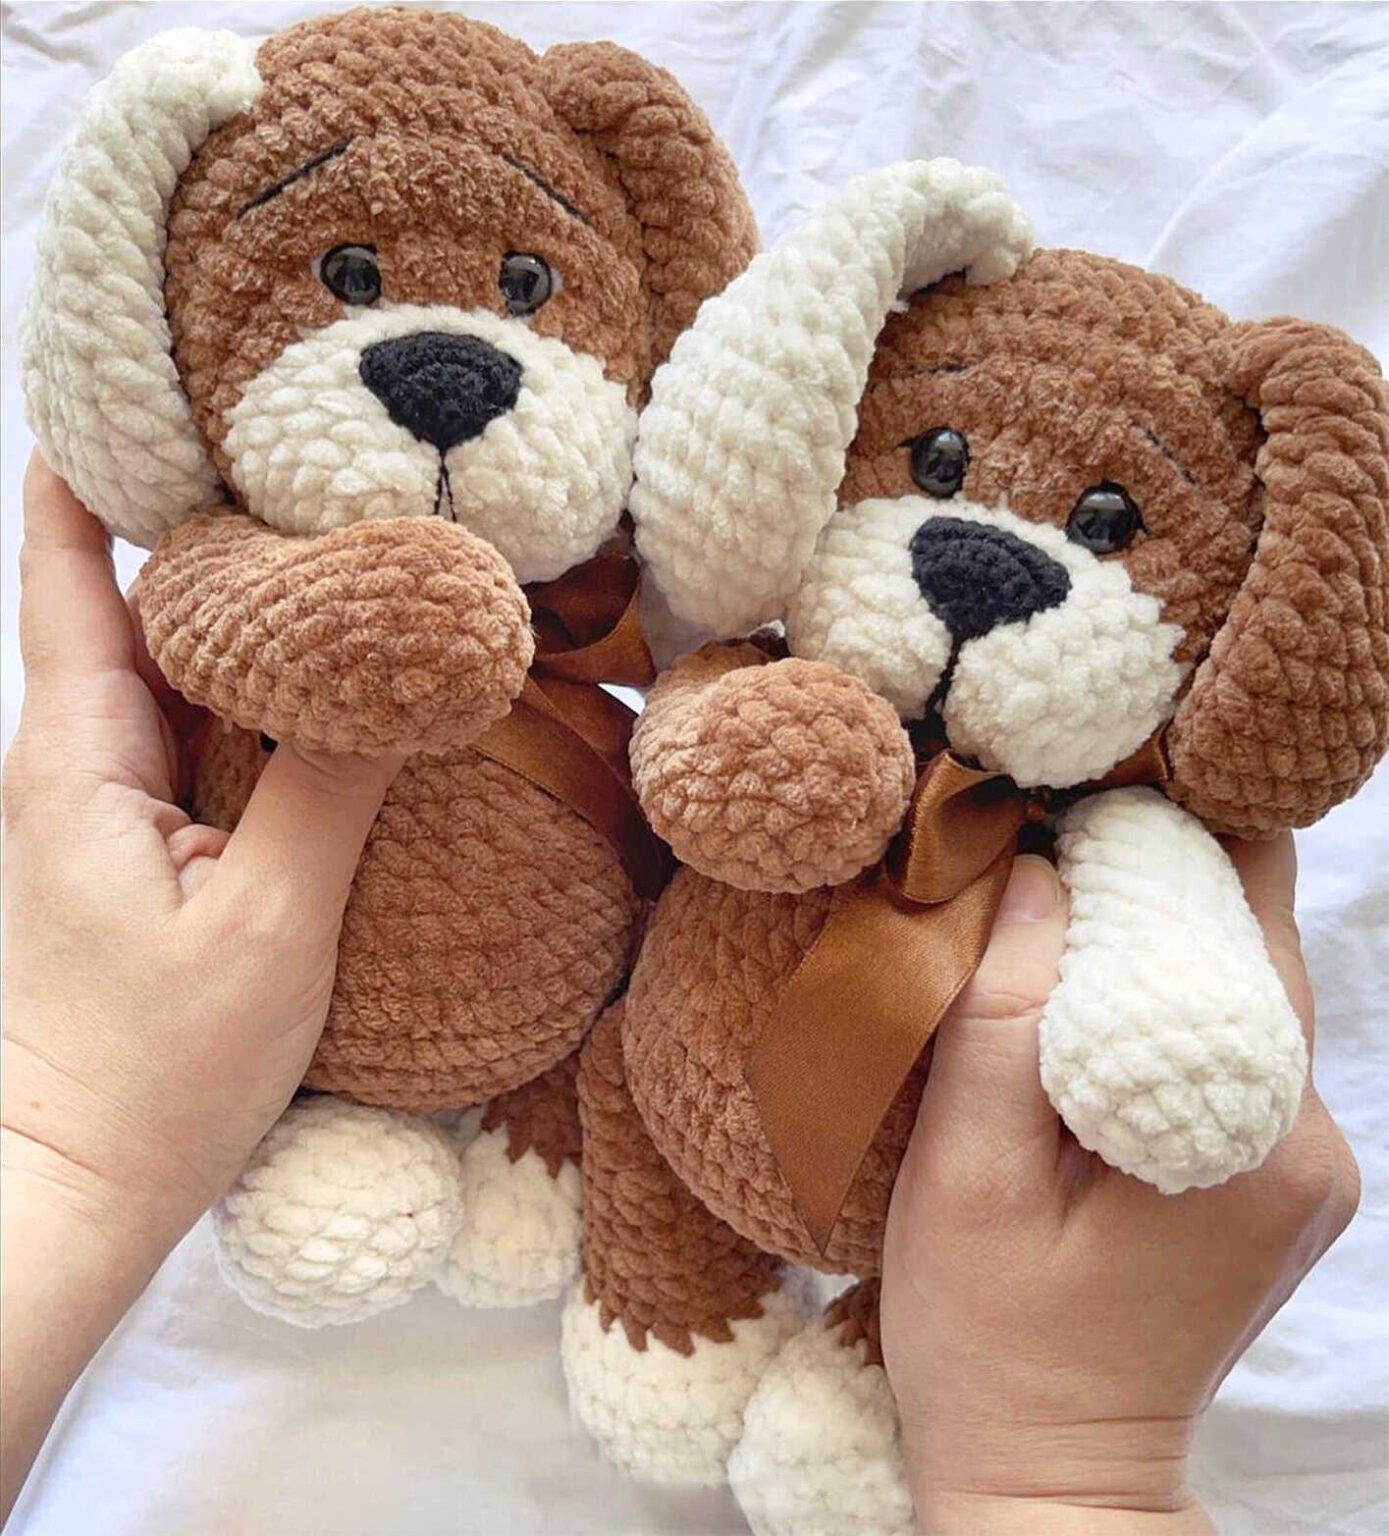
Hello amigurumi lovers and beautiful visitors, I wanted to share free amigurumi models with you here. In my article, I will share with you a model and how to make it. At the end of my article, I will share with you the detailed construction patterns of the mold.
Materials
1. Main color yarn (mine is Vita Cotton Lily brown, 100% mercerized cotton, 50g/125m)
2. Yarn of a different color for a sweater (Vita Cotton Lily yellow, 100% mercerized cotton, 50g/125m)
3. Any yarn for snood (Vita Cotton Lira white, 60% cotton, 40% acrylic, 50g/150m)
4. Hook number 2, knitting needles for knitting
5. Filler (synthetic winterizer, holofiber)
6. Stitching needle
7. Black beads with a diameter of 8 mm for the eye, plastic spout
8. Decorative button
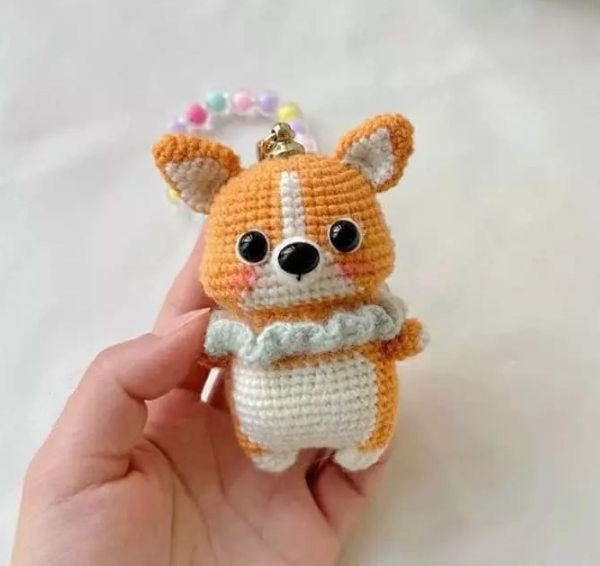
• With these materials, the toy is approximately 18 cm in size.
Abbreviations
MR– Magic ring
Sc– Single crochet
Inc– Increase
Dec– Decrease
All details are knitted in a spiral. Stuffed in the process of knitting.
The master class describes knitting a dog in a plain yellow sweater, if you plan to knit in a striped one, alternate colors every two rows.
Head
Crochet with brown yarn.
1 rnd: 6 sc in MR
2 rnd: 6 inc – 12sc
3 rnd: (1sc, inc)*6 – 18sc
4 rnd: 1sc, inc, (2sc, inc.)*5, 1 sc – 24sc
5 rnd: (3sc, inc)*6 – 30sc
6 rnd: 2sc, inc, (4sc, inc.)*5, 2sc – 36sc
7 rnd: (5sc, inc)*6 – 42sc
8 rnd: 3sc, inc, (6sc, inc.)*5, 3sc – 48sc
9 rnd: (7sc, inc)*6 – 54sc
10 rnd: 4sc, inc, (8sc, inc)*5, 4sc – 60sc
11-18 rnd: 60sc (8 rnds)
19 rnd: 4sc, dec, (8sc, dec)*5, 4sc – 54sc
20 rnd: (7sc, dec)*6 – 48sc
21 rnd: 3sc, dec, (6sc, dec.)*5, 3sc – 42sc
22 rnd: (5sc, dec)*6 – 36sc
23 rnd: 2sc, dec, (4sc, dec.)*5, 2sc – 30sc
24 rnd: (3sc, dec)*6 – 24sc
Fasten the thread and cut.
Ears (Make 2)
1 rnd: 6 sc in MR
2 rnd: 6 inc – 12sc
3 rnd: (1sc, inc)*6 – 18sc
4 rnd: (2sc, inc)*6 – 24sc
5 rnd: 24 sc
6 rnd: (3sc, inc)*6 – 30sc
7-9 rnds: 30sc
10 rnd: (8sc, dec)*3 – 27sc
11 rnd: 27sc
12 rnd: (7sc, dec)*3 – 24sc
13-14 rnds: 24sc
15 rnd: (2sc, dec)*6 – 18sc
16 rnd: (4sc, dec)*3 – 15sc
17 rnd: 15sc
18 rnd: (3sc, dec)*3 – 12sc
Fold the part in half and crochet together 6 sc. Leave a tail for sewing.
Muzzle
1 rnd: 6 sc in MR
2 rnd: 6 inc – 12sc
3 rnd: 2 sc, (3sc in one loop)*2, 4 sc, (3sc in one loop)*2, 2sc – 20sc
4 rnd: 4sc, 3 inc, 7 sc, 3 inc, 3sc – 26sc
5-6 rnds: 26 sc
Finish crochet, fasten the thread, leave a tail for sewing.
Insert a plastic spout into the muzzle.
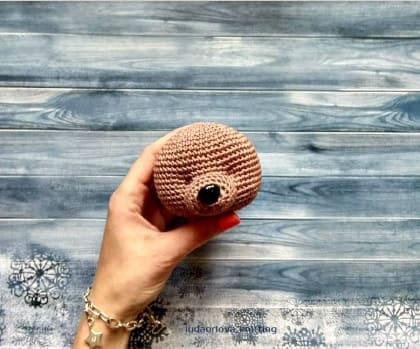
Head shaping
We sew the muzzle approximately between 13 and 21 next. We mark with pins where the eyes will be. They are located between 13 and 14 side by side, the distance between them is approximately 7 sc. In these places we make tightenings as follows: we insert a long needle with a thread into the base of the head and bring it out at the stitch of the first eye. We step aside 1 sc, enter the game at this stitch and bring it to the base of the head. The thread is well tightened and tied. We repeat the same with the second eye.
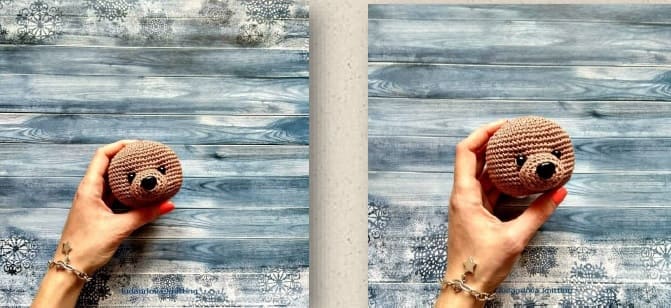
This is what the muzzle looks like after tightening:
Then, in the places of the tightening, we sew on the bead eyes. To make the eye more “alive”, we will make a stitch at the bottom of the eye with a white thread.
With a black thread, we embroider the eyebrows and mouth.
Next, sew on the ears, approximately at the level of the eighth row.

Arms (Make 2)
We start crochet with brown yarn.
1 rnd: 6 sc in MR
2 rnd: 6 inc – 12sc
3-6 rnds: 12 sc
Change to yellow yarn.
7-22 rnds: 12 sc

Fold the part in half and crochet together 6 sc. Leave a tail for sewing.
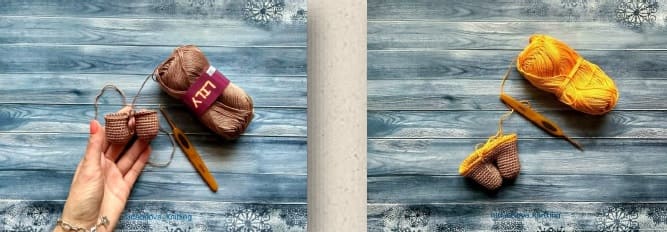
Legs and Body
Crochet in one piece.
We start crochet with brown yarn.
We crochet the first leg:
1 rnd: 6 sc in MR
2 rnd: 6 inc – 12 sc
3 rnd: (1sc, inc)*6 – 18 sc
4 rnd: (5sc, inc)*3 – 21 sc
5-11 rnds: 21 sc
Finish crochet, fasten the thread and cut off.
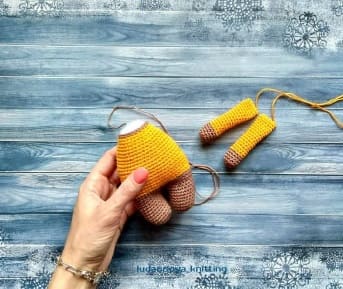
In the same way we knit the second leg, but we do not cut the thread, but continue to knit the body.
12 rnd: crochet 2 lifting loops and attach the first leg, tie 21 sc along it, then 2 sc in lifting loops, 21 sc in the second leg, 2 sc in lifting loops – 46 sc
We put a marker, marking the beginning of the row.
13 rnd: 46sc
14 rnd: 5sc, inc, (4sc, inc)*3, (1sc, inc)*2, (4sc, inc)*3, 5sc, inc – 56 sc
15 rnd: 56sc
Change to yellow yarn.
16-17 rnds: 56sc
18 rnd: 3sc, dec, 10sc, dec, 18sc, dec, 10sc, dec, 7sc – 52sc
19 rnd: 52sc
20 rnd: 10sc, dec, 24sc, dec, 14sc – 50sc
21 rnd: 50sc
22 rnd: 5sc, dec, 6sc, dec, 16sc, dec, 6sc, dec, 9sc – 46sc
23-25 rnds: 46sc
26 rnd: (10sc, dec, 9sc, dec)*2 – 42sc
27-30 rnds: 42sc
31 rnd: (5sc, dec)*6 – 36sc
32-33 rnds: 36sc
34 rnd: (4sc, dec)*6 – 30sc
35 rnd: 30sc
36 rnd: (3sc, dec)*6 – 24sc
Change to brown yarn
37 rnd: 24 sc
Finish crochet, fasten the thread, leave a tail for sewing.
Tail
1 rnd: 6 sc in MR
2 rnd: 6 inc – 12 sc
3 rnd: (1sc, inc)*6 – 18 sc
4 rnd: (2sc, inc)*6 – 24 sc
5 rnd: (2sc, dec)*6 – 18 sc
Finish crochet, fasten the thread, leave a tail for sewing.
Assembly
Sew the head to the body, sew the handles at about the level of the 34th row, sew the tail on the back.
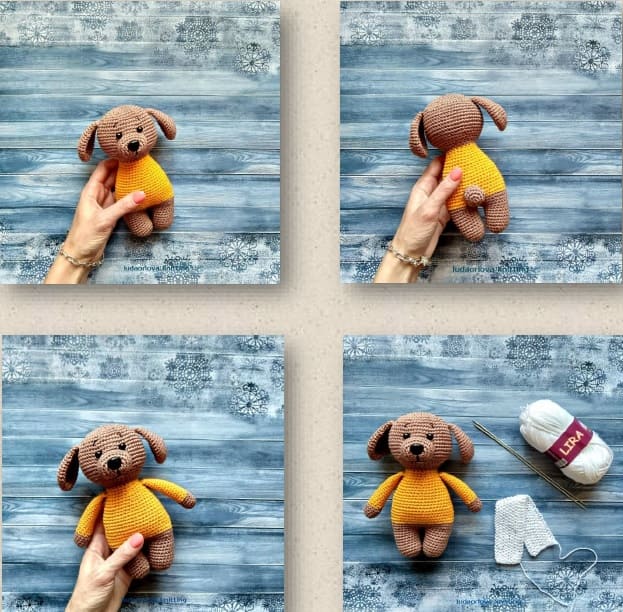
Scarf
Cast on 11 stitches on the needles and alternately knit 1 purl, 1 front stitch in a checkerboard pattern for about 20 cm, trying on a toy. Because my scarf is not removed, we sew it immediately on the dog.
Feel free to tag me (@freeamigurumii) in your photos on Instagram or Facebook if you’d like!