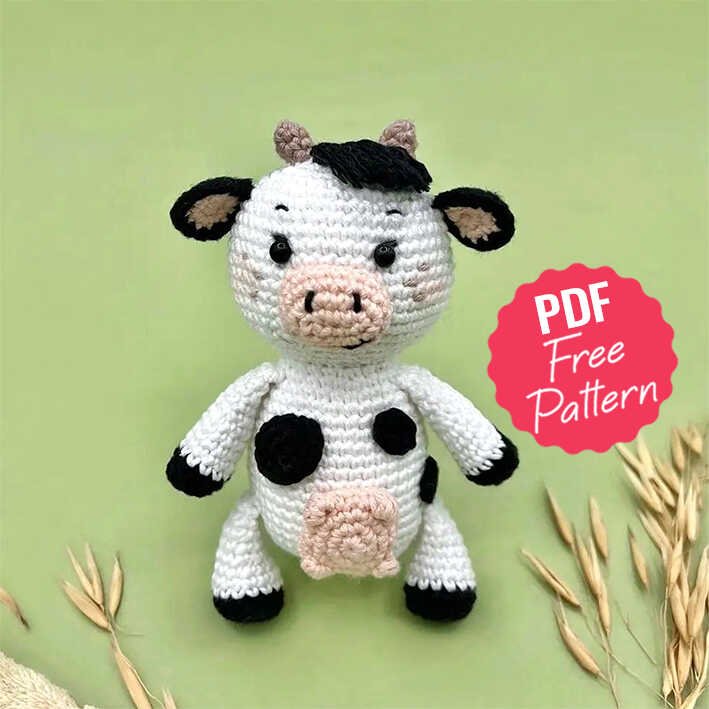
Hello amigurumi lovers and beautiful visitors, I wanted to share free amigurumi models with you here. In my article, I will share with you a model and how to make it. At the end of my article, I will share with you the detailed construction patterns of the mold.
Necessary materials and tools
1. Yarn;
• Nako Paris 100g/245m, color #5520 – basic
• YarnArt Jeans 50g/160m, color No. 70 – for horns, arms, legs
• Alize Cotton Gold 100g/330m, color No. 152 – for the muzzle
2. Hook number 2
3. Filler – holofiber
4. Beads for eyes with a diameter of 6 mm
5. Thick sewing needle, scissors, pins, knitting marker
6. A little black and white thread for embroidery of the muzzle
7. Pendant or bell for decoration
8. Slicker or Velcro for clothes for fleece (optional)
Abbreviations
MR- Magic ring
Ch- Chain
Sc- Single crochet
Sl st- Slip stitch
Inc- Increase
Dec- Decrease
Rnd- Round
(…) – the number in brackets means the number of loops in the row
(…)*X – repeat X times indicated in brackets
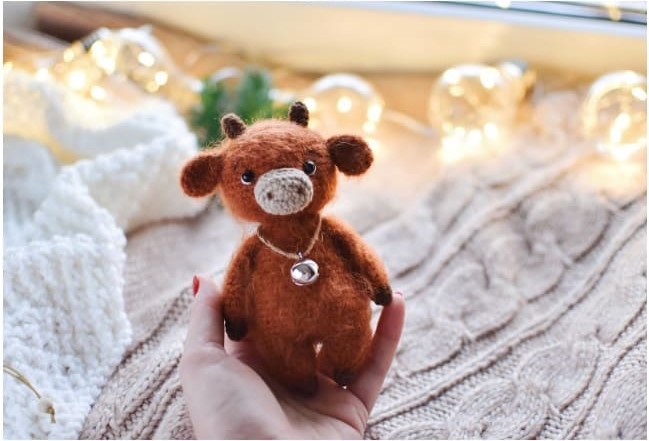
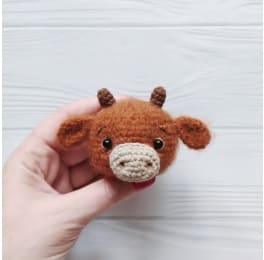
• The size of the finished crochet cow amigurumi toy is approximately 14 cm.
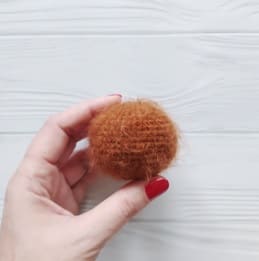
Head
Stuff tightly while crocheting.
Rnd 1: 6 sc in MR
Rnd 2: 6 inc (12sc)
Rnd 3: (1sc, inc)*6 (18sc)
Rnd 4: 1sc, inc, (2sc, inc)*5, 1 sc (24sc)
Rnd 5: (3sc, inc)*6 (30sc)
Rnd 6: 2sc, inc, (4sc, inc)*5, 2sc (36sc)
Rnd 7: (5sc, inc)*6 (42sc)
Rnd 8: 3sc, inc, (6sc, inc)*5, 3sc (48sc)
Rnd 9-15: 48sc (7 rnds)
Rnd 16: 3sc, dec, (6sc, dec)*5, 3sc (42sc)
Rnd 17: (5sc, dec)*6 (36sc)
Rnd 18: 2sc, dec, (4sc, dec)*5, 2sc (30sc)
Rnd 19: (3sc, dec)*6 (24sc)
Rnd 20: 1sc, dec, (2sc, dec)*5, 1sc (18sc)
Fasten and cut the thread, hide the tip of the thread inside the part.
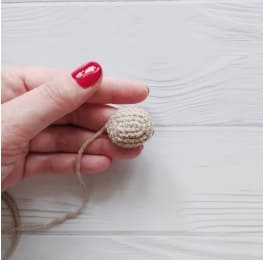
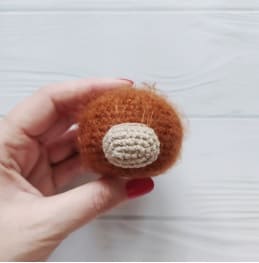
Muzzle
Crochet in beige with Alize Cotton Gold.
Dial a chain of 5 ch.
Rnd 1: starting from the second loop from the hook: 3sc, 3sc in the last loop of the chain. Next, crochet on the other side of the chain: 2sc, inc (10sc)
Rnd 2: inc, 2sc, 3inc, 2sc, 2inc (16sc)
Rnd 3: 1sc, inc, 2sc, (1sc,inc)*3, 2sc, (1sc,inc)*2 (22sc)
Rnd 4-5: 22 sc
Finish crocheting sl st, fasten the thread and cut, leaving a long end for sewing.
Ears (Make 2)
Tie two parts, no need to stuff.
Rnd 1: 6 sc in MR
Rnd 2: 6 inc (12 sc)
Rnd 3: (3sc,inc)*3 (15sc)
Rnd 4-5: 15 sc
Rnd 6: (3sc,dec)*3 (12sc)
Rnd 7: 12 sc
Rnd 8: (1sc,dec)*4 (8sc)
Fasten the thread, cut, leaving a long end for sewing.
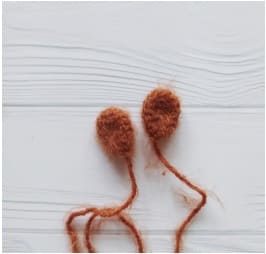
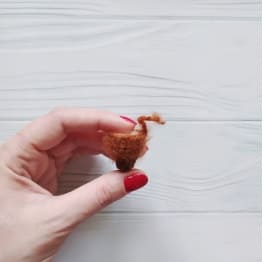
Horns (Make 2)
Knit two pieces with brown yarn YarnArt Jeans, no need to stuff.
Rnd 1: 6 sc in MR
Rnd 2: (2sc,inc)*2 (8sc)
Rnd 3-4: 8 sc
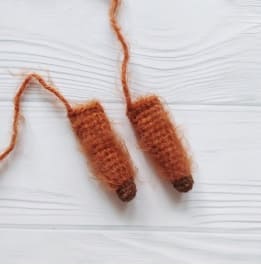
Arms (Make 2)
Tie two parts, stuff to about middle.
Start knitting with brown yarn YarnArt Jeans.
Rnd 1: 6 sc in MR
Rnd 2: (2sc,inc)*2 (8sc)
Rnd 3-4: 8 sc
Change the yarn to Nako Paris.
Rnd 5: (1sc,inc)*4 (12sc)
Rnd 6-17: 12 sc (12 rnds)
Fold the edges of the part together, crochet 6sc.
Fasten the thread, cut, leaving a long end for sewing.
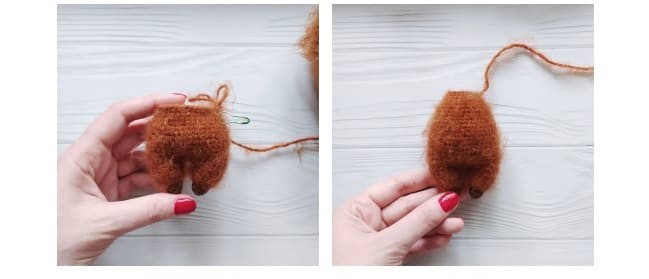
Legs and Body
Start crochet with brown yarn YarnArt Jeans. Stuff firmly in the process crocheting.
Rnd 1: 6 sc in MR
Rnd 2: (2sc,inc)*2 (8sc)
Rnd 3-4: 8 sc
Change the yarn to Nako Paris.
Rnd 5: inc in each loop (16sc)
Rnd 6-9: 16 sc (4 rnds)
Finish crochet sl st, fasten the thread and cut off.
Tie the second leg in the same way as the first, but do not cut the thread, but continue crocheting.
Rnd 10: Crochet 8sc, dial a chain of 3ch and attach it to the first leg where you finished crocheting. Next, crochet 16sc on the first leg, 3sc on chain of lifting loops, 8sc (38sc). The marker is on the side.
Rnd 11: 8sc, inc, 1sc, inc, 16sc, inc, 1sc, inc, 8sc (42sc)
Rnd 12-19: 42 sc (8rnds)
Rnd 20: (5sc,dec)*6 (36sc)
Rnd 21-23: 36sc (3 rnds)
Rnd 24: (4sc,dec)*6 (30sc)
Rnd 25-27: 30sc (3 rnds)
Rnd 28: (3sc,dec)*6 (24sc)
Rnd 29-31: 24 sc (3 rnds)
Rnd 32: (2sc,dec)*6 (18sc)
Fasten the thread, cut, leaving a long end for sewing.
Design and assembly
Start the design from the head. Determine muzzle location approximately between the 11th and 18th rows of the head, pin pins. Sew around, in progress sewing inside put the filler.
Make a tightening of the nostrils, focusing on a photo. To do this, mark the places with pins the location of the nostrils (stitch 1 and 2 in the photo), the distance between the stitch is approximately 3-4sc. Visually mark stitch 3 and 4 that located on 1sc to the sides of stitch 1 and 2 respectively.
Through the base of the head, insert a long needle with a thread and bring it out at stitch 1.
Then insert the needle at stitch 3 and bring it out to the base of the head.
Do the same tightening the second nostril, but in this case, remove the needle from the base of the head at the stitch 2.
Then insert the needle at stitch 4 and bring it back to the base. Pull the ends and tie a knot. The nostrils can be slightly toned (I made it colored pencil).
Mark with pins the location of the peephole, they are located between 11 and 12 rows of the head, the distance between the stitch is 8 sc. Like the nostrils do eyeliner.
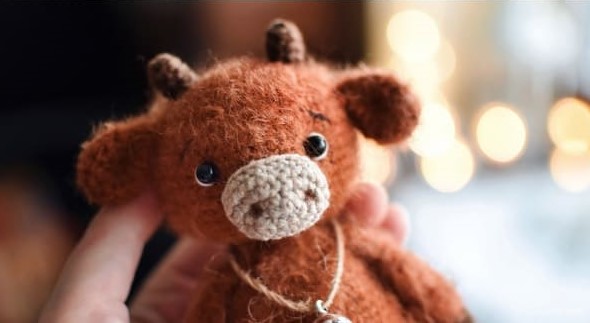
In the places of the tightening, sew on the eyes – beads. With white thread, stitch around peephole to make them look more “alive”. Embroider the brows with black thread.
Fold the base of the eyelet in half and sew with a few stitches as shown. a photo. With pins, mark the location of the ears, sew at the level of the 9th row heads. Sew the horns symmetrically between the ears.
Pin the head to the body with pins, firmly sew in a circle, and when it remains small hole – add more filler between the head and neck, then sew to the end. symmetrical on the sides sew the handles away from the top edge of the body 1-2 rows.
For the ponytail at the back, attach the thread and tie a chain of 7 ch, fasten, tip comb. The toy itself can also be completely comb lightly with a slicker.
Feel free to tag me (@freeamigurumii) in your photos on Instagram or Facebook if you’d like!
All Finished.