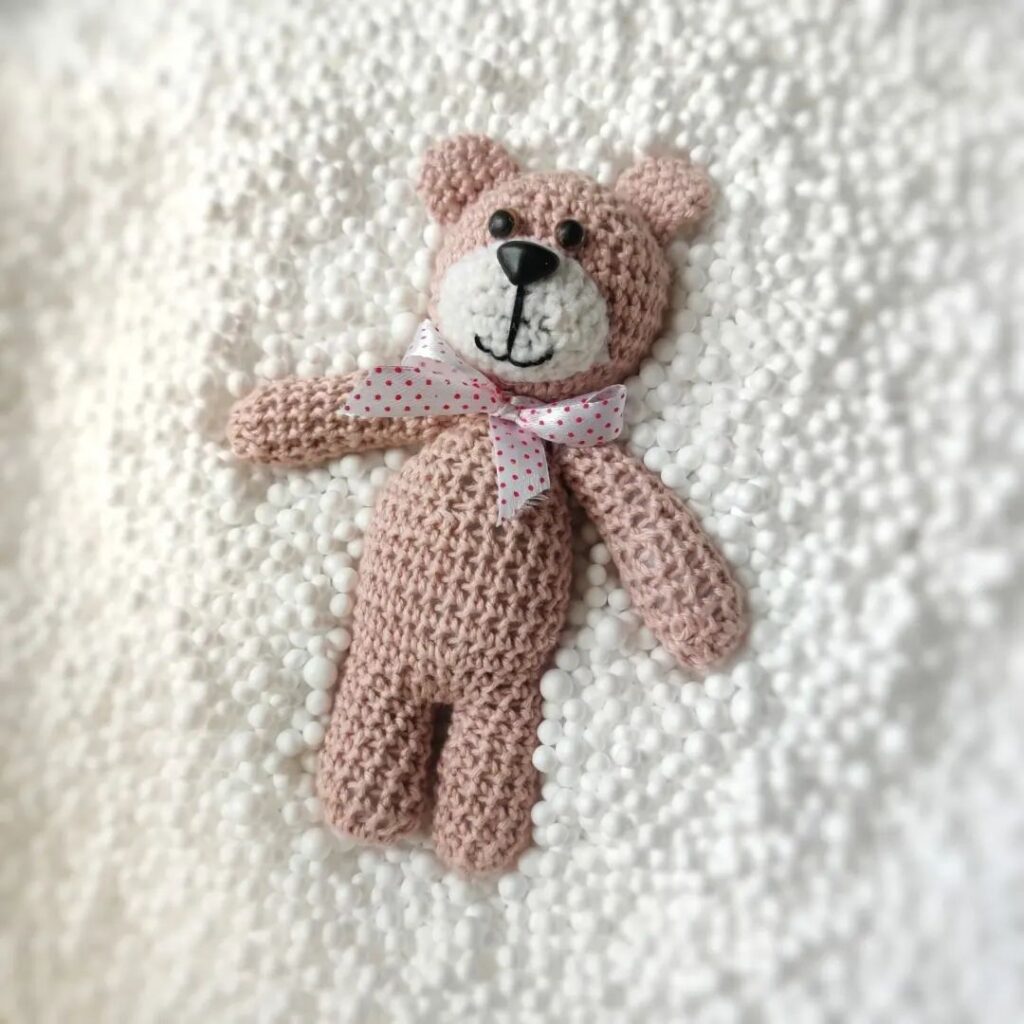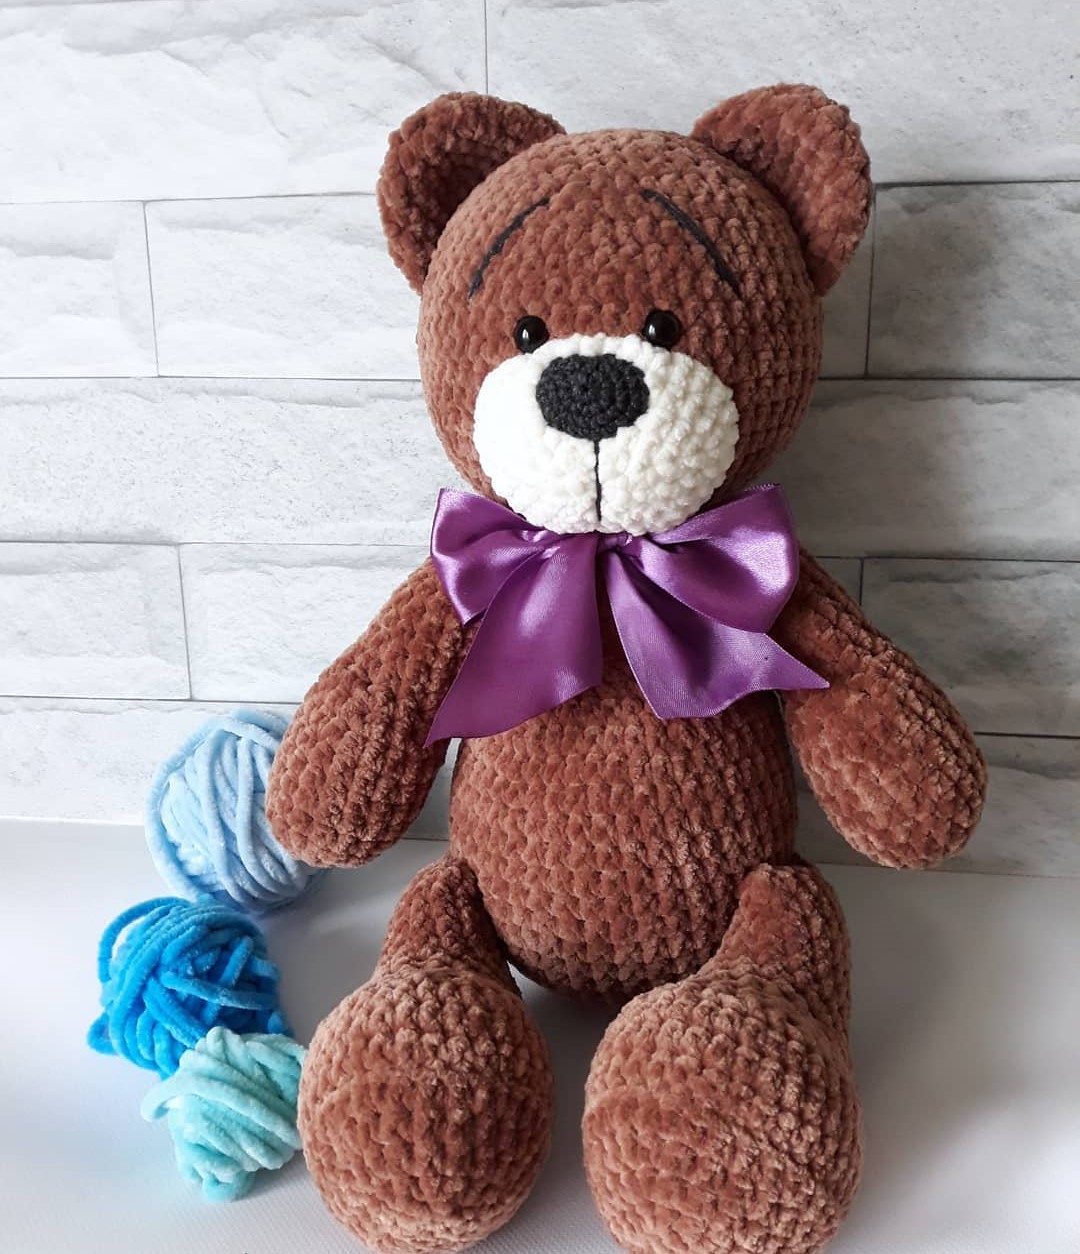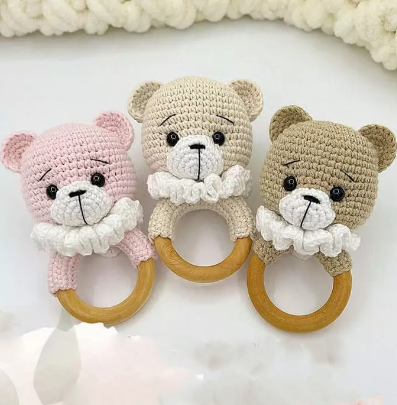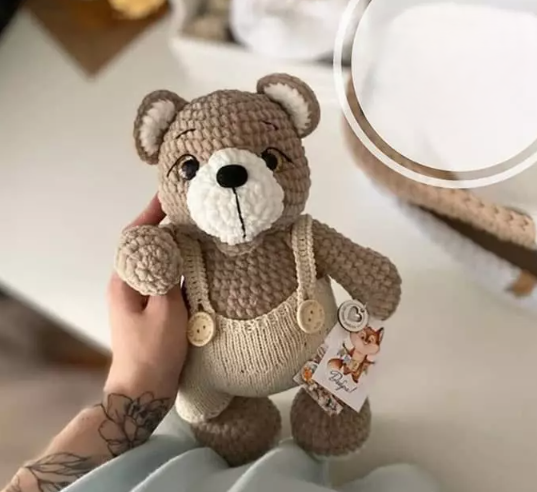
Hello amigurumi lovers and beautiful visitors, I wanted to share the free amigurumi patterns for you here. In my article I will share 1 pattern and how to make it for you. At the end of my article, I will share amigurumi patterns that can generate ideas for you.
Materials needed:
1. Himalaya Dolphin Baby yarn (one skein of the main color was enough for me, plus a little white for the muzzle)
2. Hook 4.0 mm
3. Eyes 12 mm on a secure fastening
4. Filler holofiber
5. Scissors
6. Large needle
7. Black and white thread for decorating the muzzle and stitches on the toy (I use YarnArt Jeans yarn) and a thread in
the same color as the main color for sewing on the ears and tail spout, just a little extra color Himalaya Dolphin Baby for heels
Legend:
KA – amigurumi ring vp
– air loop
sc – single crochet
pr – increase (knit 2 sc in one loop)
dec – decrease (knit 2 sc together)
Upper legs (2 parts)
The legs need to be loosely filled in the course of knitting, but not to the very top.
1. 6 sc in KA
2. 6 inc (12)
3. (3 sc, inc) * 3 (15)
4-6. 15 sc (3 rows)
7. 3 dec, 9 sc (12)
8-16. 12 PRS (9 rows)
Knit an additional 5 PRS, fold the foot in half and knit 6 PRS on both sides.
Lower legs (2 parts)
1. Cast on 5 ch with complementary color. We knit on both sides of the chain, forming an oval .
2. 3 sc in the second loop from the hook, 2 sc in the chain, 3 sc in the last loop, turn: 2 sc on the second side of the chain (10)
3. 3 inc, 2 sc, 3 inc, 2 sc (16)
4. (1 sc, inc) * 3, 2 sc, (1 sc, inc) * 3, 2 sc (22)
5. 22 sc
Change the color to the main one:
6-7. 22 sc (2 rows)
8. 1 sc, 4 dec, 13 sc (18)
9. 3 dec, 12 sc (15)
10-19. 15 sc (10 rows)
20. (3 sc, dec) * 3 (12)
Knit an additional 4 sc, fold the leg in half and knit 6 sc on both sides.
Body
1. 6 sc in CA
2. 6 inc (12)
3. (1 sc, inc) * 6 (18)
4. (2 sc, inc) * 6 (24)
5. (3 sc, inc) * 6 (30)
6. 2 sb, inc, (4 sb, inc) * 5, 2 sb (36)
7. 36 sb
In the next row, you need to tie the legs.
8. 6 sc, 6 sc capturing body and leg loops, 12 sc, 6 sc capturing body and leg loops, 6 sc (36)
9-12. 36 sc (4 rows)
13. (4 sc, dec) * 6 (30)
14-15. 30 sc (2 rows)
16. (3 sc, dec) * 6 (24)
17-18. 24 sc (2 rows)
19. (2 sc, dec) * 6 (18)
20. 18 sc
In the next row, you need to knit the upper paws. To do this, knit a couple of columns so that the working thread is on the back. On the sides of the body, using markers or contrasting threads, select 6 medium loops. Between the paws remains 3 sc. Additionally, knit sc to the first marker.
Next, knit according to the scheme:
21. 6 sb, capturing the loops of the body and paws, 3 sb on the chest, 6 sb, grabbing the loops of the body and legs, 3 sb on the back (18)
22. (1 sb, dec) * 6 (12)
The thread is not cut off, continue to knit the head.
Head
1. 12 inc (24)
2. (3 sc, inc) * 6 (30)
3. 2 sc, inc, (4 sc, inc) * 5, 2 sc (36)
4. (5 sc, inc) * 6 (42)
5-9. 42 sb (5 rows)
10. (5 sb, dec) * 6 (36)
11. 36 sb
Gently fill the bottom of the head and insert safety eyes between 8 and 9 rows. There are 3 visible columns between the eyes.
12. 2 sc, dec, (4 sc, dec) * 5, 2 sc (30)
13. (3 sc, dec) * 6 (24)
14. (2 sc, dec) * 6 (18)
15. ( 1 sc, dec) * 6 (12)
16. 6
dec Pull the hole and hide the thread.
Ears (2 parts)
1. 6 sc in KA
2. 6 inc (12)
3. (1 sc, inc) * 6 (18)
4-5. 18 sc (2 rows)
6. (4 sc, dec) * 3 (15)
Muzzle
1. Cast on ch 7 with white. We knit on both sides of the chain, forming an oval.
2. 3 sc in the second loop from the hook, 4 sc in the chain, 3 sc in the last loop, turn: 4 sc in the second side of the chain (14)
3. 3 inc, 4 sc, 3 inc, 4 sc (20)
4. (1 sc, inc) * 3, 4 sc, (1 sc, inc) * 3, 4 sc (26)
5-6. 26 sc (2 rows)
Nose
1. Dial 5 ch. We knit on both sides of the chain, forming an oval.
2. 3 sc in the second loop from the hook, 2 sc in the chain, 3 sc in the last loop, turn: 2 sc on the second side of the chain (10)
3. 3 inc, 2 sc, 3 inc, 2 sc (16)
4- 5. 16 sbn (2 rows)
Finish knitting, leave a long thread for sewing.
Tail
1. 6 sc in CA
2. 6 inc (12)
3. 12 sc
4. (2 sc, dec) * 3 (9)
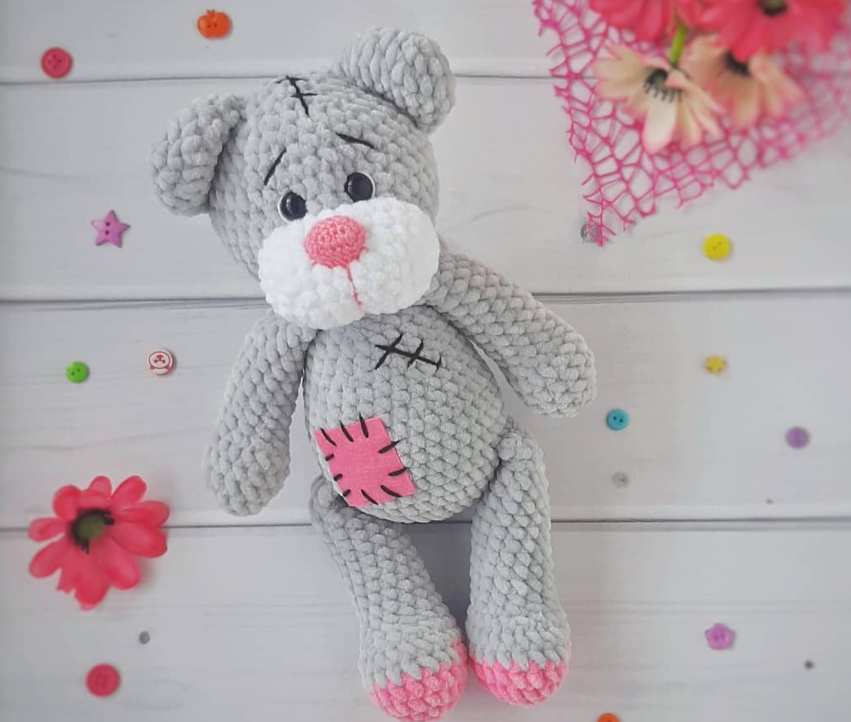
Assembly and design
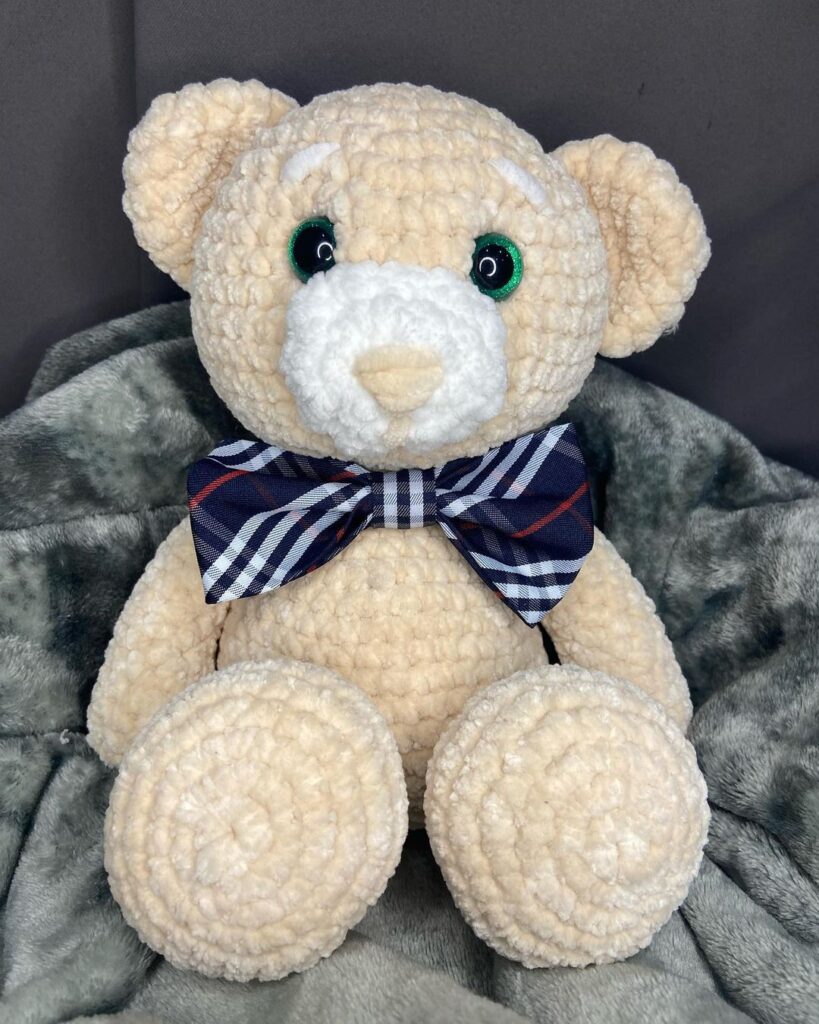
Sew on the muzzle (top at the level of the 7th row of the head).
The spout must be sewn, stepping back from the edge of the muzzle one row.
Next, you can make a slight tightening of the muzzle, but the bear looks great without it.
Sew ears, tail. We embroider eyebrows and stitches on the head and in any other places. Sew a square of felt on the tummy. You can not follow the symmetry of the stitches.
Feel free to tag me (@freeamigurumii) in your photos on Instagram or Facebook if you’d like!
All Finished.