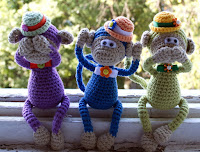
Hello amigurumi lovers and beautiful visitors, I wanted to share the free amigurumi patterns for you here. In my article I will share 1 pattern and how to make it for you. At the end of my article, I will share amigurumi patterns that can generate ideas for you.
Designations :
VP – air loop
PSN – half-column with a crochet
x – single crochet
V — increment
A – decrease (…) *? – perform the indicated in brackets ? once
[…] – the number of columns in a row
Materials :
I knit with threads ” Jeans ” YarnArt 2 colors ( main and for the muzzle , paw tips ) and crochet 2.25 mm .
A small piece of white felt 0.5 * 1.5 cm , beads 3 mm for the eye .
Weighting in the body . I use a 5 cent coin .
Wire 1 mm : 20 cm – for handles , 25 cm – for legs , 15 cm – for tail .
Filler – holofiber
Head :
We start with a light thread 1 p : 6 VP , in the 2nd loop from the hook x , 3 x , in the last loop
chains 3 x , turn and knit on the other side of the chain 3 x , 2 x in the 2nd loop of the chain
2 r : V ,3 x ,3 V ,3 x ,2 V
3-4 p.m .: 6 p.m
5 r : 8 V from PSN , 10 x
We change the thread to the main one, but we don’t cut off the light one , but we throw it on the wrong side .
6 years : 5x , 2V , 3x , 2V , 14x
7 r :(4 x , V )*6
At this stage, I tie the muzzle .
Insert the hook into the base of the 1st sc of the 6th row, grab a light thread from the inside (the one that the muzzles left), pull it with a loop to the front side. The first loop is on the hook.
We introduce the hook into the base of the next sc and pull out the 2nd loop , stretch it through the first .
And so we do it around the entire perimeter of the muzzle. At the end, we cut the thread, stretch the tip to the wrong side and fix it there
At the same stage, I insert the eyes into the 4th and 5th increases in the 5th row
We continue knitting with the main thread .
8-10 pm:36 pm _
11 r :(4 h , A )*6
12 p : (3 x , A ) * 6
13 p : (2 x , A ) * 6
14 r :(1 h , A )*6
We fill the muzzle and head a little .
15 r :6 A
We fill the head completely , give it the desired shape . Cut the thread and fasten .
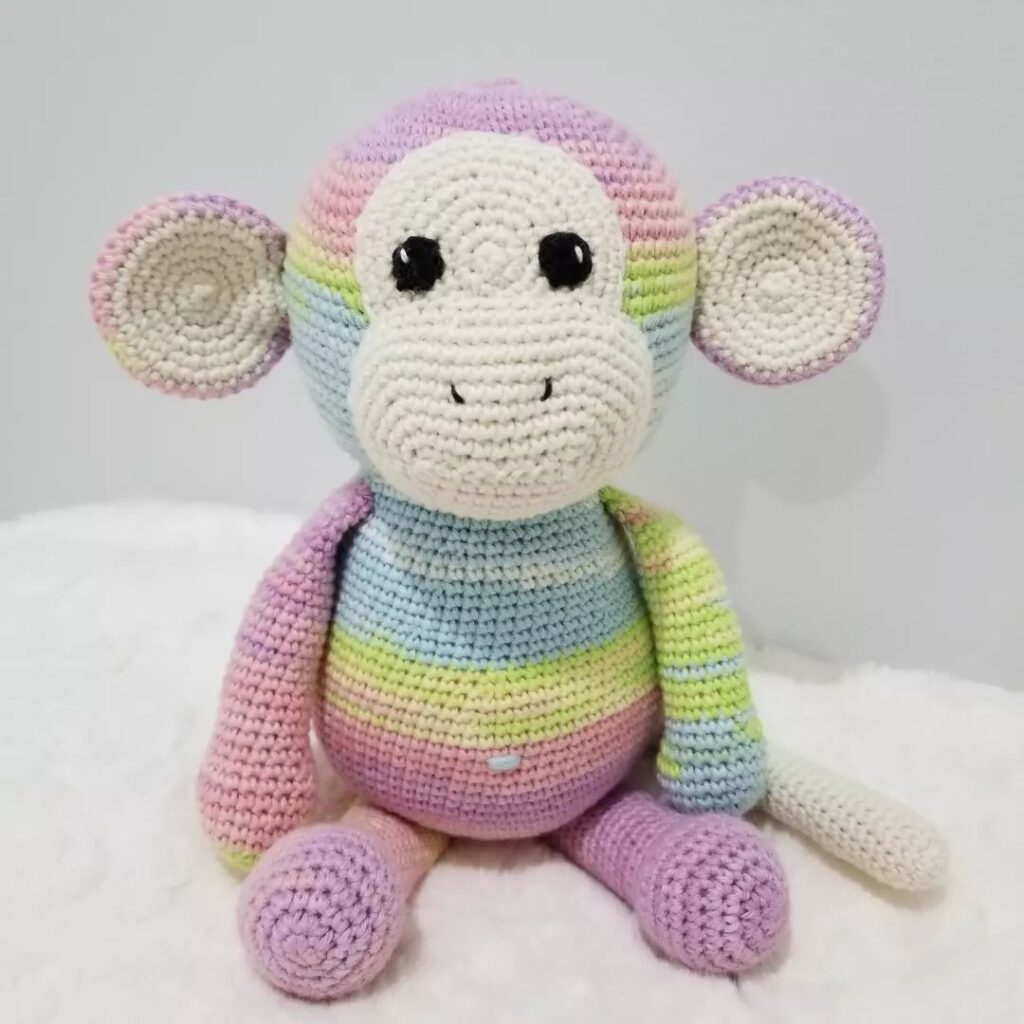
I get this head:
Body :
1 r : 6 x
2 p :6 V
3 r :(1 x , V )*6
4 r :(2 x , V )*6
5 r :(3 x , V )*6
6-8 pm:30 pm _
9 p : (3 x , A ) * 6
10-12 pm .: 24 h
13 p : (2 x , A ) * 6
14-16 p.:18 p _
17 r :(1 h , A )*6
18-20 pm .: 12 pm
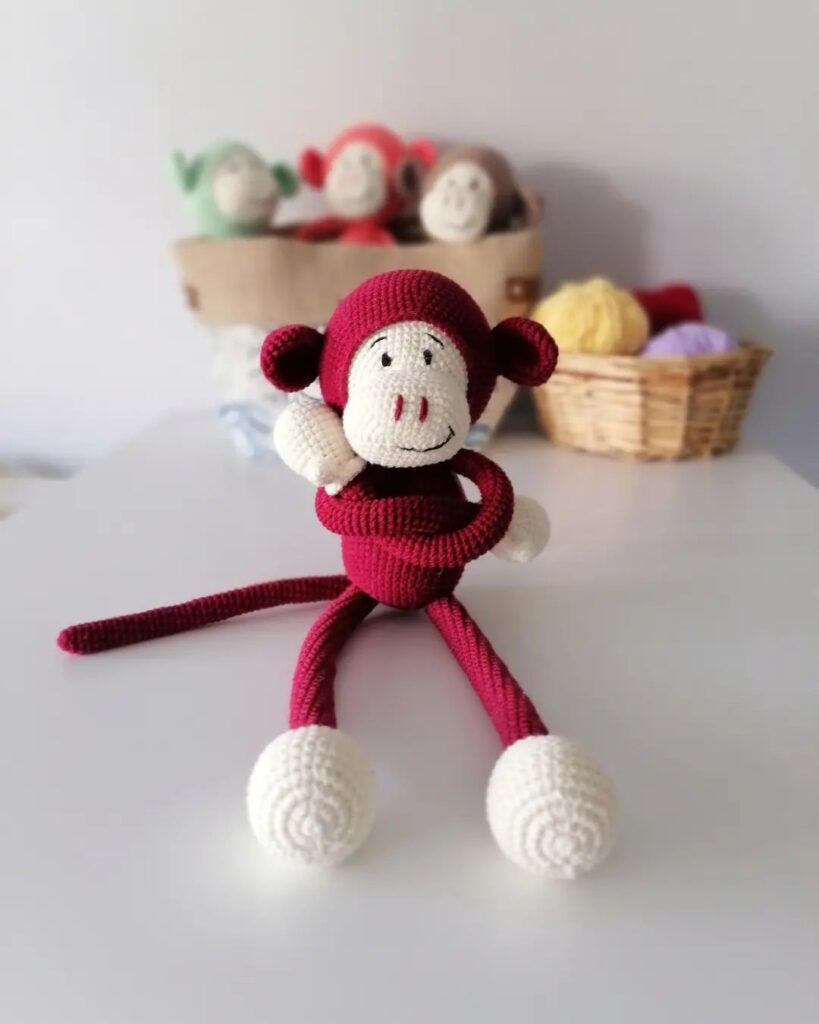
In the process of knitting, you can put a weighting agent on the bottom . I have a five cent coin . The body then turns out to be more stable and the monkey sits very well . The body is filled with filler . Leave the tip of the thread for sewing and cut off . I get such a stable vase )))
Ears (2 parts ): light thread
1 r : 6 x
2 p :6 V
3 r :12 h
Leave the tip of the thread for sewing and cut off . Sew the head to the body
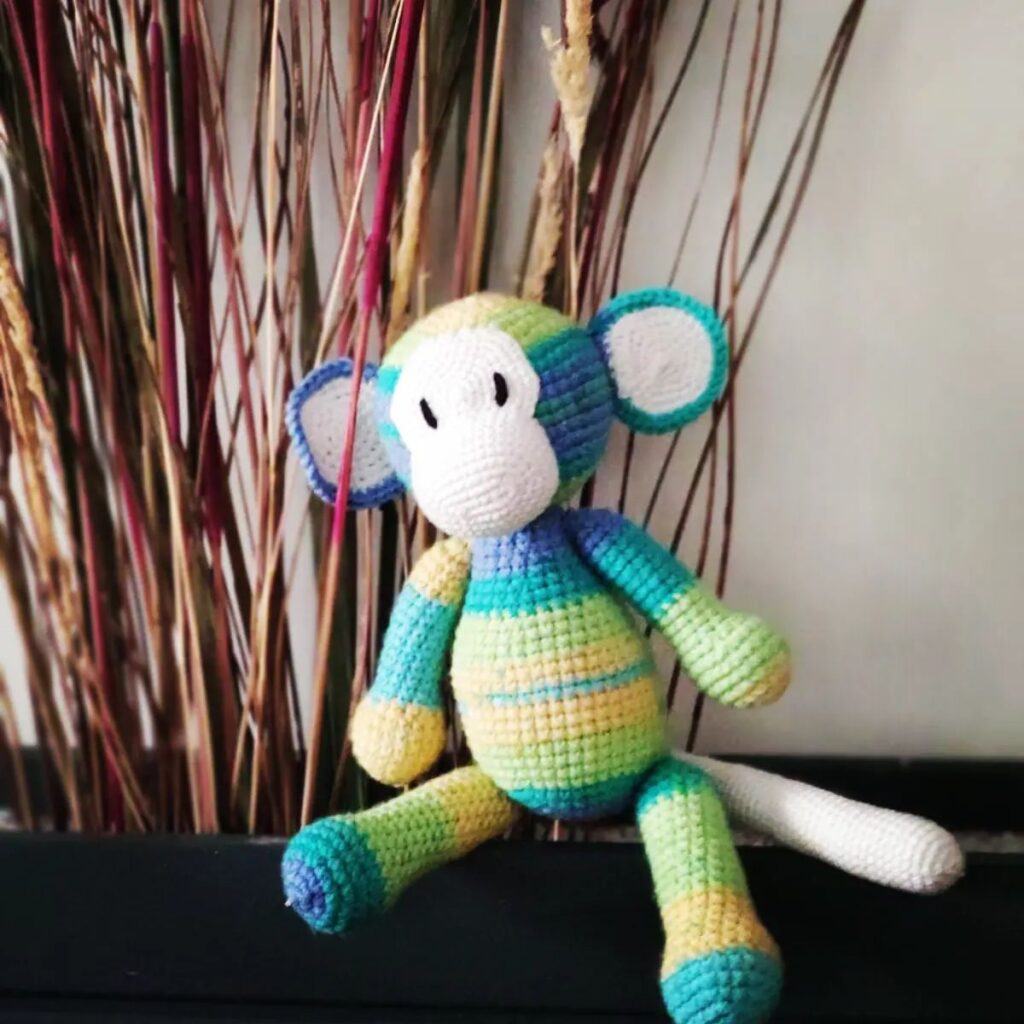
We find a suitable place for the ears ( I sew at eye level ) This is how the size turns out )))
Upper paws – hands (2 parts ): We start with a light thread .
1 r : 6 x
2 r :(1 x , V )*3
3-4 p.m .: 9 p.m
5 r :(1 h , A )*3
We attach the thread of the main color , cut the light one
6-15 p.m .: 6 p.m
Lower paws – legs (2 parts ):
1 r : 6 x
2 p :6 V
3-4 p.m .: 12 p.m
5 p : (2 x , A ) * 3
6 r :(1 h , A )*3
We attach the thread of the main color , cut the light one
7-18 pm .: 6 pm
On the paws leave the tip of the thread for sewing
Tail :
At the beginning of knitting, I leave a small tip of the thread , so that later I can fix the tip of the wire .
We knit on 4 columns without a crochet in a spiral up to 10-12 cm . Be guided by the size of your monkey and your desire .
Before starting the assembly, we need to take measurements . After all, we knit with different density , different threads , etc. Let’s do this layout.
We measure the length of the wire for the legs .
Be sure to add for the palms and feet . For my monkey size, I add at least 3 cm from both ends of the wire for the foot , for the palm -2.5 cm and on the tail : for the loop at the tip -1 cm , for fastening -1.5 cm .
We make loops at one end of the wire and wrap ( fix ) them with adhesive tape , adhesive tape , electrical tape, or others . fixing material .
This is how it looks like for me . Tail , arms , legs .
We introduce the wire to the intended location of the handles and legs . We make symmetrical loops on the other end of the wire . We wrap ( fix ) the loops .
We put on the wire connected blanks for the paws . We sew them to the body . We fix it and cut it off . For the tail, we pass the wire to the right place.
We dress the detail of the tail on the wire , sew the tail to the body . We fasten the thread and cut it off . At the tip of the tail we make a few stitches , grabbing a loop of wire inside . We fasten the thread and cut it off.
Feel free to tag me (@freeamigurumii) in your photos on Instagram or Facebook if you’d like!
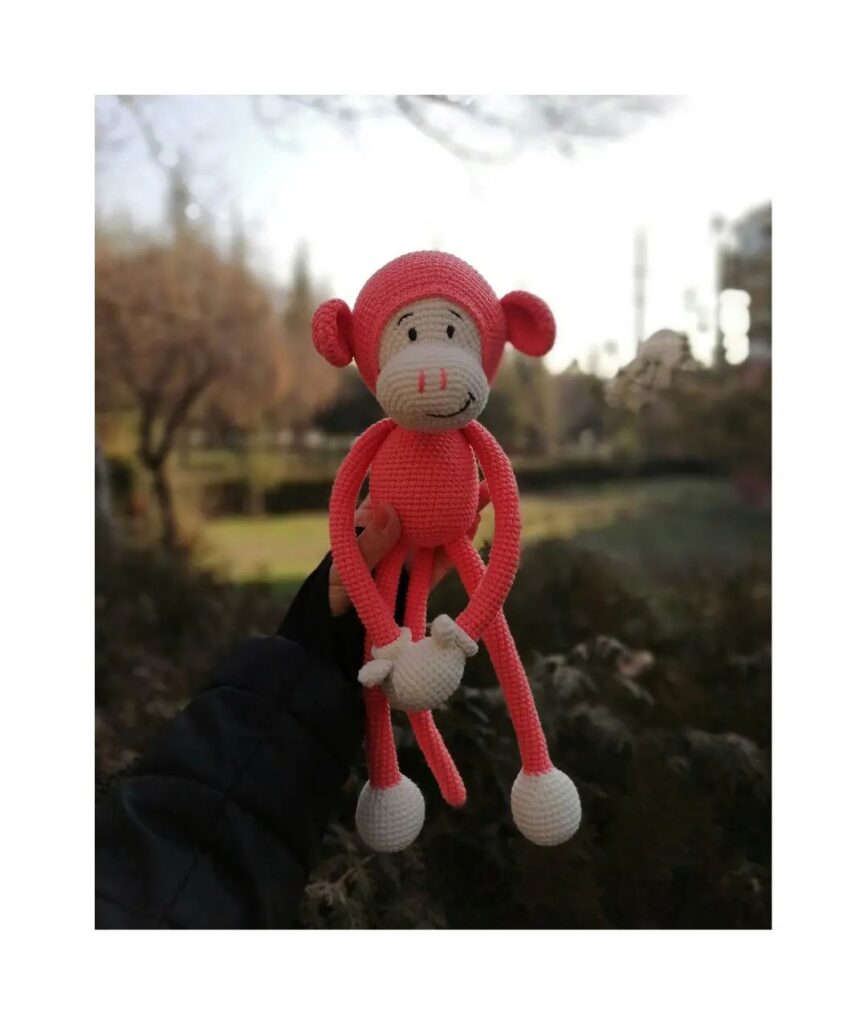
All Finished.