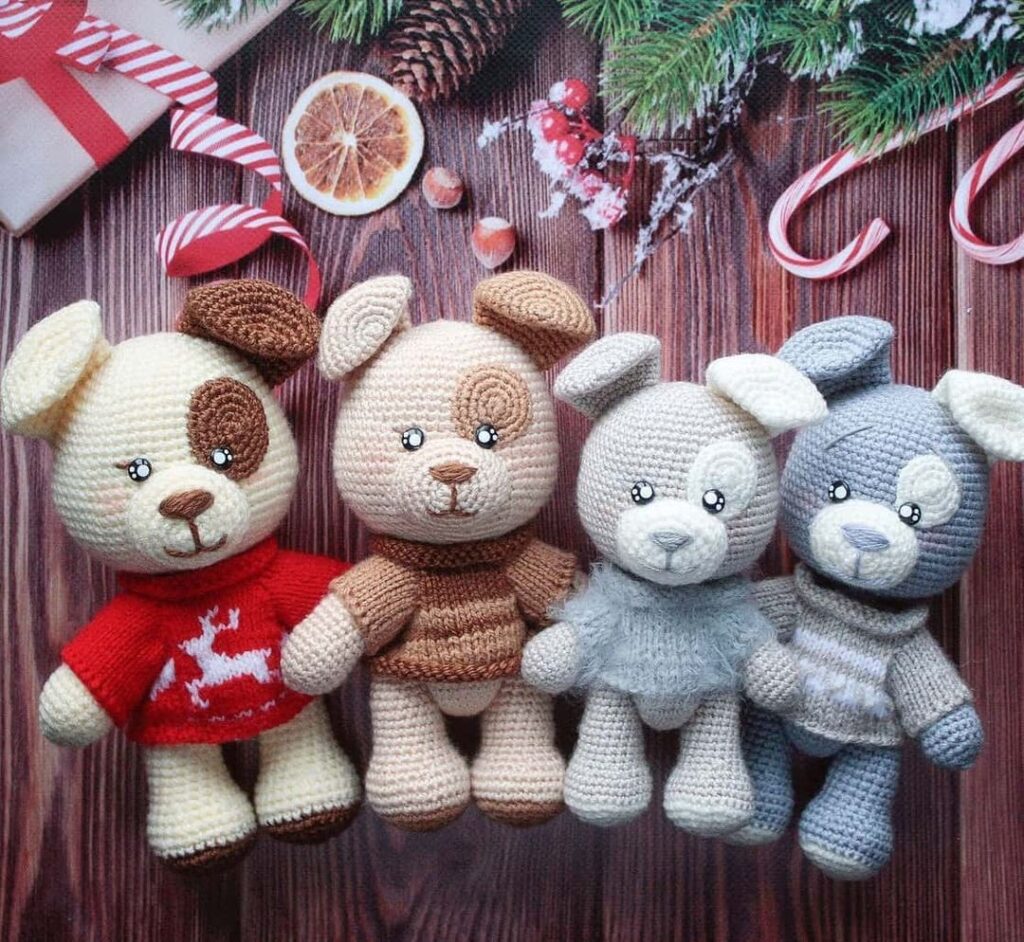
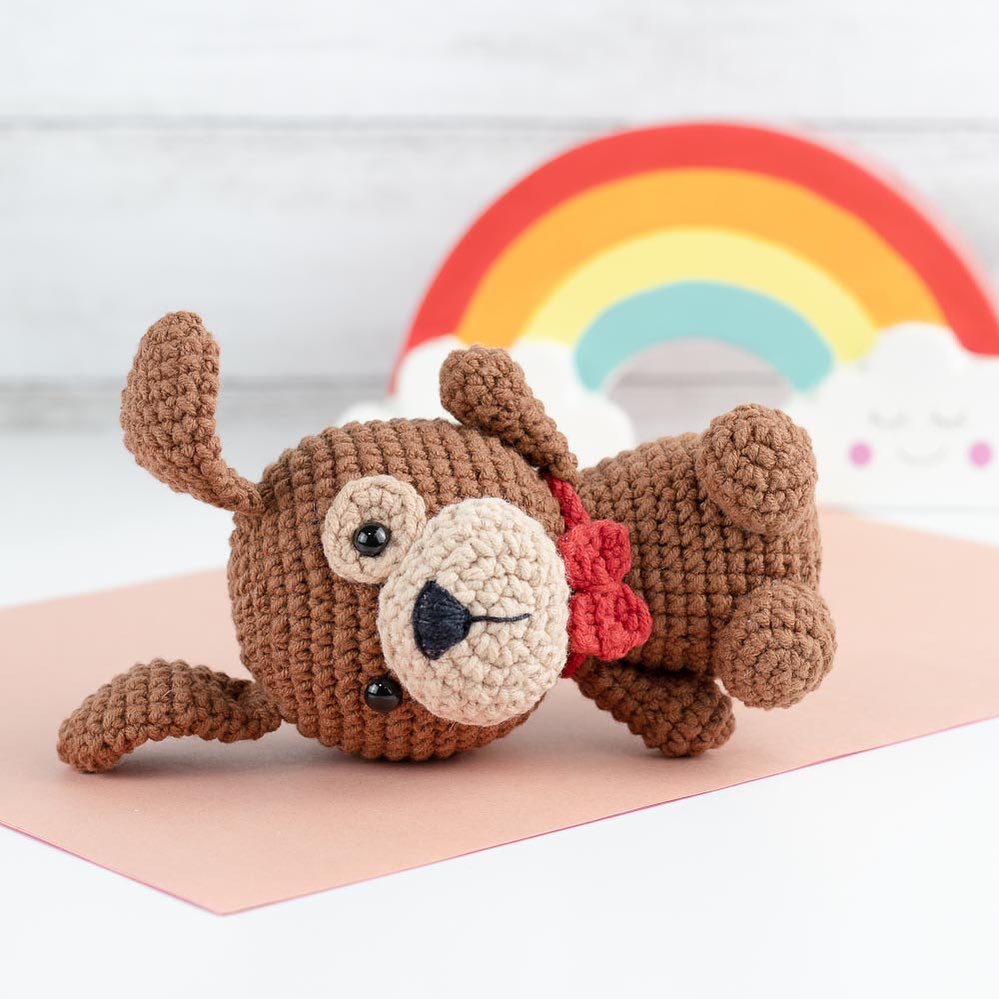
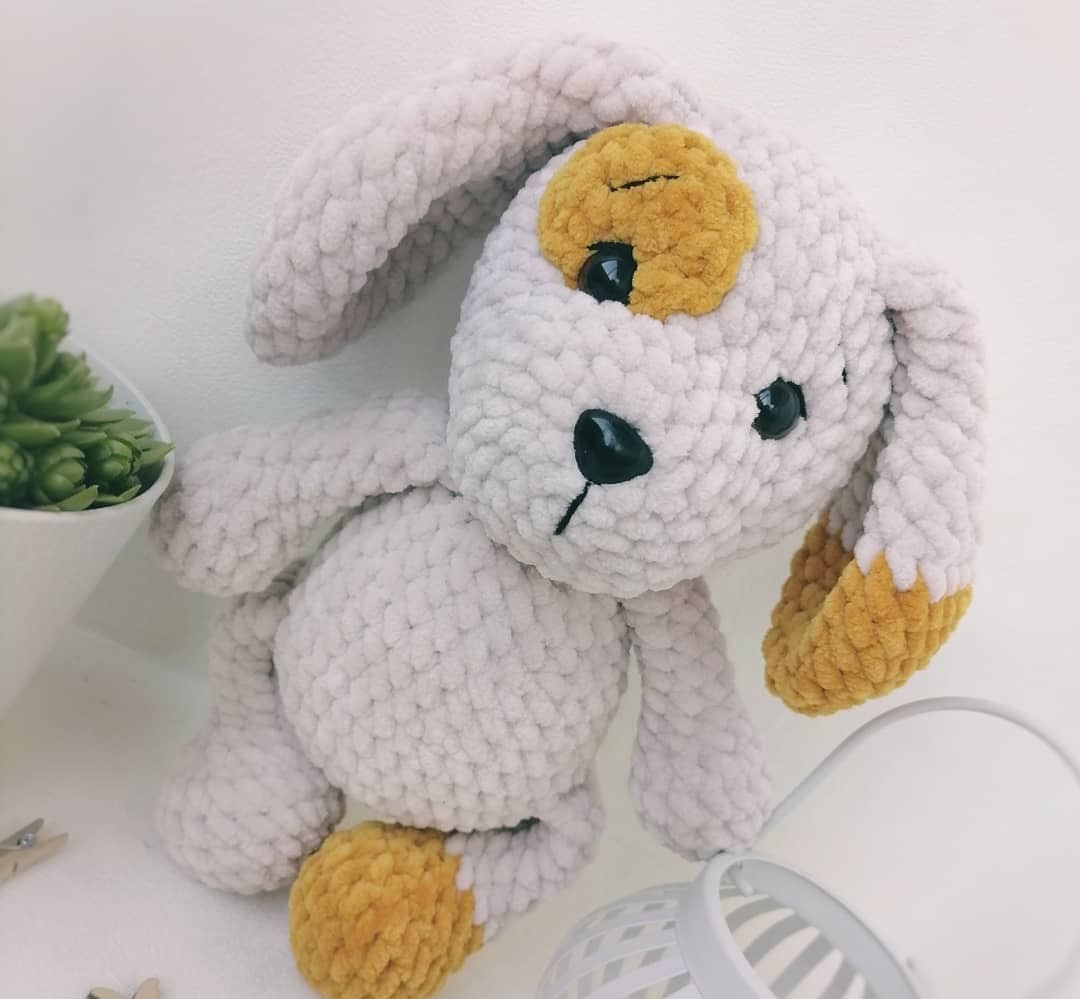
Hello amigurumi lovers and beautiful visitors, I wanted to share the free amigurumi patterns for you here. In my article I will share 1 pattern and how to make it for you. At the end of my article, I will share amigurumi patterns that can generate ideas for you.
Necessary materials:
- Plush Yarn Himalaya Dolphin Baby or YarnArt Dolce
- Hook 4.0 mm
- Eyelets 10 mm on a secure mount
- Spout on a 12 mm safety mount
- Cotton thread for embroidery and muzzle tightening
- Needle
- Scissors
- Knitting marker
- Filler for a toy
Symbols:
c.p. – air loop
sc – single crochet
pr – increase
dec – decrease
Spot on the
eye We knit with an additional color:
1. 5 ch, in the 2nd loop from the hook: inc, 2 sc, 3 sc in the last loop, turn, 3 sc = 10 sc
2. 2 inc, 2 sc, 3 inc, 2 sbn, inc = 16 sbn
Knit a connecting column, fasten the thread, leave a long tail for sewing.
Head
We knit with the main color:
1. 2 ch, in the 2nd loop from the hook 6 sc
2. 6 inc = 12 sc
3. (1 sc, inc) * 6 = 18 sc
4. (2 sc, inc) *6 = 24 sc
5-6. 24 sc
7. 7 sc, 10 inc, 7 sc = 34 sc
8. 34 sc
9. 8 sc, inc, 2 sc, (1 sc, inc) * 6, 2 sc, inc, 8 sc = 42 sc
10- fourteen. 42 sc
Between 6 and 7 rows at a distance of 5 sc, insert the eyes, first you need to sew a spot on the eye.
We install the spout between 2 and 3 rows.
15. (5 sb, dec) * 6 = 36 sb
16. (4 sb, dec) * 6 = 30 sb
17. (3 sb, dec) * 6 = 24 sb
We begin to fill the head with filler.
18. (2 sc, dec) * 6 = 18 sc
19. (1 sc, dec) * 6 = 12 sc
20. 6 dec \u003d 6 sb Fill
the head tightly, pull the hole, fasten the thread and hide.
Upper legs (2 parts)
We knit with the main color:
1. 2 ch, in the 2nd loop from the hook 6 sc
2. 6 inc = 12 sc
3. (3 sc, inc) * 3 = 15 sc
4. 15 sc
5. (1 sc, dec) * 5 = 10 sc
6. 4 sc, dec, 4 sc = 9 sc
7-12. 9 sc Fill
only the palm of the hand with filler. Fold in half and knit 4 sc.
Fasten the thread and hide.
Lower legs (2 parts)
We knit with an additional color:
1. 2 ch, in the 2nd loop from the hook 6 sc
2. 6 inc = 12 sc
3. (1 sc, inc) * 6 = 18 sc
4. ( 5 sc, inc) * 3 = 21 sc
5-6. 21 sb
7. 6 dec, 9 sb = 15 sb
8. 3 dec, 9 sb = 12 sb
We knit with the main color:
9-14. 12 sbn
Fill only the lower part of the leg.
Knit to the middle of 3 sc, fold in half and knit 6 sc.
Fasten the thread and hide.
Knit the second foot with the main color.
Torso
We knit with the main color:
1. 2 ch, in the 2nd loop from the hook 6 sc
2. 6 inc = 12 sc
3. (1 sc, inc) * 6 = 18 sc
4. (2 sc, inc) * 6 = 24 sb
5. (3 sb, inc) * 6 = 30 sb
6. (4 sb, inc) * 6 = 36 sb
7. (5 sb, inc) * 6 = 42 sb
8. 42 sb
9. In this row, knit the legs: 7 sbn, 6 sbn together with the leg, 15 sbn, 6 sbn together with the leg, 8 sbn
10-11. 42 sc
12. (5 sc, dec) * 6 = 36 sc
13. (4 sc, dec) * 6 = 30 sc
14-15. 30 sc
16. (3 sc, dec) * 6 = 24 sc
17-18. 24 sbn
19. (2 sbn, dec * 6 = 18 sbn
20. In this row, you need to tie the legs: 3 sbn, 4 sbn together with the foot, 5 sbn, 4 sbn together with the foot, 2 sbn
Knit a connecting column, fasten the thread and leave a long tail for sewing.
Fill the body tightly with filler.
Tail
In the middle between the legs, fasten the thread.
Knit a chain of 8 ch, knit 7 sc in the 2nd loop from the hook.
Fasten the thread and hide.
Ears (2 parts)
We knit with an additional color:
1. 2 ch, in the 2nd loop from the hook 6 sc
2. 6 inc = 12 sc
3. (1 sc, inc) * 6 = 18 sc
4. 18 sc
5. (2 sbn, inc) * 6 = 24 sbn
In the 8th row, change the color to the main one.
6-8. 24 sc
9. (2 sc, dec) * 6 = 18 sc
10-11. 18 sc
12. (1 sc, dec) * 6 = 12 sc
13-17. 12 sbn
Fold the ear in half and knit 6 sbn.
Fasten the thread, leave a long tail for sewing.
We knit the second ear with the main color.
Assembly and design
We make a tightening of the peephole: we insert a needle with a thread into a black point, we output it at a green point, then we insert it into a red point, we output it at a yellow point, we insert it into a blue point, we output it at a black point, we strongly tighten the thread so that the eyes deepen, fix and hide.
We embroider a muzzle and eyebrows.
Sew the ears to the head and sew it to the body.
Feel free to tag me (@freeamigurumii) in your photos on Instagram or Facebook if you’d like!
All Finished.


