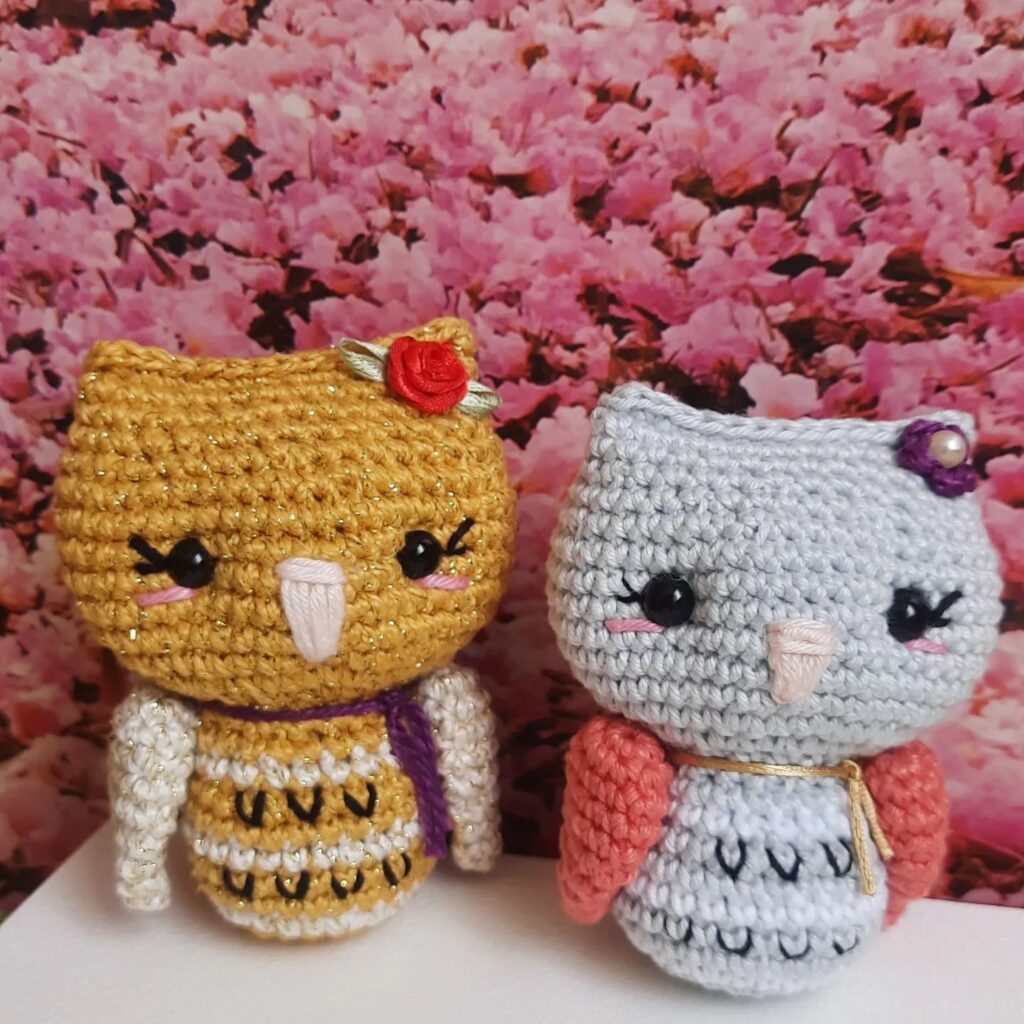
Hello amigurumi lovers and beautiful visitors, I wanted to share the free amigurumi patterns for you here. In my article I will share 1 pattern and how to make it for you. At the end of my article, I will share amigurumi patterns that can generate ideas for you.
Abbreviations:
ka – amigurumi ring sbn
– single crochet
pr – increase
ub – decrease
Head
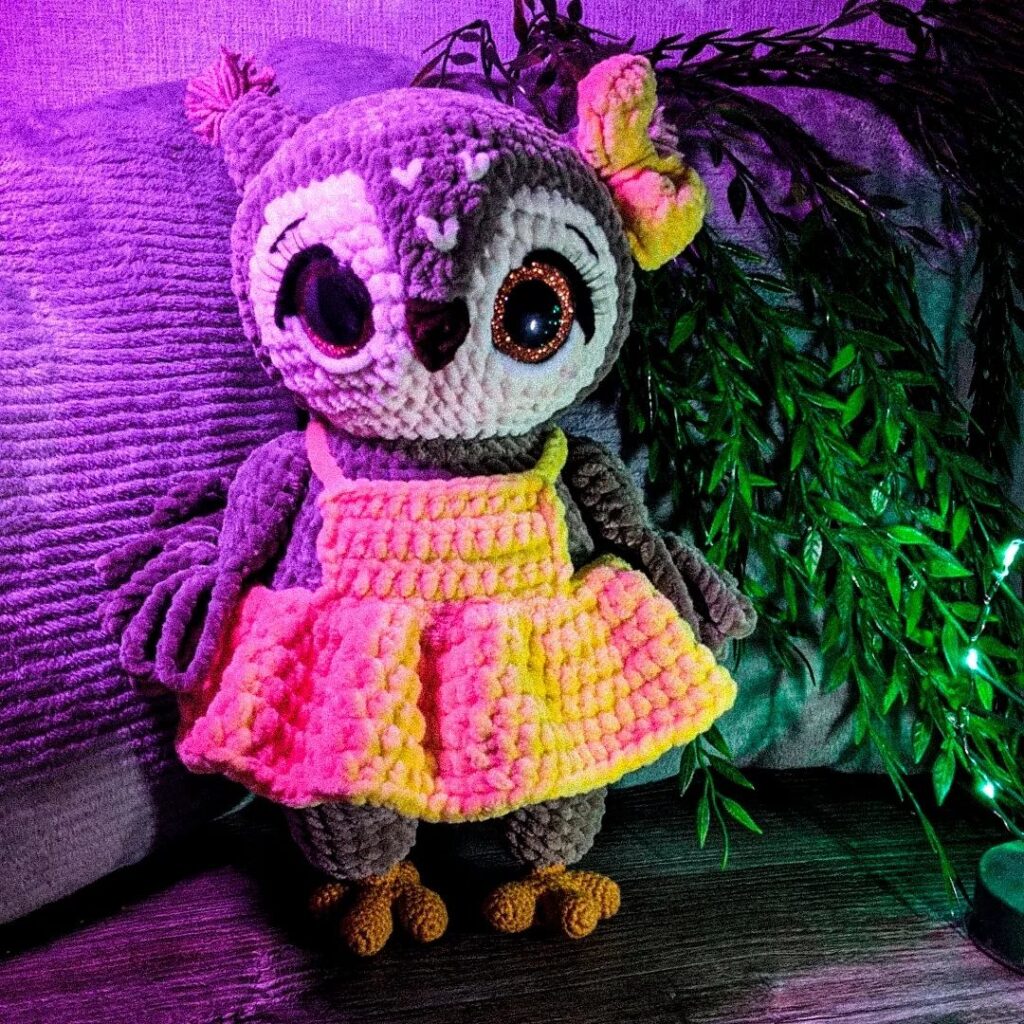
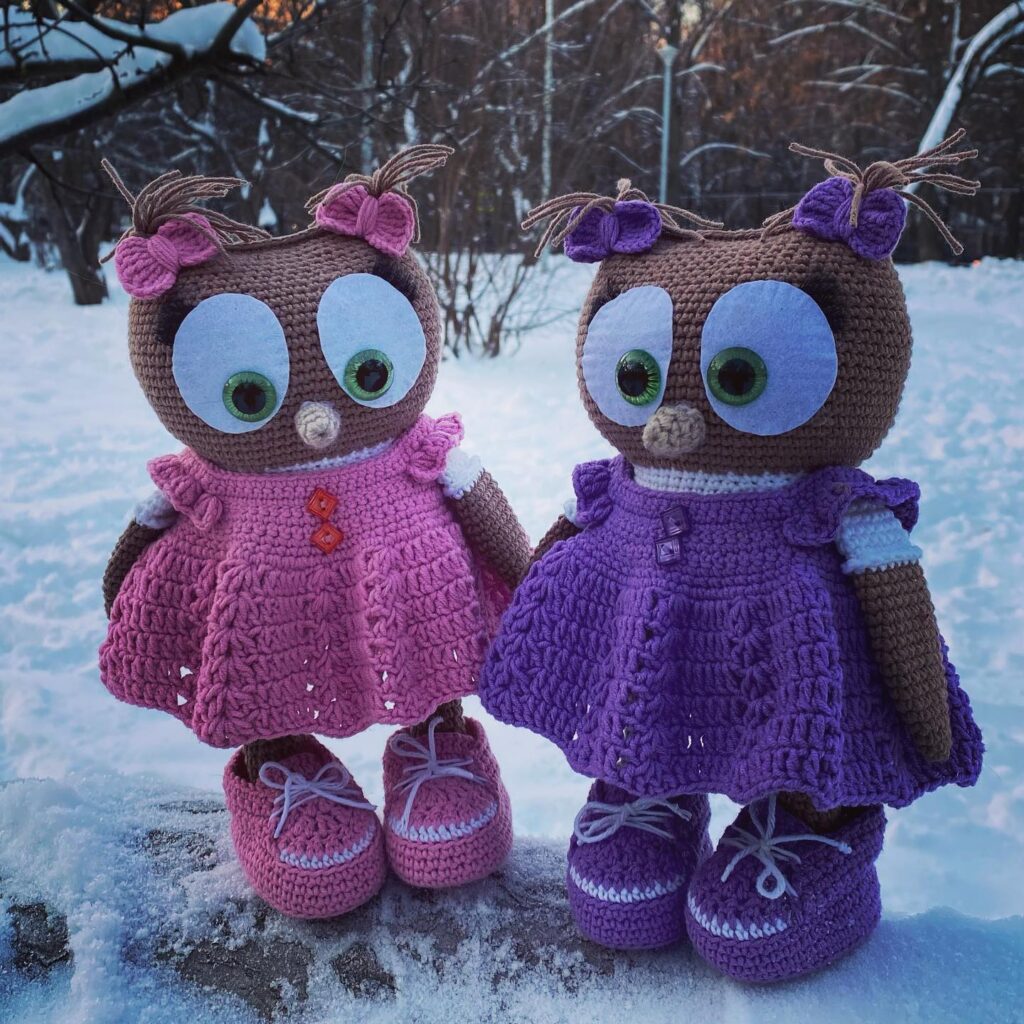
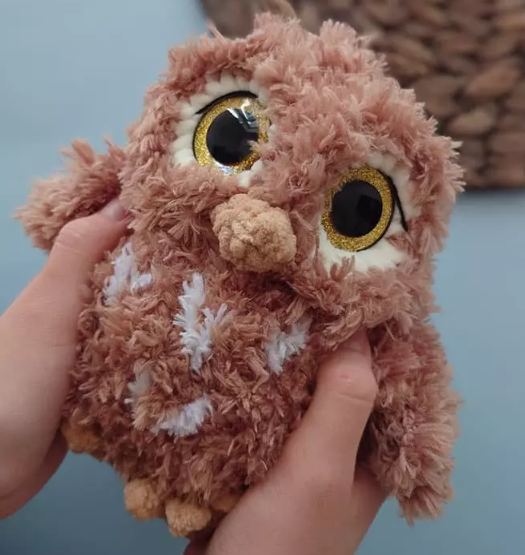
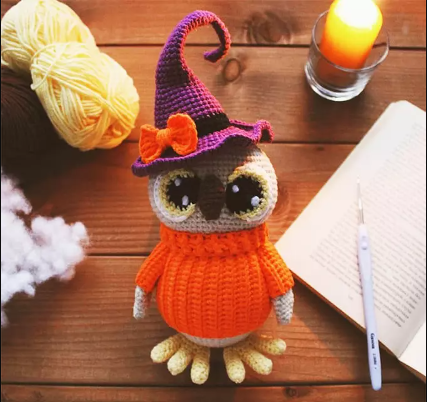
We knit with brown thread.
1: 6 sc in ka (6)
2: inc x6 (12)
3: (1 sc, inc) x6 (18) then
4: (2 sc, inc) x6 (24)
5: (3 sc, inc) x6 (30)
6: (4 sc, inc) x6 (36)
7: (5 sc, inc) x6 (42)
8: (6 sc, inc) x6 (48)
9-16: sc in each loop (48)
17: (6, dec)x6 (42)
18: (5, dec)x6 (36)
19: (4, dec)x6 (30)
20: (3, dec)x6 (24)
21: (2, dec ) ) x6 (18)
We fix the thread. We stuff our heads. Leave a hole.
A mask
We knit with a beige thread.
1: 6 sbn in ka (6)
2: inc x6 (12)
We fix the thread. Similarly, we knit the second part, but we don’t cut the thread, but we knit it as follows:
From the second part we go to the 1st and knit along it (see photo 1 below): 4 sb, inc, 2 sb, inc, 4 sb, go to the second part and knit 4 sc, inc, 2 sc, inc, 3 sc, dec. Next, we knit 12 sbn, 2ss, 11 sbn we fix the thread and leave a long tail for sewing the mask to the head. The hole formed between the details on the mask is carefully sewn up.
We sew the mask to the face in this way: the upper part is not for the last row of the part, but for the previous one, so that the upper part bulges a little.
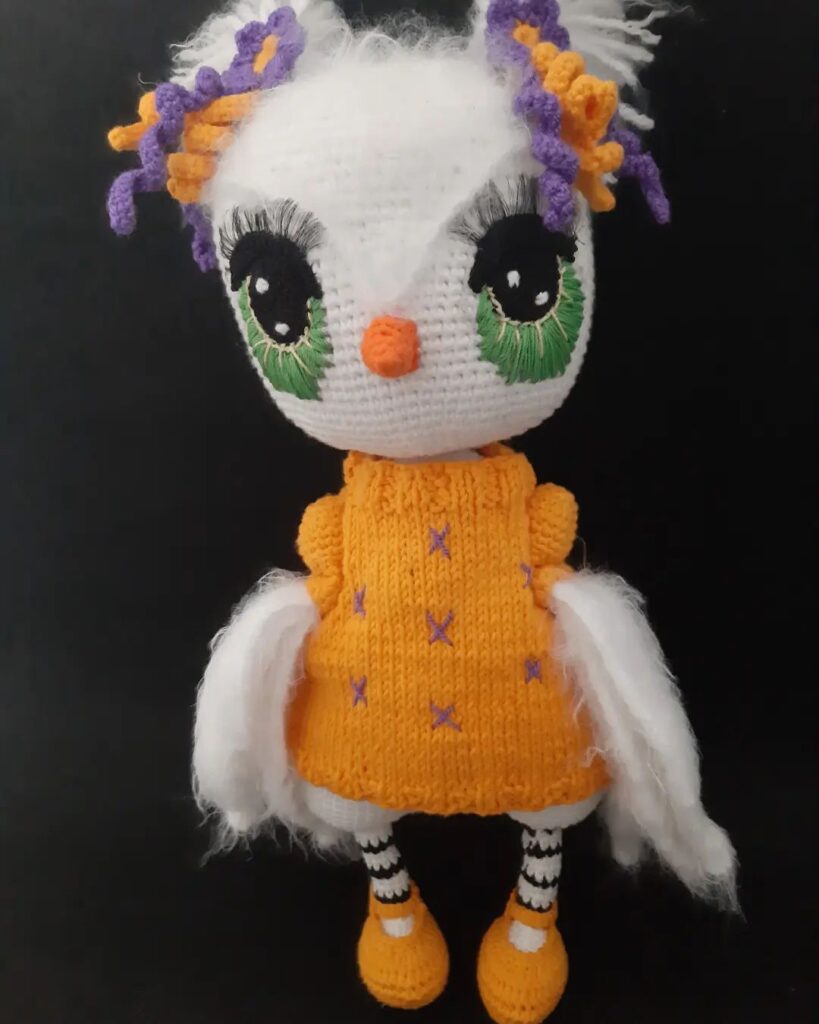
We make a small tightening for the eye. (Photo 2)
Sew or glue eyes and eyelashes. We embroider a beak.
Wing (2 parts)1: 6 sc in ka (6)2: (inc, 2 sc) x2 (8)3: 8 sc (8)4: (inc, 3 sc) x2 (10)5: 10 sc (10)6: ( inc, 4 sc) x2 (12)7-15: 12 sc (12)
Legs + body
Legs (2 parts)
We knit in the color that you chose for the shoes:
1: 5 ch, 3 sc, 3 sc in the last loop, 3 sc on the other side (9)
2: inc, 2 sc, 3 inc, 2 sc, inc (14)
3: 1 sc, inc, 4 sc, 2 inc, 4 sc, inc, 1 sc (18)
4: 18 sc behind the back wall of the loop (18)
5: 18 sc (18)
6: 6 sc, 3 dec, 6 sc (15)
7: 5 sc, 3 dec, 4 sc (12)
8: 12 sc (12)
9: (2 sc, dec) x3 (9)
Change color to beige
10: (1 sc, dec ) x3 behind the back wall of the loop (6)
11-17: 6 sc (6)
Change the thread to body color
18: (2 sc, inc) x2 (8)
19: (3 sc, inc) x2 (10)
20: ( 4 sc, inc) x2 (12)
21-22: 12 sc (12)
We cut the thread, we knit the second one in the same way, but we do not cut the thread, but continue knitting the body .
23: We knit sc on the 2nd leg to the middle, see photo, knit 3 ch, knit 12 sc on 1 leg, 3 sc on three air loops, 12 sc on the 2nd leg (30)
24: (4 sc, inc) x6 (36)
25: (5 sc, inc) x6 (42)
26-39: 42 sc (42)
40: (5 sc, dec) x6 (36)
41: 6 sc, dec, 6 sc we knit together with 6 loops wing (photo), 4 sc, dec, 7 sc, 6 sc with 6 wing loops, 1 sc, dec (33)
42: 5 sc, dec, 6 sc along with the remaining wing loops, 5 sc, dec, 5 sc, 6 sbn together with wing loops, dec (30)
43: (8 sbn, dec) x3 (27)
44: (7, dec) x3 (24)
45: (2, dec) x3 (18) close the loop, cut the thread.
Sew the head to the body.
In the presented photos, I knitted an owl without a frame. It is difficult to give advice on this matter, because everyone knits from different threads and it is convenient for someone to tie the frame in the process, it is convenient for someone to insert it after knitting.
In the original version, I made a frame and then tied it.
Hat
1: 6 sc in ka (6)
2: inc x6 (12)
3: (1 sc, inc) x6 (18)
4: 2 sc, inc, 3 sc in 1 loop, 1 sc, inc, (2 sc, inc) x2, 3 sc in 1 loop, 1 sc, inc, 2 sc, inc (28)
5: 3 sc, inc, 1 sc, 3 sc in 1 loop, (3 sc, inc) x3, 1 sc, 3 sc in 1 loop, (3 sc, inc) x2 (38)
6: 4 sc, inc, 2 sc, 3 sc in 1 loop, 1 sc, (4 sc, inc) x3, 2 sc, 3 sc in 1 loop, (4 sc, inc) x2 (48)
7: 5 sc, inc, 3 sc, 3 sc in 1 loop, 2 sc, (5 sc, inc) x3, 3 sc, 3 sc in 1 loop, 2 sc, ( 5 sc, inc) x2 (58)
8: 6 sc, inc, 3 sc, dec from 3 loops, 2 sc, (6 sc, inc) x3, 3 sc, dec from 3 loops, 2 sc, (6 sc, inc ) x2 (60)
9: 10 sc, dec out of 3, 27 sc, dec out of 3, 17 sc (56)
10: 9 sc, dec out of 3, 25 sc, dec out of 3, 16 sc (52)
11- 13:52 sc (52)
15: sc behind the front wall of the loop (52)
16: (1 sc, inc) x26 (78)
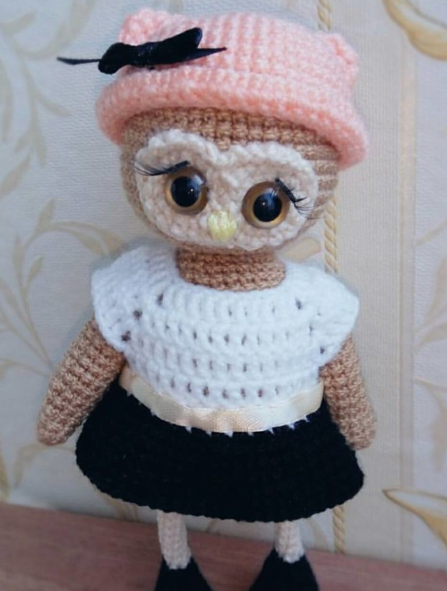
Dress
Look at the photo for the scheme of the coquette.Next, we continue knitting in a circle, and not turning rows.7: inc in each loop (72)8-13: 72 sc (72)If desired, the dress can be made longer by continuing knitting.We put on a dress, sew up a cut at the back or sew on buttons. We decorate our outfit with ribbons, beads, etc. at your discretion.
Feel free to tag me (@freeamigurumii) in your photos on Instagram or Facebook if you’d like!
All Finished.