Hello amigurumi lovers and beautiful visitors, I wanted to share the free amigurumi patterns for you here. In my article I will share 1 pattern and how to make it for you. At the end of my article, I will share amigurumi patterns that can generate ideas for you.
Materials
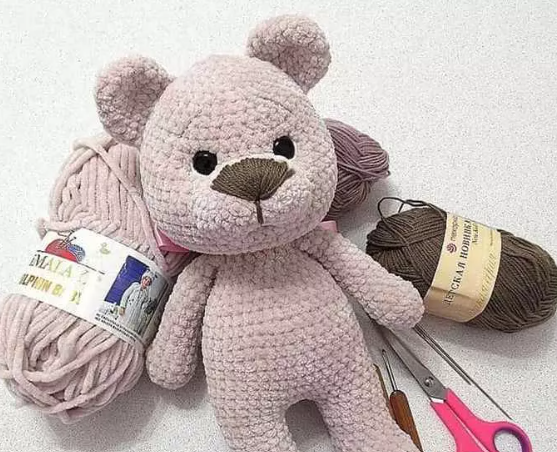
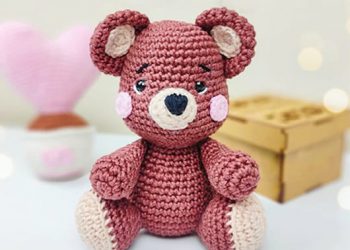
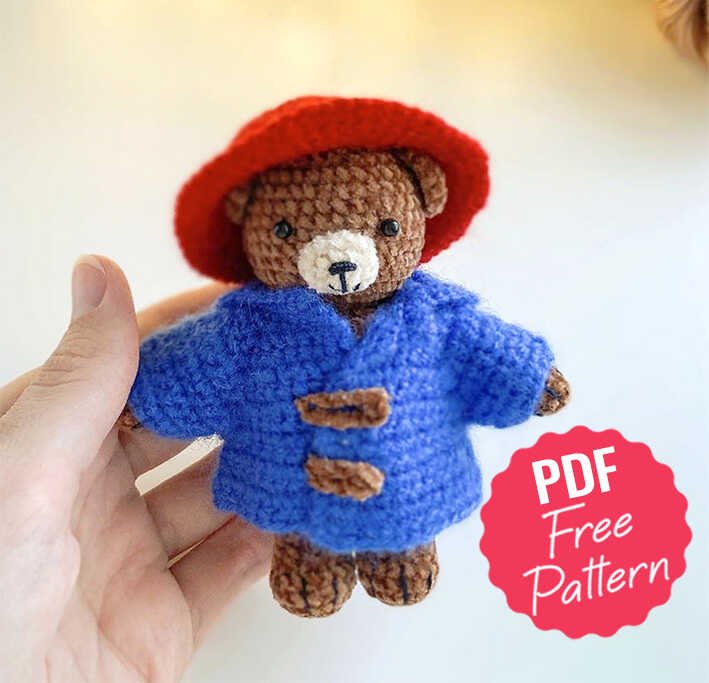
1. Yarn (brown, beige, red, blue). I use fine chenille yarn for the bear, Alize Angora Real 40 yarn for the clothes.
2. Black fine thread for decoration.
3. Crochet hook sizes 1,5 mm and 2 mm.
4. Plastic eyes size 4 mm, glue.
5. Polyester fiberfill, needle, pins, scissors.
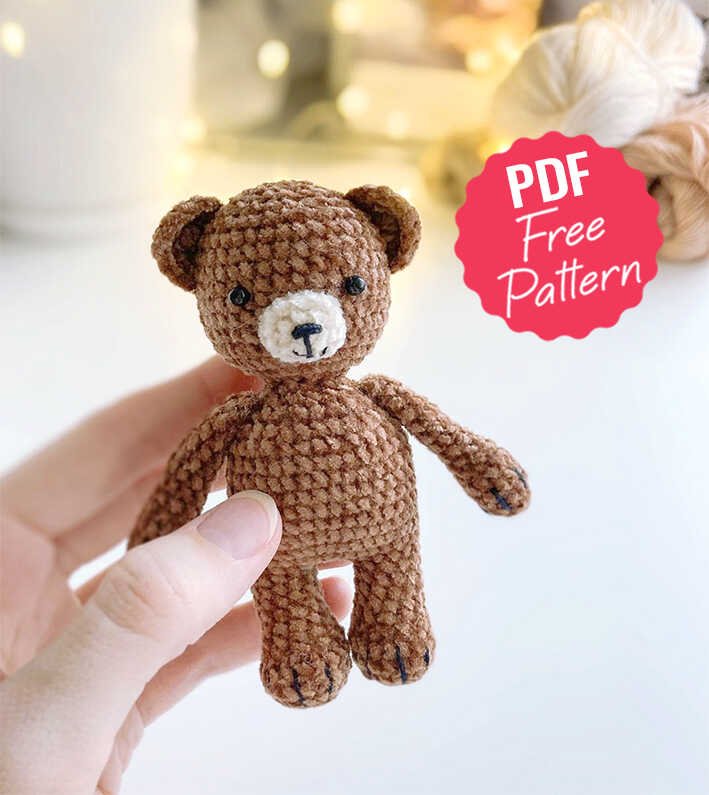
Size of the bear is about 10 cm.
Abbreviations
MR – magic ring
ch – chain
sc – single crochet
inc – increase
dec – decrease
slst – slip stitch
Legs
1 – 6 sc in MR
2 – 6 inc (12)
3 – (1 sc, inc)*6 (18)
4-5 – 18 sc (2 rounds)
6 – 6 dec, 6 sc (12)
7-11 – 12 sc (5 rounds) – stuff.
Cut the thread on the first leg, make the second leg similarly, do not cut the thread on the second leg.
Continue crocheting the body.
Make 3 ch from the second leg, next:
12 – 12 sc on the first leg, 3 sc along the chain, 12 sc on the second leg, inc, 1 sc, inc (increases in front), place marker (32)
13 – (7 sc, inc)*4 (36)
14-20 – 36 sc (7 rounds)
21 – (4 sc, dec)*6 (30)
22 – 30 sc
23 – (3 sc, dec)*6 (24)
24 – (2 sc, dec)*6 (18)
25 – (1 sc, dec)*6 (12)
26 – 12 sc, work the round to the middle of the back – stuff. Next we will crochet the head, do not cut the thread.
Head
27 – 12 inc (24)
28 – (1 sc, inc)*12 (36)
29-37 – 36 sc (9 rounds)
38 – (4 sc, dec)*6 (30)
39 – (3 sc, dec)*6 (24)
40 – (2 sc, dec)*6 (18)
41 – (1 sc, dec)*6 (12) – stuff.
42 – 6 dec
Cut the thread, tighten the opening with a needle, secure the thread and weave in the ends.
Ears (make 2)
Work in turning rows.
1 – 6 sc in MR, ch, turn
2 – (1 sc, inc)*3 (9), ch, turn
3 – 9 sc
Cut the thread, leaving the end for sewing.
Arms (make 2)
1 – 6 sc in MR
2 – 6 inc (12)
3-5 – 12 sc (3 rounds)
6 – 3 dec, 6 sc (9)
7-14 – 9 sc (8 rounds)
Stuff the lower part of the arm. Cut the thread, leaving the end for sewing. Fold the edges of the arm together and sew them up with a needle.
Muzzle
Beige yarn.
1 – 6 sc in MR
2 – 2 inc, 1 sc, 2 inc, 1 sc (10)
3 – (1 sc, inc)*2, 1 sc, (1 sc, inc)*2, 1 sc (14), slst in the end
Cut the thread, leaving the end for sewing.
Assembly
1 – sew on the ears from 4th to 9th rounds (count from the crown).
2 – sew on the muzzle from 10th to 14th rounds, stuff as you go.
3 – glue on the eyes between 9th and 10th rounds, there are about 7 sc between the eyes.
4 – embroider a nose and a mouth on the beige muzzle, embroider a vertical stripe between them.
5 – sew on the arms one round lower the neck.
6 – embroider 3 stitches on each arm and leg making claws.
Hat
Red yarn, crochet hook size 2 mm.
1 – 6 sc in MR
2 – 6 inc (12)
3 – (1 sc, inc)*6 (18)
4 – (2 sc, inc)*6 (24)
5 – (3 sc, inc)*6 (30)
6 – in back loops only 30 sc
7 – (4 sc, inc)*6 (36)
8 – 36 sc
9 – (5 sc, inc)*6 (42)
10 – (6 sc, inc)*6 (48)
11 – 48 sc
12 – in front loops only 48 sc
13 – (7 sc, inc)*6 (54)
14 – 54 sc
15 – (8 sc, inc)*6 (60), make a slst st in the end.
Cut and secure the thread, weave in the ends inside the fabric.
Jacket
Blue yarn, crochet hook size 2 mm. In the following description of the jacket, R is 3 sc in 1 stitch (R means raglan). The jacket is crocheted in turning rows, it means that you need to make 1 ch and turn the work in the end of each row.
1– make 27 ch (the chain should be equal to the circumference of the toy’s neck + 3-4 stitches on each side of the chain to create a wrap over + 1 turning chain), then work from the second stitch from the hook: 26 sc.
Then you need to divide the resulting length into 4 parts: front, the first sleeve, back, the second sleeve, front + 4 stitches for raglan. I got it like this: 5 stitches (front), raglan (1 stitch), 3 stitches (first sleeve), raglan (1 stitch), 6 stitches (back), raglan (1 stitch), 3 stitches (second sleeve), raglan (1 stitch), 5 stitches (front). To determine the number of stitches, simply attach the chain to the toy and measure how many stitches you need for the sleeve and for the back. The remaining stitches will go to the front (remember to set aside 4 raglan stitches). Also, do not forget that the jacket must be with a wrap over.
Next, I will give a description for my parameters, and you should focus on your calculations. The bottom line is simple – each time a raglan (3 sc in 1 stitch) must be crocheted into the stitch before the beginning of the sleeve and into the stitch immediately after the sleeve.
2 – 5 sc (front), R, 3 sc (the first sleeve), R, 6 sc (back), R, 3 sc (the second sleeve), R, 5 sc (front) (34)
3 – 6 sc, R, 5 sc, R, 8 sc, R, 5 sc, R, 6 sc (42)
4 – 7 sc, R, 7 sc, R, 10 sc, R, 7 sc, R, 7 sc (50)
5 – 8 sc, R, 9 sc, R, 12 sc, R, 9 sc, R, 8 sc (58)
6 – 9 sc, R, 11 Sc, R, 14 sc, R, 11 Sc, R, 9 sc (66)
7– 10 sc, R, 13 sc, R, 16 sc, R, 13 sc, R, 10 sc (74)
In the next row, we will separate the sleeves. Check if the number of sleeve stitches is enough for you. If there is not enough, crochet the required number of rows with raglan before starting to separate the sleeves. If the sleeve turns out to be wide, then you need to dissolve one or more rows.
8 – 11 sc (front), the first sleeve: 17 sc, ch, turn (there are 4 rows 17 sc each in total), then fold the sleeve in half with right sides together and connect the edges with slip stitches. In the meantime, do not cut off the thread. Next work: 18 sc (back), the second sleeve: 17 sc, ch, turn (there are 4 rows 17 sc each in total), then fold the sleeve in half with right sides together and connect the edges with slip stitches. Then 11 sc (front). Thus, the sleeves are completely ready and there are no extra threads and knots.
9 – 11 sc, inc (under sleeve), 18 sc, inc (under sleeve), 11 sc (44) 10-14 – 44 sc (5 rows)
Cut off and secure the thread, weave in the ends inside the fabric.
Attach the blue thread to the 5th stitch on top of the jacket (this is the place where you want the hood to start), work 18 sc (or another number of stitches on top) , the main thing is that the same number of stitches remains on the other end to create a wrap over), then make 1 ch and turn. Next, crochet 15 rows of 18 sc in turning rows (16 rows in total). Then fold the top edge of the hood in half and connect the edges with slip stitches from the wrong side. Cut off and secure the thread, weave in the ends inside the fabric.
Attach the blue thread to the very beginning of the top of the jacket and work along the collar and hood with sc. Cut off and secure the thread, weave in the ends inside the fabric.
Next, sew the button to the jacket so that it fastens. Make decorative fasteners with brown thread. I did them like this: on one half of the jacket I made a loop from a chain of ch, and on the second half – a knot. Then put the loop on the knot.
Put the hat and the jacket on the bear.
Feel free to tag me (@freeamigurumii) in your photos on Instagram or Facebook if you’d like!
All Finished.