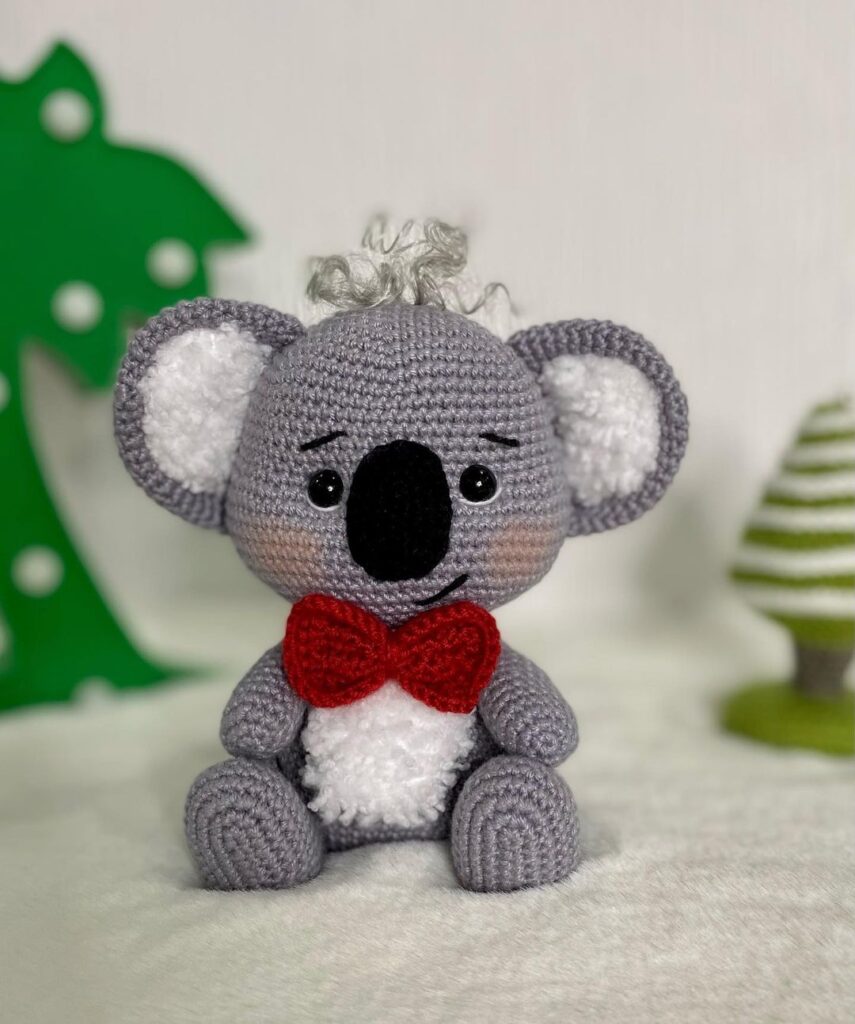
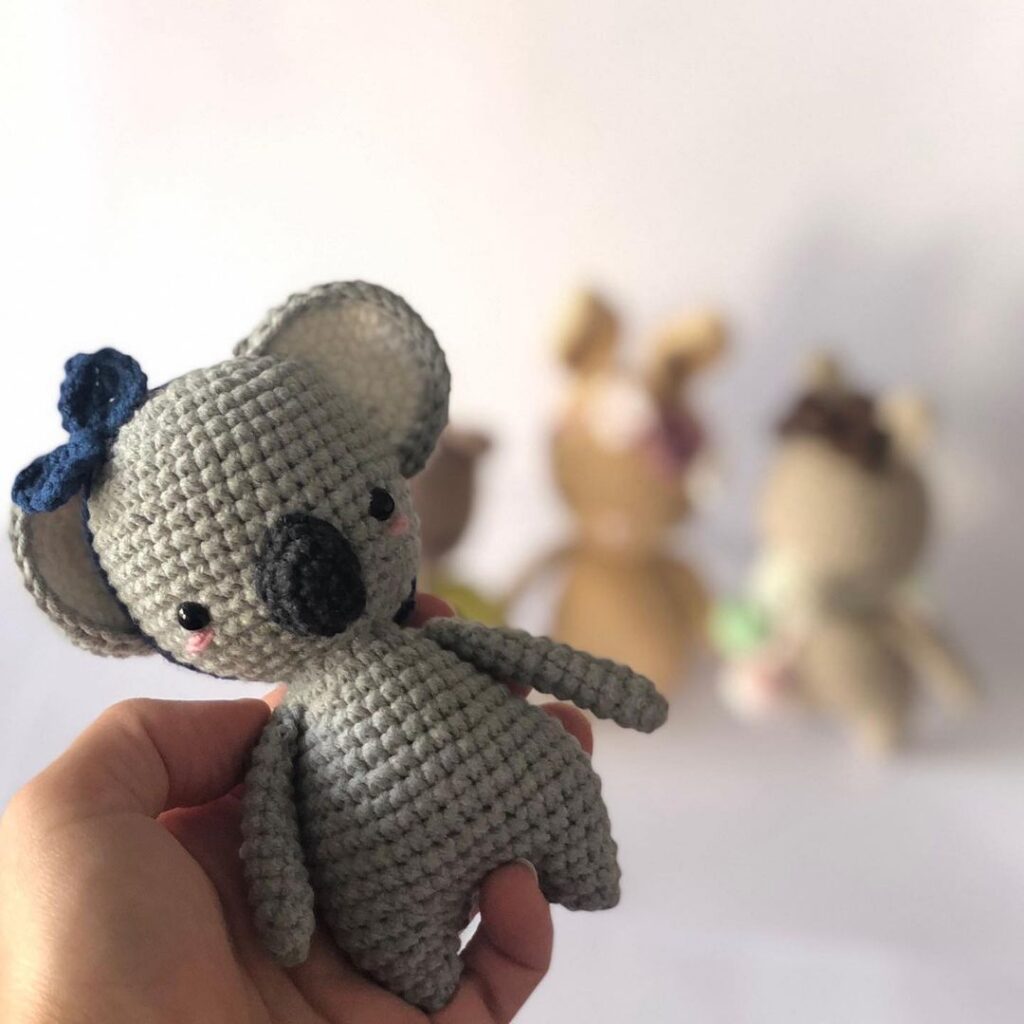
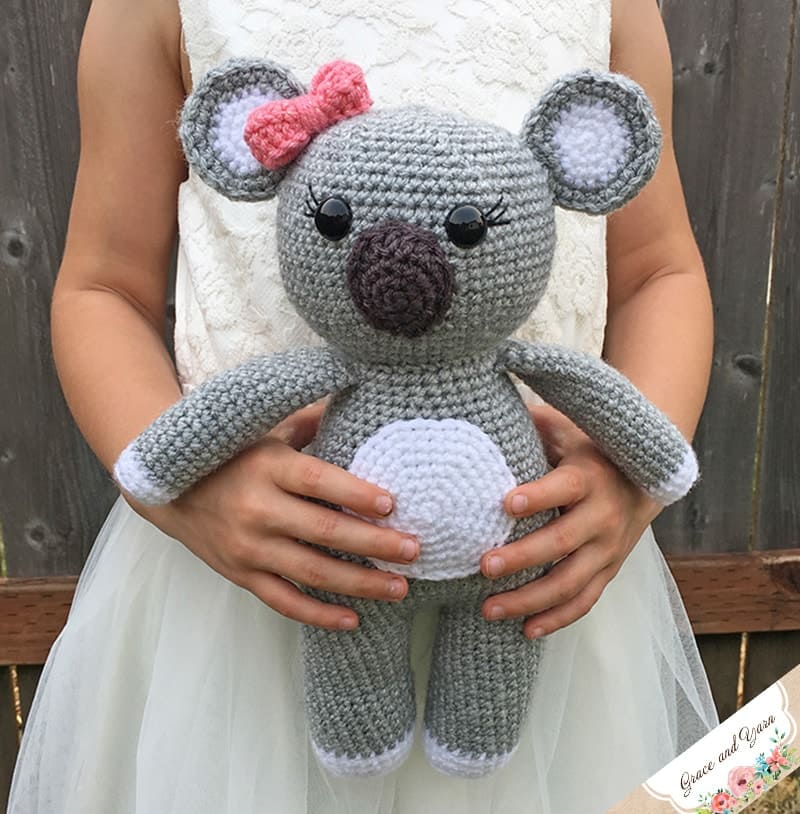
Hello amigurumi lovers and beautiful visitors, I wanted to share the free amigurumi patterns for you here. In my article I will share 1 pattern and how to make it for you. At the end of my article, I will share amigurumi patterns that can generate ideas for you.
Necessary materials:
- Yarn in light gray (main), gray, white and pink or other color for a bow
- Hook 3.5 mm
- Eyelets 15 mm on a secure mount
- Black yarn or eyelash thread
- Scissors
- Big eye needle
- Knitting marker
- Filler
Legend:
vp – air loop
ss – connecting column
sbn – single crochet column ss – double
crochet column
pr – increase
dec – decrease
(…) * 6 times – repeat steps in brackets 6 times
(…) – number of loops at the end of the row
Legs and torso
Legs (2 parts)
We start with white yarn:
1: 6 sc in the amigurumi ring
2:. inc * 6 times (12)
3: (1 sc, inc) * 6 times (18)
4: (2 sc, inc) * 6 times (24)
5: 24 sc for the back wall of the loop
6-7: 24 sc
Change yarn color on gray:
8-21: 24 sc
Fasten the thread only on the first leg, do not cut the second thread.
We attach the second leg to the first with the help of 3 ch.
22: 24 sc on the second leg, 3 sc on 3 ch, 24 sc on the first leg, 3 sc on the ch (back of the chain) (54)
23-38: 54 sc
39: (7 sc, dec) * 6 times (48)
40: 48 sc
41: (6 sc, dec) * 6 times (42)
42: 42 sc
43: (5 sc, dec) * 6 times (36)
44: 36 sc
45: (4 sc, dec) * 6 times (30)
46-47: 30 sc
Leave the thread for sewing.
Nose
Dark gray yarn:
1: 6 sc in the amigurumi ring
2: inc * 6 times (12)
3: (1 sc, inc) * 6 times (18)
4: 3 sl st, 3 prs, 6 prs, 3 prs, 3 sl-st (18)
Leave the thread for sewing.
Head
Gray yarn:
1: 6 sc in the amigurumi ring
2: inc * 6 times (12)
3: (1 sc, inc) * 6 times (18)
4: (2 sc, inc) * 6 times (24)
5: (3 sc, inc) * 6 times (30)
6: (4 sc, inc) * 6 times (36)
7: (5 sc, inc) * 6 times (42)
8: (6 sc, inc) * 6 times (48)
9: (7 sc, inc) * 6 times (54)
10: (8 sc, inc) * 6 times (60)
11-21: 60 sc
Place 15 mm eyes between 17 and 19 side by side at a distance of 8 columns. If you want to add eyelashes, it’s best to embroider them before attaching the eyes. Then sew on the nose, stuffing it a little.
22: (8 sc, dec) * 6 times (54)
23: (7 sc, dec) * 6 times (48)
24: (6 sc, dec) * 6 times (42)
25: (5 sc, dec) * 6 times (36)
26: (4 sc, dec) * 6 times (30)
27: (3 sc, dec) * 6 times (24)
28: (2 sc, dec) * 6 times (18)
29: (1 sc, dec) * 6 times (12)
30: dec * 6 times (6)
Fasten and cut the thread.
Ears (2 parts)
Ears consist of two parts.
1 part (inner)
White yarn:
1: 6 sc in the amigurumi ring
2: inc * 6 times (12)
3: (1 sc, inc) * 6 times (18)
4: (2 sc, inc) * 6 times ( 24)
Change the color of the yarn to gray:
5: (3 sc, inc) * 6 times (30)
Leave the thread for sewing.
Part 2 (outer)
Gray yarn:
1: 6 sc in the amigurumi ring
2: inc * 6 times (12)
3: (1 sc, inc) * 6 times (18)
4: (2 sc, inc) * 6 times ( 24)
5: (3 sc, inc) * 6 times (30)
Leave the thread for sewing.
Sewing the two parts of the ears:
Position the inside and outside of the ears wrong side together and sew them together.
Sew on the ears between 8 and 13 side by side.
Bow
Pink yarn:
20 ch, knit from the second loop from the hook
1-2: 19 dc
Fold in half and sew the two ends together. Wrap the yarn tightly around the middle 7 times and fasten the thread at the back, leaving a little for sewing.
Hands (2 parts)
White yarn:
1: 8 sbn in the amigurumi ring
2: inc * 8 times (16)
3: 16 sbn behind the back wall of the loop
4: 16 sbn
Change the color of the yarn to gray.
5-23: 16 sc
Fold in half and knit 8 sc.
Leave the thread for sewing.
Stain on the stomach
White yarn:
1: 6 sc in the amigurumi ring
2: inc * 6 times (12)
3: (1 sc, inc) * 6 times (18)
4: (2 sc, inc) * 6 times (24)
5: (3 sc, inc) * 6 times (30)
6: (4 sc, inc) * 6 times (36)
7: 36 sc
Leave the thread for sewing.
Assembly and decoration
Sew the ears to the head, starting from the 8th row to the 13th row.
Sew a bow to the head near the ear.
Sew the head to the body, adding filler to the neck area as you sew.
Sew the handles to the body at the level of the 46th row.
Sew a spot on the tummy.
Feel free to tag me (@freeamigurumii) in your photos on Instagram or Facebook if you’d like!
All Finished.


