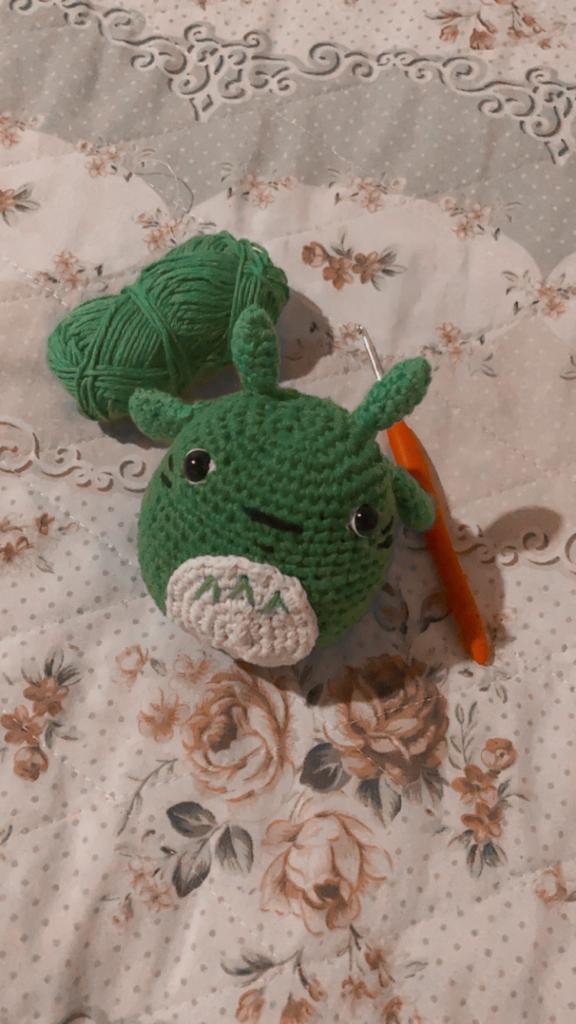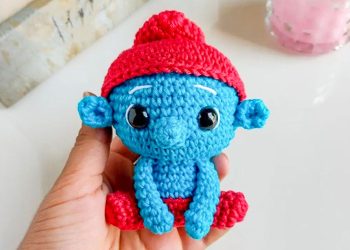
Hello amigurumi lovers and beautiful visitors, I wanted to share the free amigurumi patterns for you here. In my article I will share 1 pattern and how to make it for you.
Materials
• Color line: red, turquoise, white
• Locking eyes, no; 11 mm
• Filling, scissors
• Needle no; 2mm
Abbreviation
MR – magic ring
Sc – single crochet
Slst– Slip Stitch
Ch – chain
Rnd– round
Inc– increase
Dec– decrease
BLO– Back loop only
FLO– Front loop only
Dc – double crochet
(..) -total stitch at the end of each Rnd
Return in 2nd ch from the needle
Arms (x2)
With the turquoise color
Rnd 1. 9sc in MR (9)
Rnd 2. 9sc (9)
Rnd 3. 2sc, 2 dec, 3sc (7)
Rnd 4-8. 7sc (7) (5 rnds)
Rnd 9. 4sc close the pattern (4)
Finish off and wait for the moment of union
Legs (x2)
Thread color red
Rnd 1. 12sc in MR (12)
Rnd 2. 12sc (12)
Rnd 3. 4sc, 2 dec, 4sc (10)
Rnd 4-5. 10sc (10)
Make 1 sl st and fasten leaving the thread for sewing.
Sew the legs between rows 3 and 7 and add a little stuffing before finishing.
Body
Thread color red
Rnd 1. 6sc in MR (6)
Rnd 2. 6 inc (12)
Rnd 3. (1sc, 1 inc) x 6 (18)
Rnd 4. 1sc, 1 inc, (2sc, 1 inc) x 5, 1sc (24)
Rnd 5-6. 24sc (24)
Continue with turquoise color
Rnd 7. BLO, (6sc, 1dec)3x (21)
Rnd 8. 21sc (21)
Rnd 9. 2sc, 1dec, (5sc, 1dec)2x, 3sc (18)
Rnd 10. 18sc (18)
Rnd 11. 4sc, 4sc joining 1st arm, 3sc in body, 4sc joining 2nd arm, 3sc in body (18)
Rnd 12. FLO, 18 inc (36)
Rnd 13. (5sc, 1inc)6x (42)
Rnd 14-21. 42sc (42); (8 rnds)
Eyes between Rnd 17 and 18 with 6 stitch between them!
Add filler as it goes down!
Rnd 22. (5sc, 1 dec) x 6 (36)
Rnd 23. 2sc, 1 dec, (4sc, 1 dec) x 5, 2sc (30)
Rnd 24. (3sc, 1 dec) x 6 (24)
Rnd 25. 1sc, 1 dec, (2sc, 1 dec) x 5, 1sc (18)
Rnd 26. (1sc, 1 dec) x 6 (12)
Rnd 27. 6 dec (6)
Make 1 sl st and fasten off, close the inverted magic ring
Nose
With turquoise blue color
Rnd 1. 7sc in MR (7)
Rnd 2. (2sc, 1inc) x 2, 1sc (9)
Make 1 sl st and fasten off leaving the thread for sewing
Sew the nose between Rnd 15 and 18! Leave it between the eyes!
Hat
Thread color red
Rnd 1. 12sc in MR (12)
Rnd 2. 12sc (12)
Rnd 3. (3sc, 1 inc) x 3 (15)
Rnd 4. 15sc (15)
Rnd 5. (4sc, 1 inc) x 3 (18)
Rnd 6. 18sc (18)
Rnd 7. 1sc, 1 inc, (2sc, 1 inc) x 5, 1sc (24)
Rnd 8. (3sc, 1 inc) x 6 (30)
Rnd 9. 2sc, 1 inc, (4sc, 1 inc) x 5, 2sc (36)
Rnd 10. (5sc, 1 inc) x 6 (42)
Rnd 11. 42sc (42)
Rnd 12. 22dc, (5sc, 1 inc) x 3, 2sc (45)
Rnd 13. (10dc, 1 inc in dc) x 2, 23sc (47)
Rnd 14. 24dc, 1sc, 1slst, tie off and hide the thread!
(we won’t make this car complete, just until then)
Put the hat on your head so that the dc are in the back and the sc are in the front!
Glue or sew the tip of the hat to the front!
Ears (x2)
With the color turquoise
Rnd 1. 10sc in MR (10)
Rnd 2. 10sc (10)
Rnd 3. 5sc close the pattern (5)
On it and make 3 sc closing (3)
Finish off leaving the thread for sewing!
Sew between Rnd 16 and 17, one on each side!
Feel free to tag me (@freeamigurumii) in your photos on Instagram or Facebook if you’d like!
All Finished.