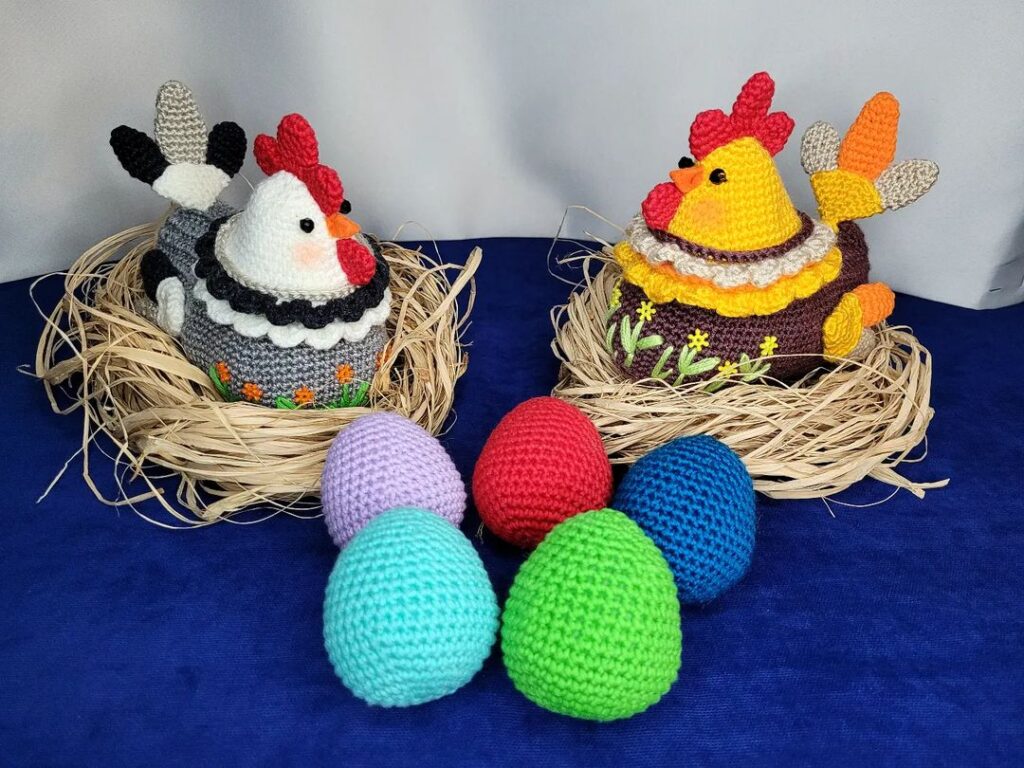
Hello amigurumi lovers and beautiful visitors, I wanted to share the free amigurumi patterns for you here. In my article I will share 1 pattern and how to make it for you. At the end of my article, I will share amigurumi patterns that can generate ideas for you.
For knitting you will need:
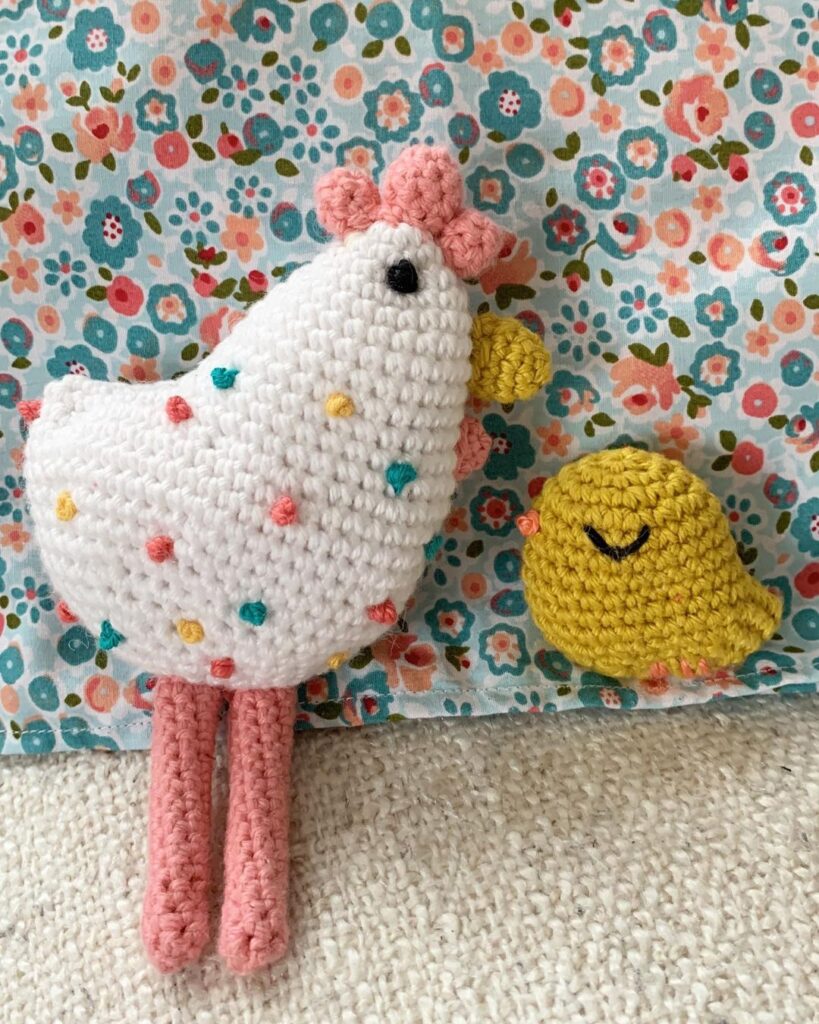
Yarn Soso VitaCotton white
Yarn for finishing a different color
Hook 1.5
Head
Amigurami ring (KA)
1 row 6 st b / n in KA
2 row 12 st b / n – increase in each loop
3 row 18 st b / n – increase in every second loop
4 row 24 st b / n – increase in every third loop
5 row 30 st b / n – an increase in each quadruple loop
6 row 36 st b / n – an increase in every fifth loop
7 row 36 st b / n We make 2 identical parts.
We connect the parts with connecting posts.
We leave 6 loops on each part not knitted.
We use 12 loops not knitted (6 on each part of the head).
1 row 24 st b / n – increase in each loop
2 row 30 st b / n – increase in each quadruple loop
3 row 36 st b / n – increase in every fifth loop
4 row 42 st b / n – increase in every sixth loop
5 row 48 st b / n – an increase in every seventh loop
6 row 54 st b / n – an increase in every eighth loop.
7-11 row 54 st b / n. No extras.
Knitting pattern 11-16 rows of the body:
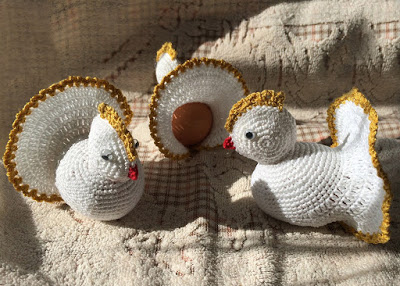
We find approximately the middle of the side of the body. We will knit the front part of the bird with decreases with single crochets, the back with increases with double crochets (tail). According to the scheme.
Tail
From the edge we knit a half-column, a double crochet, 2 double crochets with a single base. Next, alternate 2 double crochet and 2 double crochet with a single base. Please note that in the center of the tail: – in 1 row (in red) in a row 3 columns from capes. – in the 2nd row st s / n, 2 st s / n with a single base, st s / n – in the 3rd row 2 st s / n, 2 st s / n with a single base, 2 st s / n with a single base, 2 st s, n – in the 4th row 6 st s / n in a row
Having knitted according to the scheme to the end, we knit 2 ch and connect it to the middle of the other side
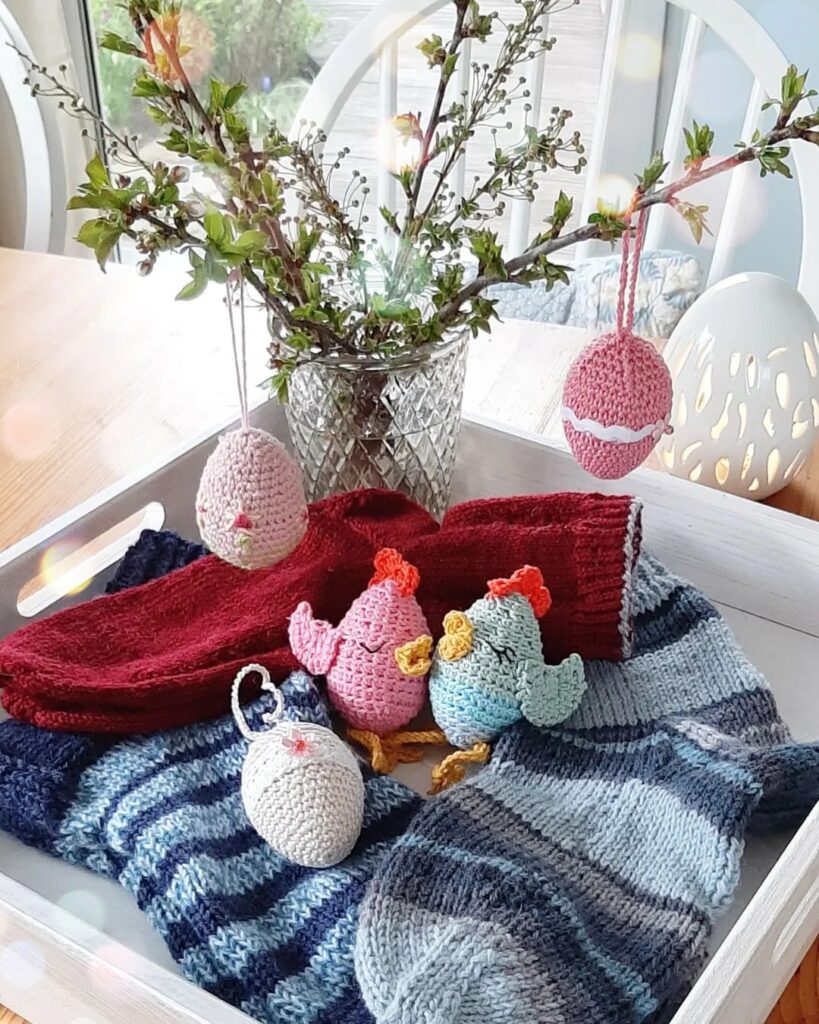
Sew, embroider or glue eyes.
Feel free to tag me (@freeamigurumii) in your photos on Instagram or Facebook if you’d like!
All Finished.