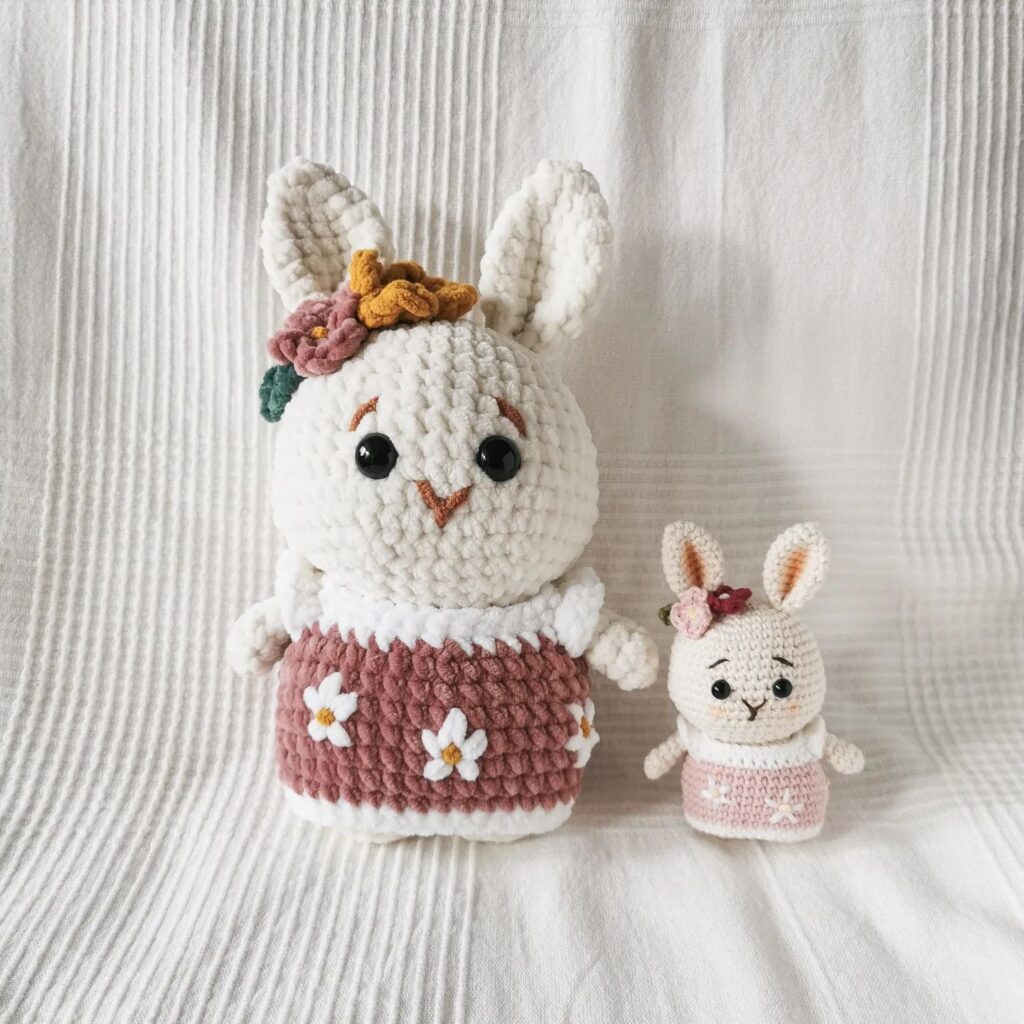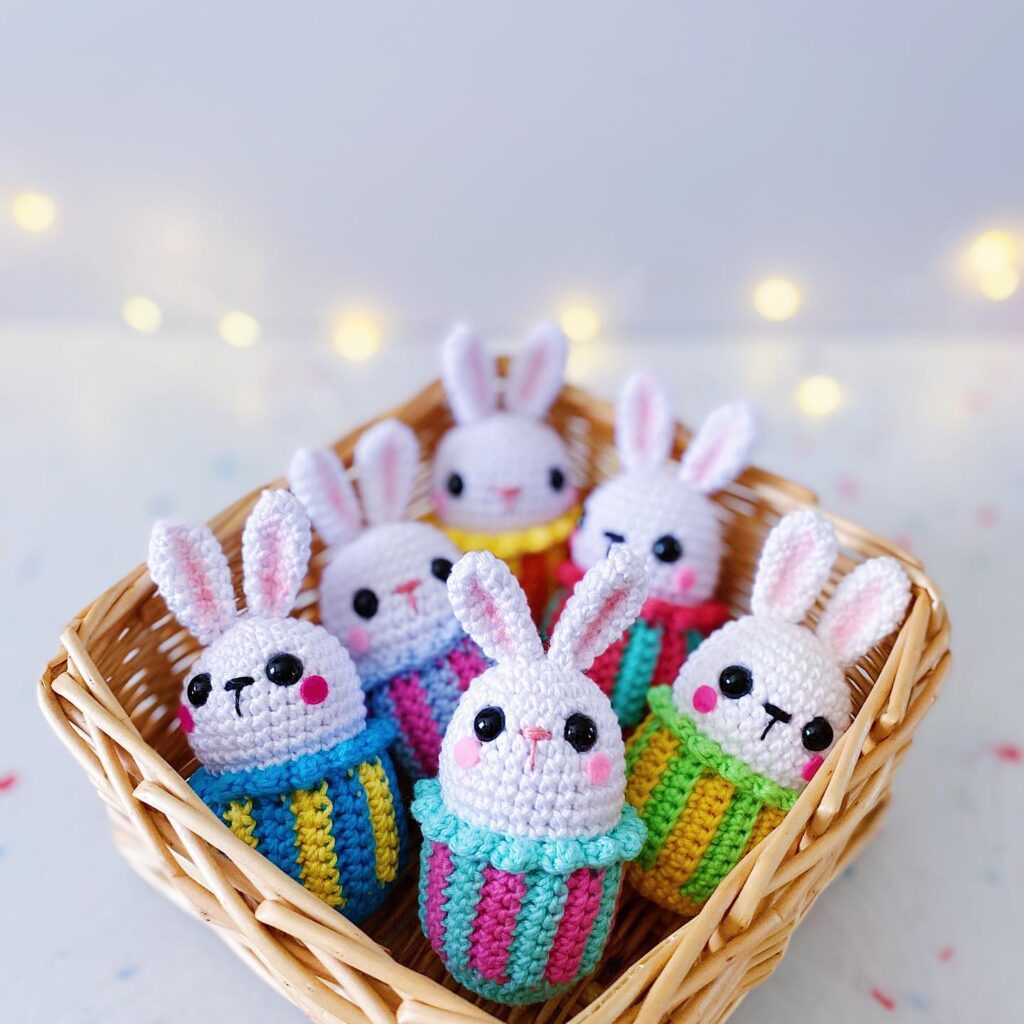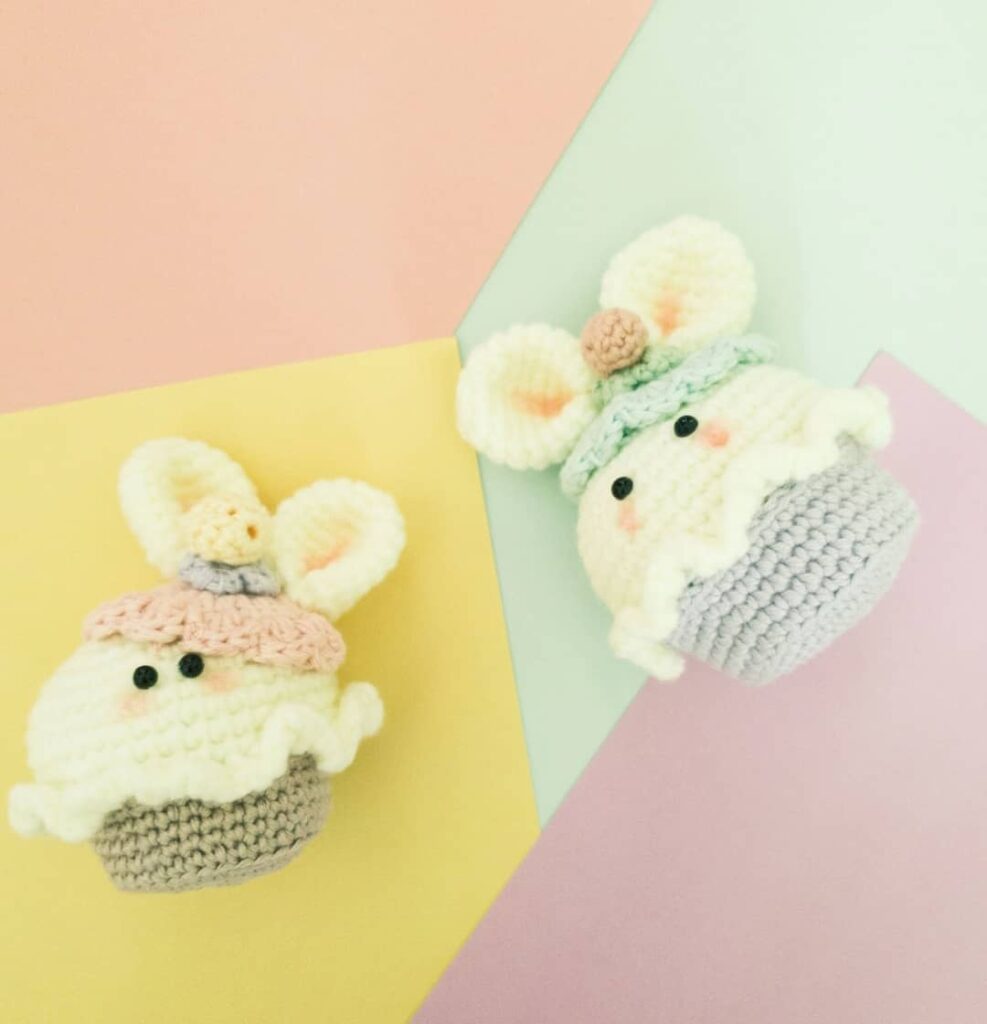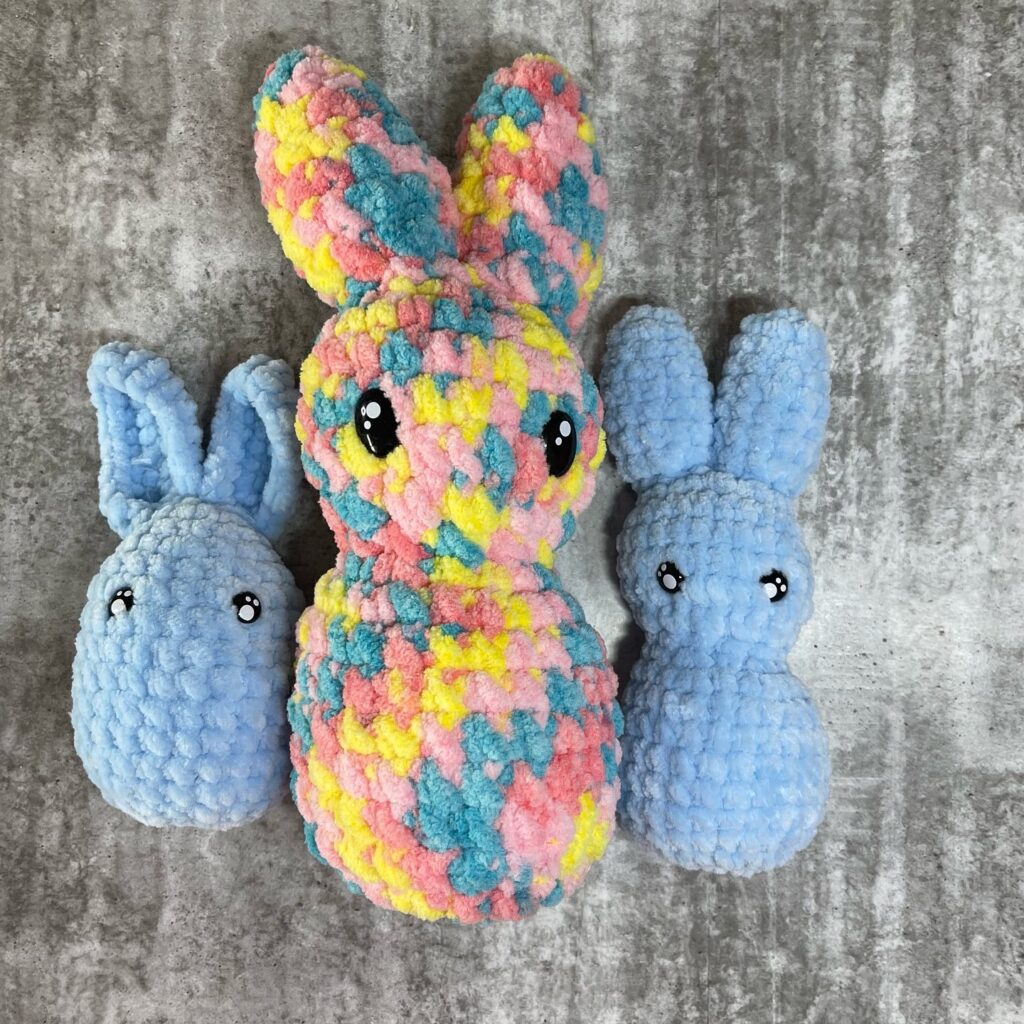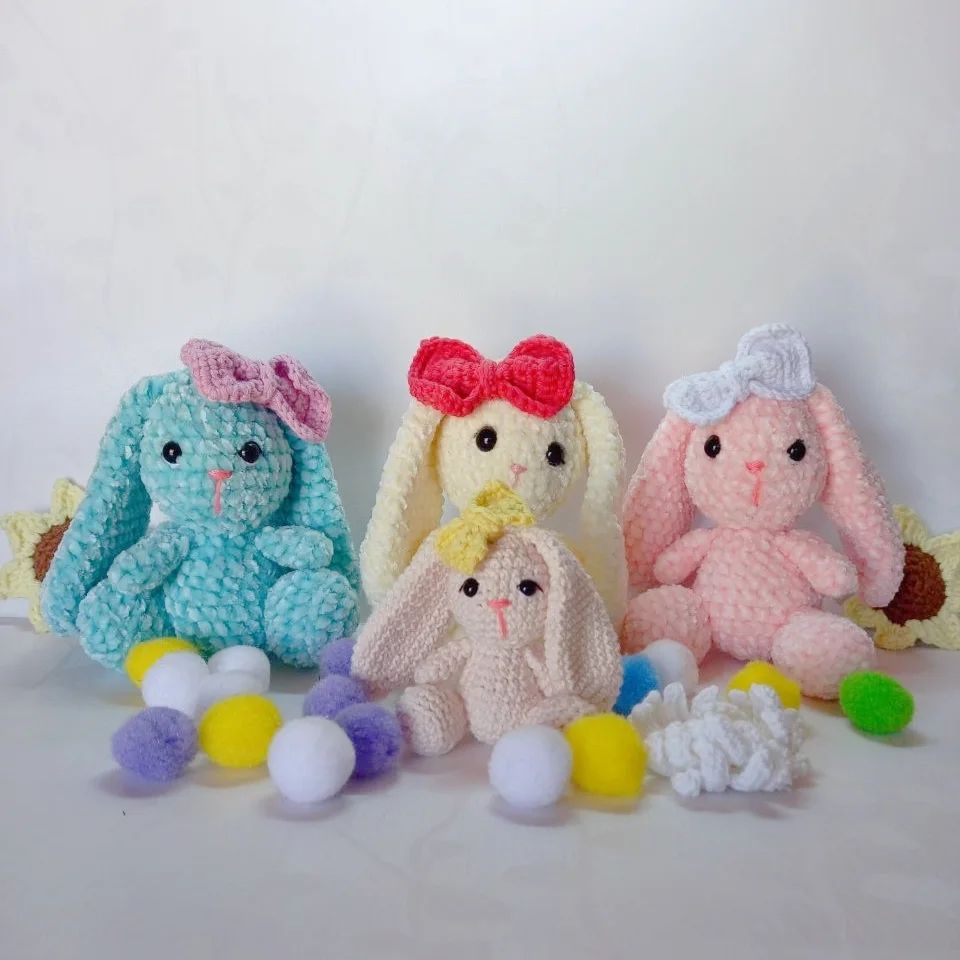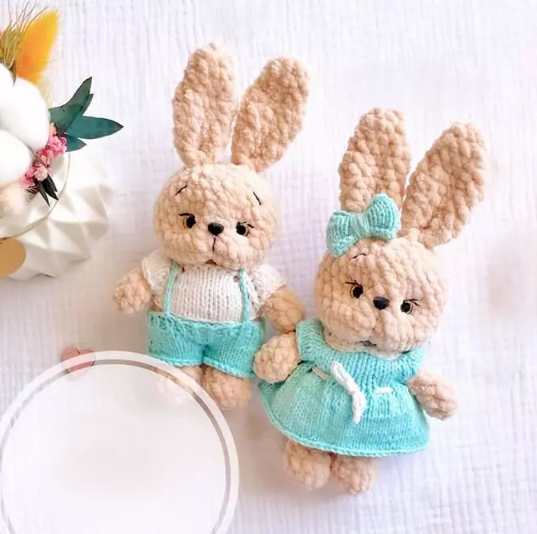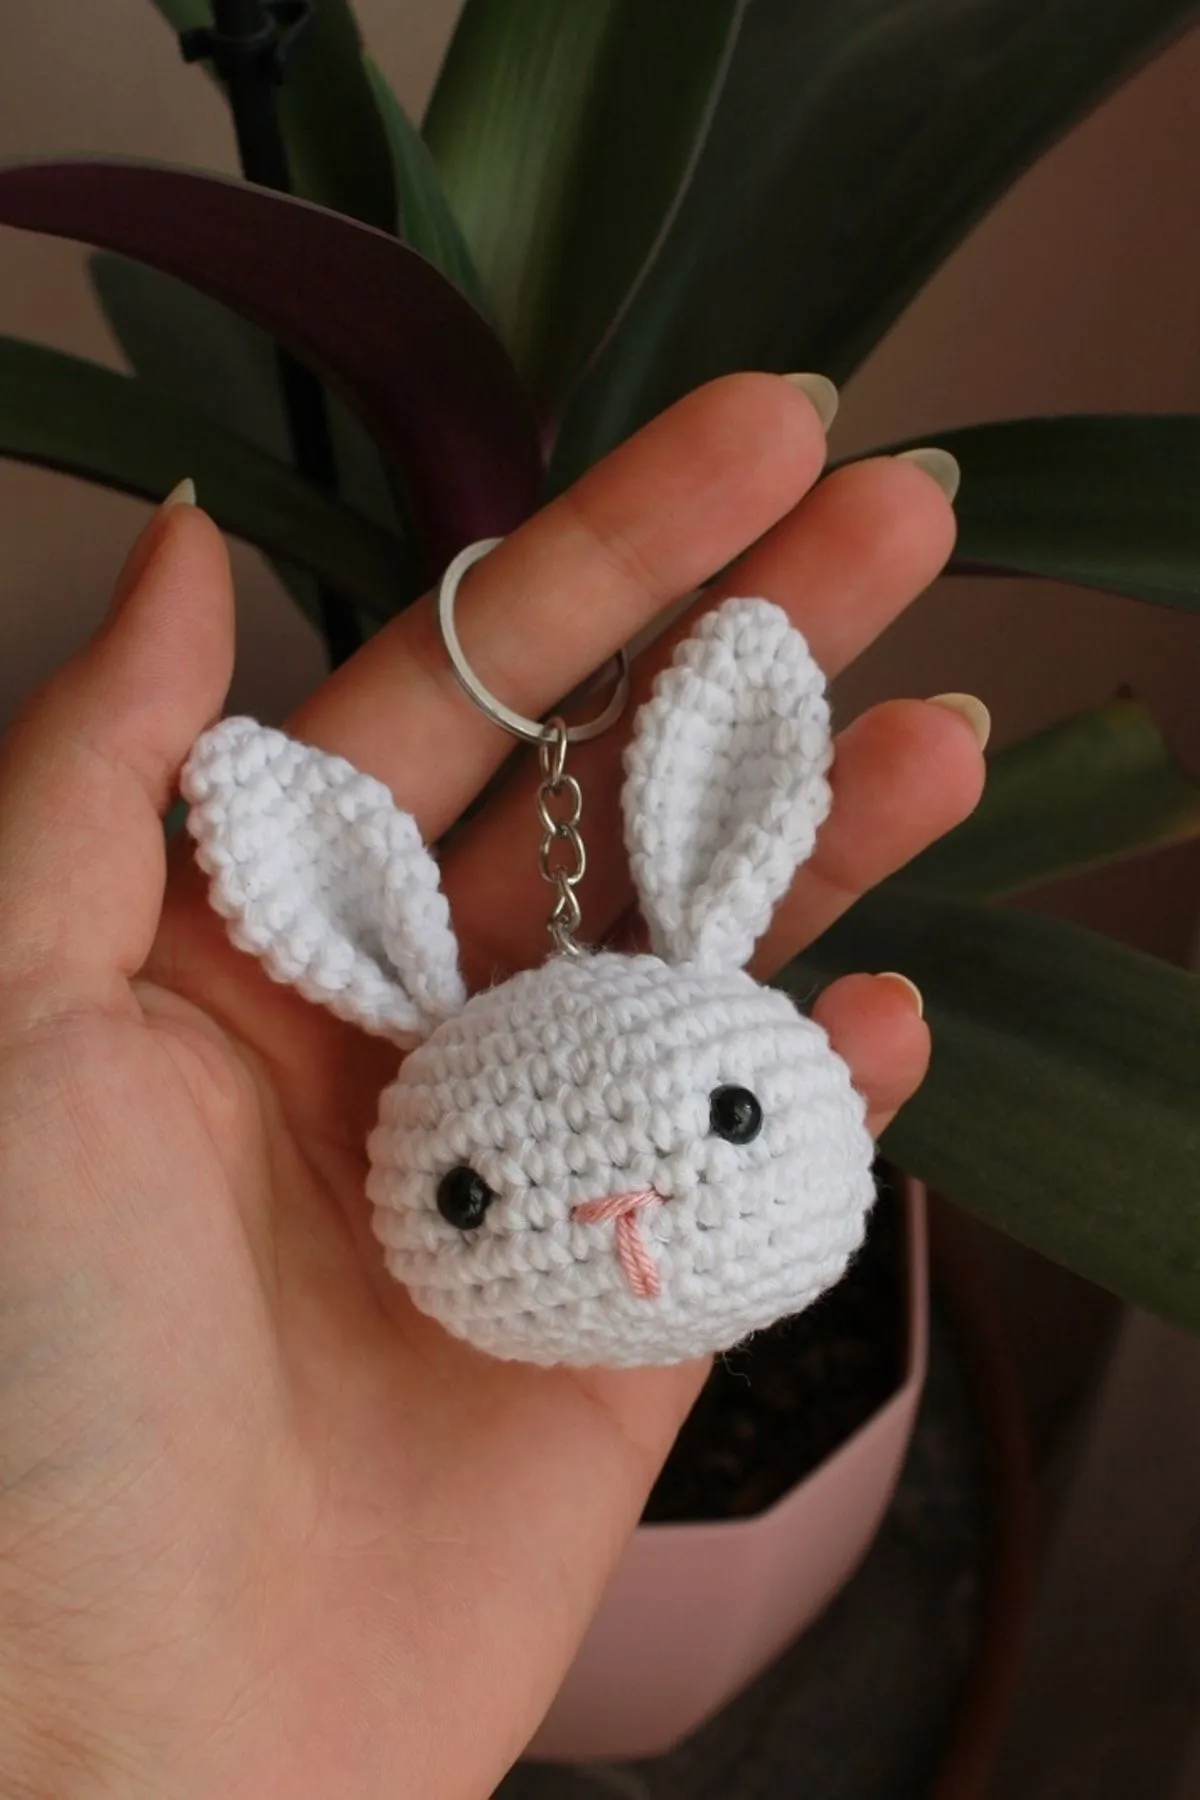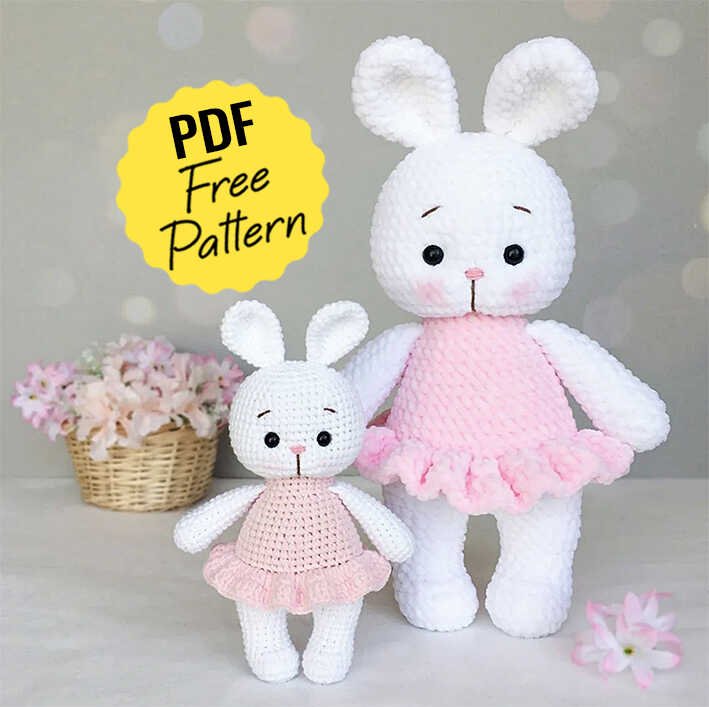
Hello amigurumi lovers and beautiful visitors, I wanted to share the free amigurumi patterns for you here. In my article I will share 1 pattern and how to make it for you. At the end of my article, I will share amigurumi patterns that can generate ideas for you.
We will need:
- 0.5 skein base color Himalaya Dolphin Baby or YarnArt Dolce
- Quite a bit of yarn in three colors for the egg
- Hook #4
- Eyes on 16mm safety mount
- Nose on a secure mount
- Filler
- Black floss threads for embroidering eyebrows
- Needle with a wide eye for stitching parts
- Threads matching the main color for thread fastening of limbs
- Long needle for thread attachment of limbs
Symbols:
KA – amigurumi ring Sbn
– single crochet
Pr – increase
Ub – decrease Vp
– air loop
Ss – connecting column
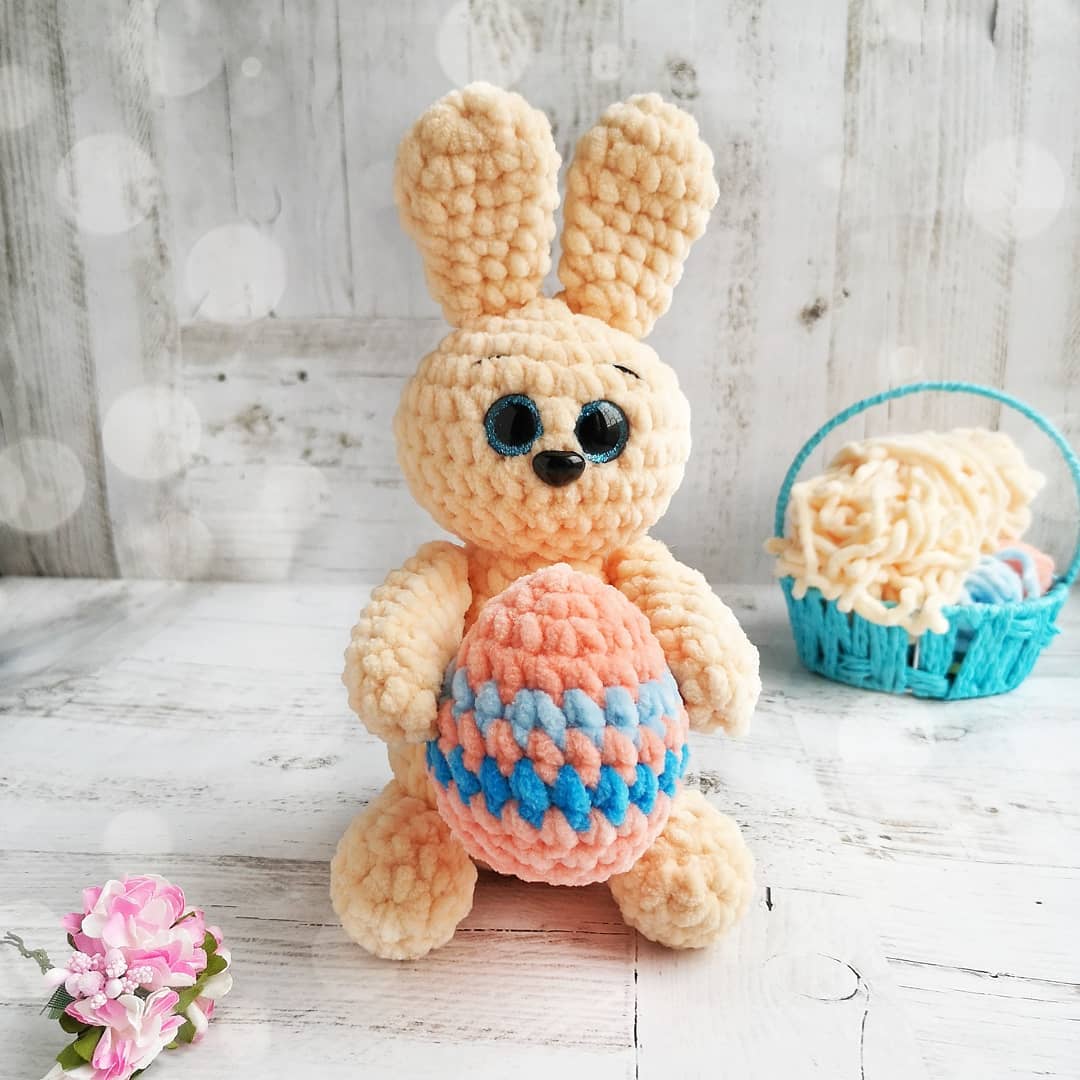
Head
1. 6 sc in KA, or knit 2 ch and knit in the second loop 6 sc (6)
2. 6 inc (12)
3. (1 sc, inc) * 6 (18)
4. (2 sc, inc) * 6 (24)
5. (3 sc, inc) * 6 (30)
6-8. 30 sc Insert the
eyes between the 6th and 7th row.
We insert the spout between the 7th and 8th row. We stuff in the process of knitting.
9. (3 sc, dec)* 6 (24)
10. (2 sc, dec)* 6 (18)
11. (1 sc, dec)* 6 (12)
12. 6 dec (6)
Pull the hole, tip hide.
Ears (2 parts)
1. 6 sc in KA, or knit 2 ch and knit in the second loop 6 sc (6)
2. 6 inc (12)
3-4. 12 sc (2 rows)
5. (2 sc, dec) * 3 (9)
6-7. 9 sc (2 rows)
8. (1 sc, dec) * 3 (6)
Cut the thread, leave the tip for sewing.
Body
1. 6 sc in KA, or we knit 2 ch and knit in the second loop 6 sc (6)
2. 6 inc (12)
3. (1 sc, inc) * 6 (18)
4. (2 sc, inc) * 6 (24)
5. (3 sc, inc) * 6 (30)
6-8. 30 sc (3 rows)
9. (3 sc, dec) * 6 (24)
10-11. 24 sc (2 rows)
12. (2 sc, dec) * 6 (18)
13-14. 18 sc (2 rows)
15. (1 sc, dec) * 6 (12)
16. 12 sc, sl-st Cut the
thread, leave the tip for sewing. Stuff the body.
Handles (2 parts)
1. 6 sc in KA, or we knit 2 ch and knit in the second loop 6 sc (6)
2. (1 sc, inc) * 3 (9)
3-9. 9 sbn (7 rows)
Lightly stuff the handles in the process of knitting.
10. (1 sc, dec) * 3 (6) Pull the
hole, hide the thread.
Legs (2 parts)
1. 6 sc in KA, or knit 2 ch and knit in the second loop 6 sc (6)
2. 6 inc (12)
3-6. 12 sc (4 rows)
7. (2 sc, dec) * 3 (9)
8-9. 9 sc (2 rows)
We stuff the legs in the process of knitting.
10. (1 sc, dec) * 3 (6) Pull the
hole, hide the thread.
Tail
1. 6 sc in KA, or knit 2 ch and knit in the second loop 6 sc (6)
2. 6 inc (12)
3-4. 12 sb (2 rows)
5. 6 dec (6)
Cut the thread, leave the tip for sewing. Stuff the tail.
Assembling the toy
1. Sew on the ears, the author has them sewn in the very center of the head to the KA.
2. Sew the head to the body.
3. We make handles and legs on a thread mount so that our bunny can sit. Do as you like: you can with buttons, as in the picture, you can do without them (the author did without buttons).
4. Sew on the tail.
5. Embroider the eyebrows
Egg
We knit with the main color:
1. 5 sc in KA, or knit 2 ch and knit in the second loop 5 sc (5)
2. 5 inc (10)
3. (sc, inc) * 5 (15)
4. 15 sc
Change color to additional:
5. (2 sc, inc) * 5 (20)
Change the color to the main:
6. 20 sc
Change the color to the additional:
7. 20 sc
Change the color to the main:
8. 20 sc
9. (3 sc, ub) * 4 (16)
10. 16 sc
11. (2 sc, dec) * 4 (12)
Cut the thread, pull the hole. We hide the tip.
Feel free to tag me (@freeamigurumii) in your photos on Instagram or Facebook if you’d like!
All Finished.