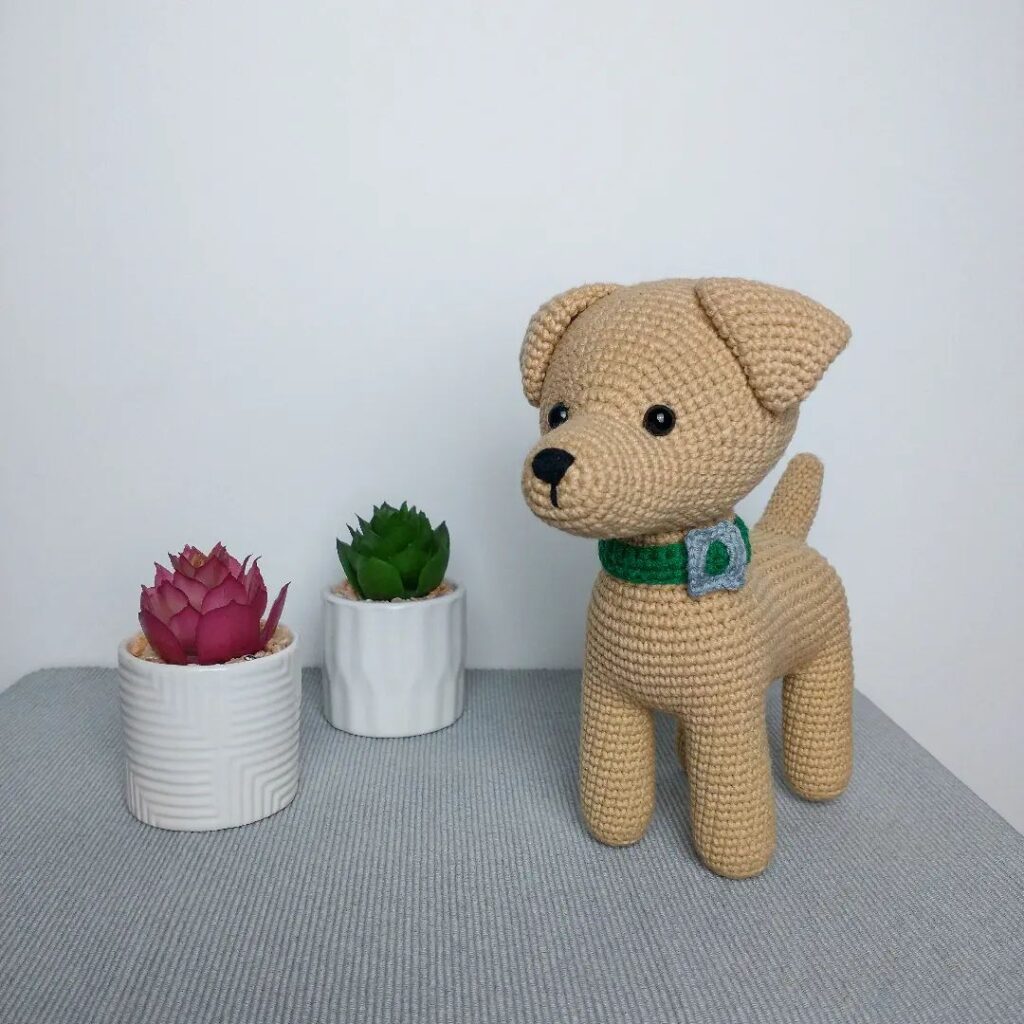
Hello amigurumi lovers and beautiful visitors, I wanted to share the free amigurumi patterns for you here. In my article I will share 1 pattern and how to make it for you. At the end of my article, I will share amigurumi patterns that can generate ideas for you.
Abbreviations:
RLS – single crochet
PR – increase
UB – decrease
Head:
1: 6 sc in the amigurumi ring (6)
2: CR * 6 times (12)
3: (1 sc, rc) * 6 times (18)
4: (2 sc, rc) * 6 times (24)
5 -8: (24 sc) (24)
9: (6 sc, dec) * 3 times (21)
10: (21 sc) (21)
11: (5 sc, dec) * 3 times (18)
12-14 : (18 RLS) (18)
15: (1 RLS, UB) * 6 times (12)
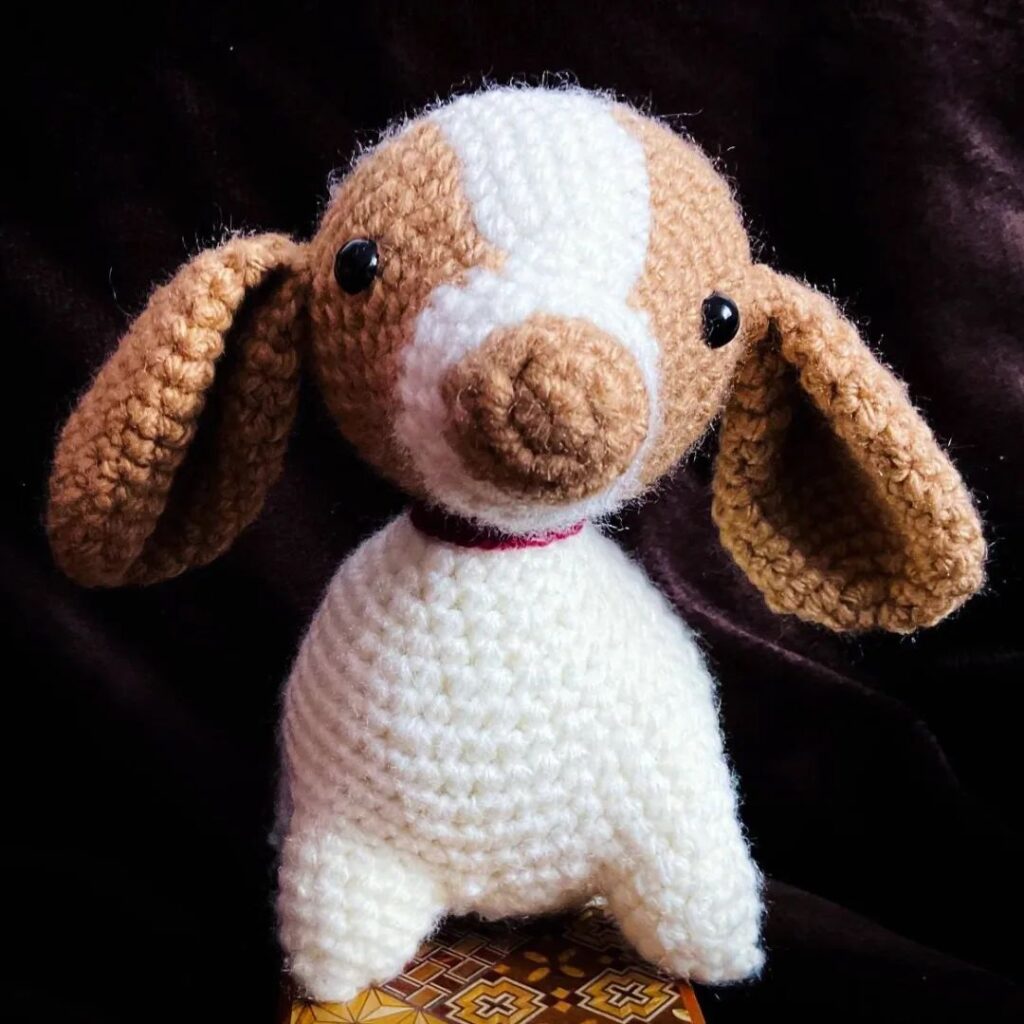
Stuff the head with filler. We attach the nose, if you have it with a secure fastening, or we embroider it.
16: (UB) * 6 times (6)
We tighten the hole, bring the thread to the neck area, with this thread we will sew the head to the body.
Torso:
1: 6 sc in the amigurumi ring (6)
2: CR * 6 times (12)
3: (1 sc, pr) * 6 times (18)
4: (2 sc, pr) * 6 times (24)
5 -9: (24 sc) (24)
10: (6 sc, dec) * 3 times (21)
11: (5 sc, dec) * 3 times (18)
12-15: (18 sc) (18)
16 : (1 RLS, UB) * 6 times (12)
Stuff the body.
17: (UB) * 6 times (6)
We tighten the hole, hide the thread.
Front paws:
1: 5 sc in the amigurumi ring (5)
2: PR * 5 times (10)
Next, we knit 35 sc in a spiral, without connecting the rows. Leave the thread for sewing on the part.
Hind legs:
1: 5 sc in the ring amigurumi ring (5)
2: PR * 5 times (10)
Next, we knit 25 sc in a spiral, without connecting the rows. Leave the thread for sewing on the part.
Tail:
We collect a chain of 12 VP, in the second loop from the hook we knit it in the opposite direction with single crochets. We knit ears and spots with brown yarn.
Ears:
1: 6 prs in the amigurumi ring (6)
2: CR * 6 times (12)
3. (3 prs, pr) * 3 times (15)
4. (15 prs) (15)
5. (15 prs) (15 )
6. (3 PRS, UB) * 3 times (12)
7. 12 PRS (12)
8. 12 PRS (12)
9. (2 PRS UB) * 3 times (9)
10. 9 sc (9)
11. 1 sc, 4 dec (5) Spot near the eye: 1: 6 sc in the amigurumi ring (6) 2: (1 sc, 1p) * 3 times Spot can be glued in the right place with hot glue gun. Or sew, leaving the thread for sewing. Spot on the back: 1: 6 sc in the amigurumi ring (6) 2: PR * 6 times (12) 3: (1 sc, 1p) * 6 times (18) Leave the thread for sewing, or hide it and glue the part with hot glue pistol.
Feel free to tag me (@freeamigurumii) in your photos on Instagram or Facebook if you’d like!
All Finished.