Hello amigurumi lovers and beautiful visitors, I wanted to share free amigurumi models with you here. In my article, I will share with you a model and how to make it. At the end of my article, I will share with you the detailed construction patterns of the mold.
Necessary materials and tools
1. Yarn:
– Alize Cotton Gold 100g/330m, color #182 – for owlets
– Alize Cotton Gold 100g/330m, color No. 44 – for a hat, scarf
2. Hook number 2
3. Filler – holofiber
4. Safety eyes with a diameter of 7 mm
5. White felt for the peephole
6. Thick sewing needle, scissors, pins, knitting marker
7. A little black, yellow, pink threads for embroidery muzzle
8. Thick cardboard or plastic for the bottom
9. Any decor as desired
Abbreviations
MR– Magic ring
Ch– Chain
Sc– Single crochet
Inc– Increase
Dec– Decrease
Sl st– Slip stitch
Hdc– Half double crochet
BLO-Back loop only
FLO– Front loop only
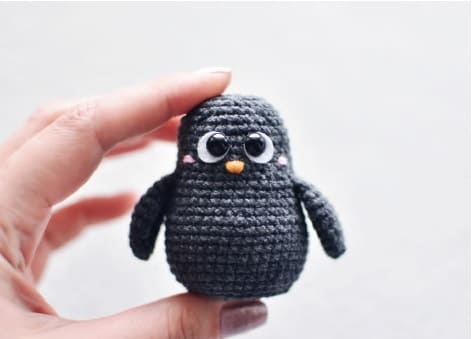
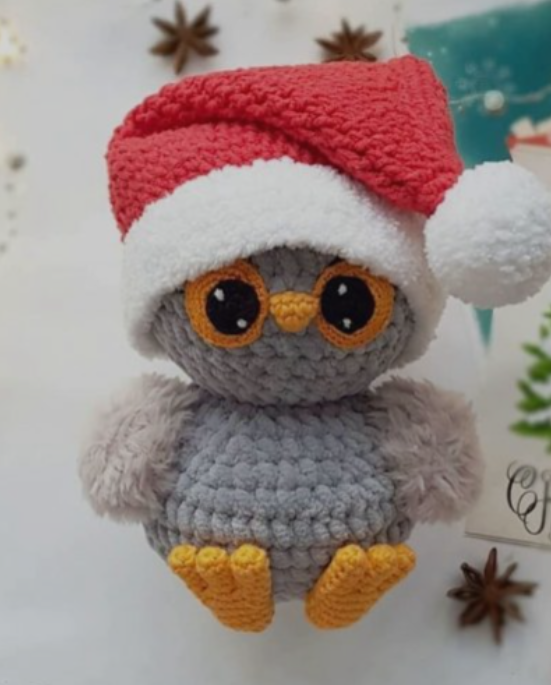
• The size of the finished toy is about 6 cm (excluding hats) when using the specified materials.
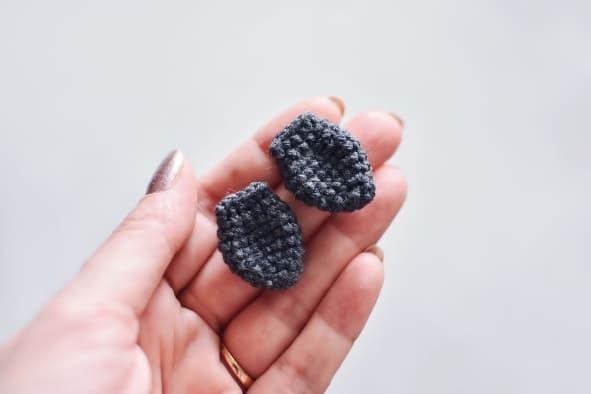
Wings (Make 2)
Tie two parts, stuffing is unnecessary.
Rnd 1. 6 sc in MR
Rnd 2. (1sc,inc)*3 (9)
Rnd 3. 1sc, inc, (2sc,inc)*2, 1sc (12)
Rnd 4. (3sc,inc)*3 (15)
Rnd 5. 2sc, inc, (4sc,inc)*2, 2sc (18)
Rnd 6-7. 18 sc (2 rows)
Rnd 8. (1sc,dec)*6 (12)
Rnd 9. 2sc, dec, 4sc, dec, 2sc (10)
Fold the edges of the part together, knit 5sc.
Fasten the thread, cut it off, hide the tail of the thread inside the part.
Body and Head
Rnd 1. 7 sc in MR
Rnd 2. 7 inc (14)
Rnd 3. (1sc,inc)*7 (21)
Rnd 4. 1sc, inc, (2sc,inc)*6, 1sc (28)
Rnd 5. (3sc,inc)*7 (35)
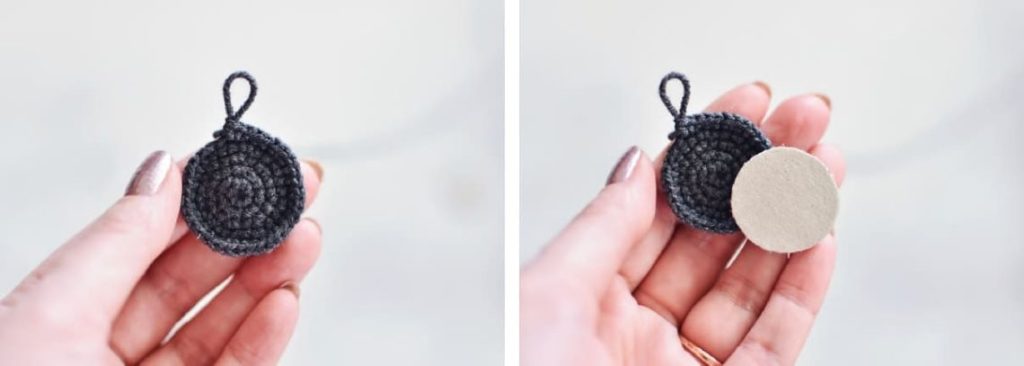
Prepare the bottom. Draw a circle on a piece of cardboard and cut it out.
Rnd 6. behind the BLO (35)
Rnd 7. 2sc, inc, (4sc,inc)*6, 2sc (42)
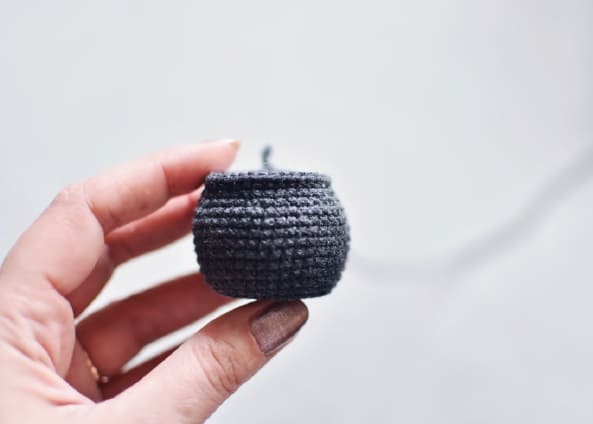
Rnd 8-14. 42 sc (7 rows)
Rnd 15. (5sc,dec)*6 (36)
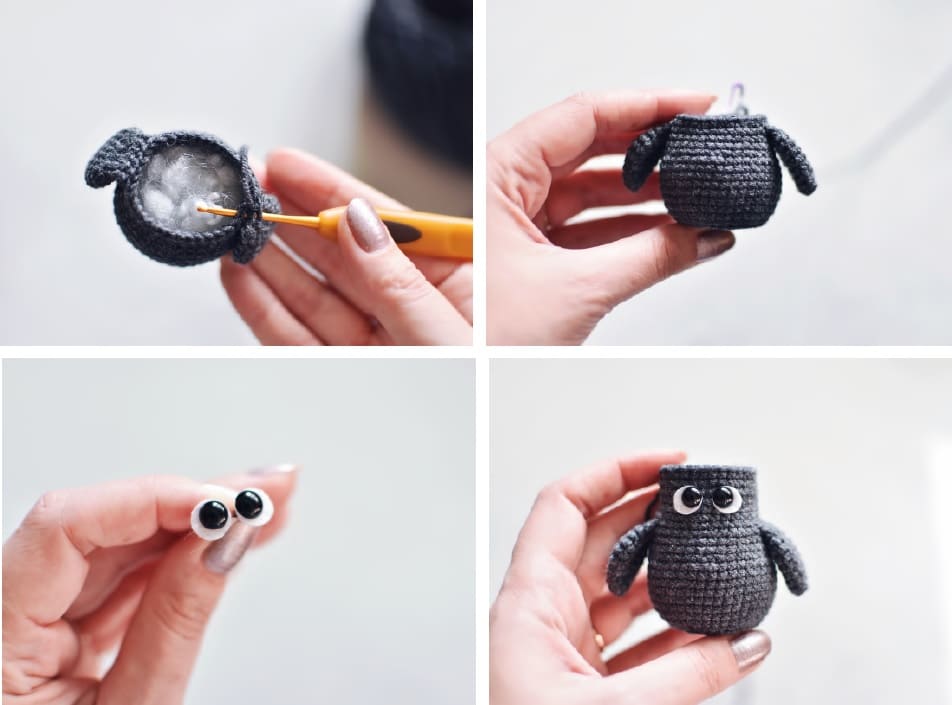
Insert the bottom and start stuffing the part (stuff tightly).
Rnd 16-17. 36sc (2 rows)
In the next row, crochet wings.
Rnd 18. 7sc, 5sc (we knit the first wing), 13sc, 5sc (we knit the second wing), 6sc (36)
Rnd 19. 2sc, dec, (4sc,dec)*5, 2sc (30)
Rnd 20-25. 30 sc (6 rows)
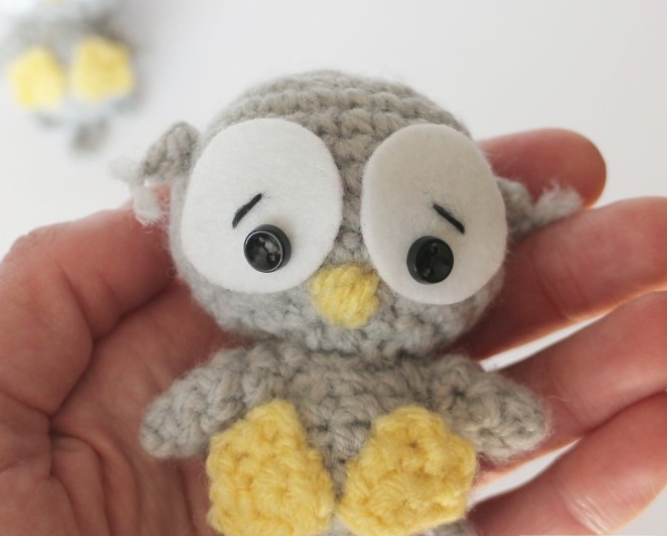
Prepare your eyes. To do this, cut out circles from white felt, slightly larger than the diameter of the eye, make holes in them and insert the legs of the eye into the holes.
Between 22 and 23 rows at a distance of 3 sc, insert the eyes, secure them with plugs.
Rnd 26. (3sc,dec)*6 (24)
Rnd 27. 24 sc
Rnd 28. 1sc, dec, (2sc,dec)*5, 1sc (18)
Rnd 29. (1sc,dec)*6 (12)
Fasten and cut the thread, leaving a long tip, with which you can tighten the remaining hole. Hide the tail of the thread inside the part.
Decorate the muzzle: embroider the beak with yellow thread, cheeks with pink thread, eyebrows with black thread.
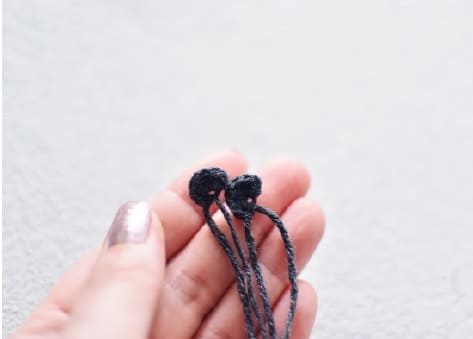
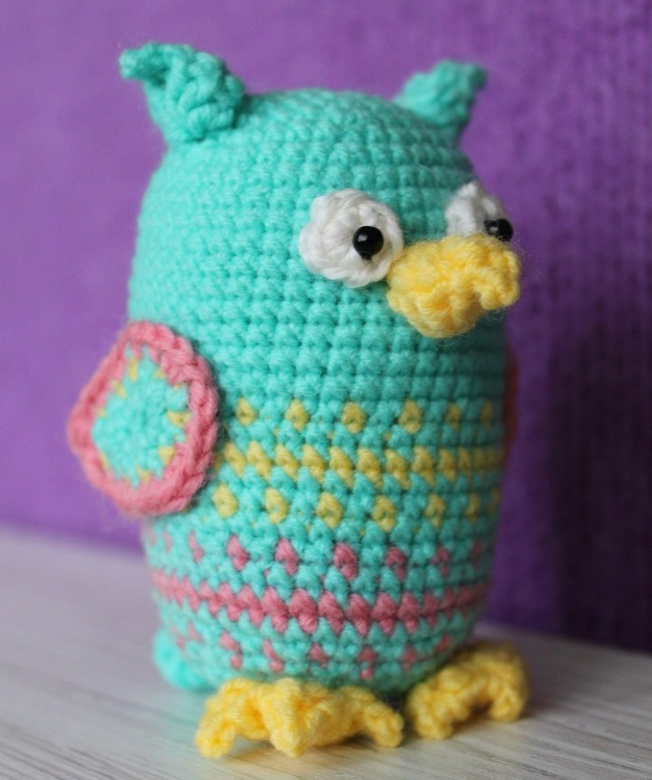
Ears (Make 2)
Tie the two parts as follows: in MR 1sc, 4hdc, 1sc. Do not tighten the ring too much so that the eyelet takes the shape of a semicircle. Leave a long thread for sewing.
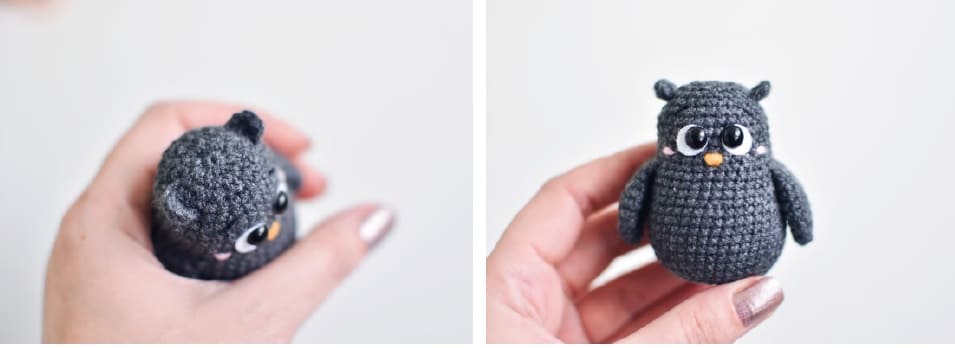
Sew the ears, as shown in the photo, stepping back about 3 rows of the crown.
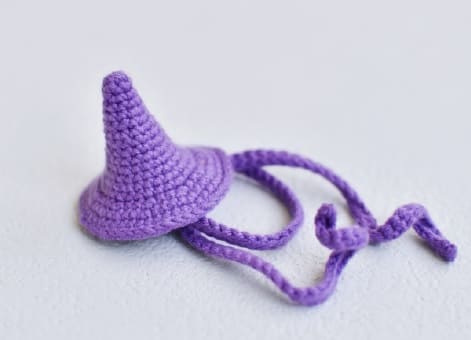
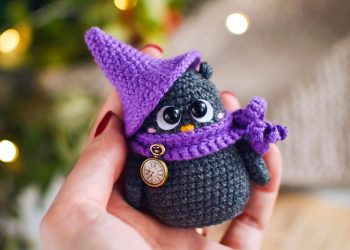
Hat
Rnd 1. 6 sc in MR
Rnd 2. 6 sc
Rnd 3. (1sc,inc)*3 (9)
Rnd 4. 9 sc
Rnd 5. 1sc, inc, (2sc,inc)*2, 1sc (12)
Rnd 6. 12 sc
Rnd 7. (3sc,inc)*3 (15)
Rnd 8. 15 sc
Rnd 9. 2sc, inc, (4sc,inc)*2, 2sc (18)
Rnd 10. 18 sc
Rnd 11. (5sc,inc)*3 (21)
Rnd 12. 3sc, inc, (6sc,inc)*2, 3sc (24)
Rnd 13. (7sc,inc)*3 (27)
Rnd 14. 4sc, inc, (8sc,inc)*2, 4sc (30)
Rnd 15. behind the FLO: (2sc,inc)*10 (40)
Rnd 16. (4sc,inc)*8 (48)
Rnd 17. 48 sc
Rnd 18. 48 sl st
Fasten the thread, cut off, hide the tip of the thread.
For a scarf, dial a chain of 111 ch, starting from the second from the hook loop, knit 110 sc. Fasten and cut the thread, hide the tail.
Feel free to tag me (@freeamigurumii) in your photos on Instagram or Facebook if you’d like!
All Finished.