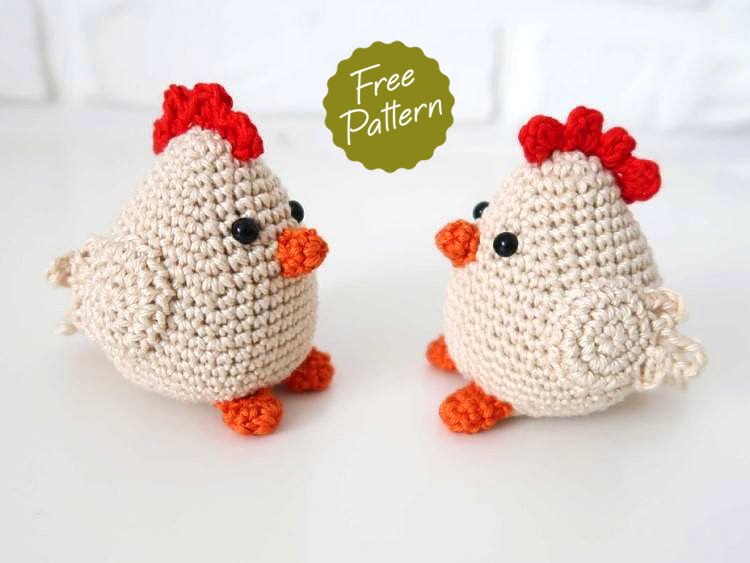
Hello amigurumi lovers and beautiful visitors, I wanted to share the free amigurumi patterns for you here. In my article I will share 1 pattern and how to make it for you. At the end of my article, I will share amigurumi patterns that can generate ideas for you.
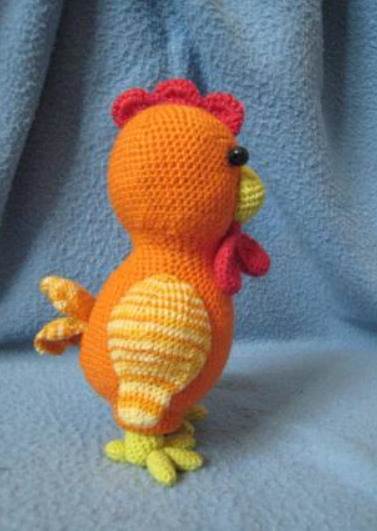
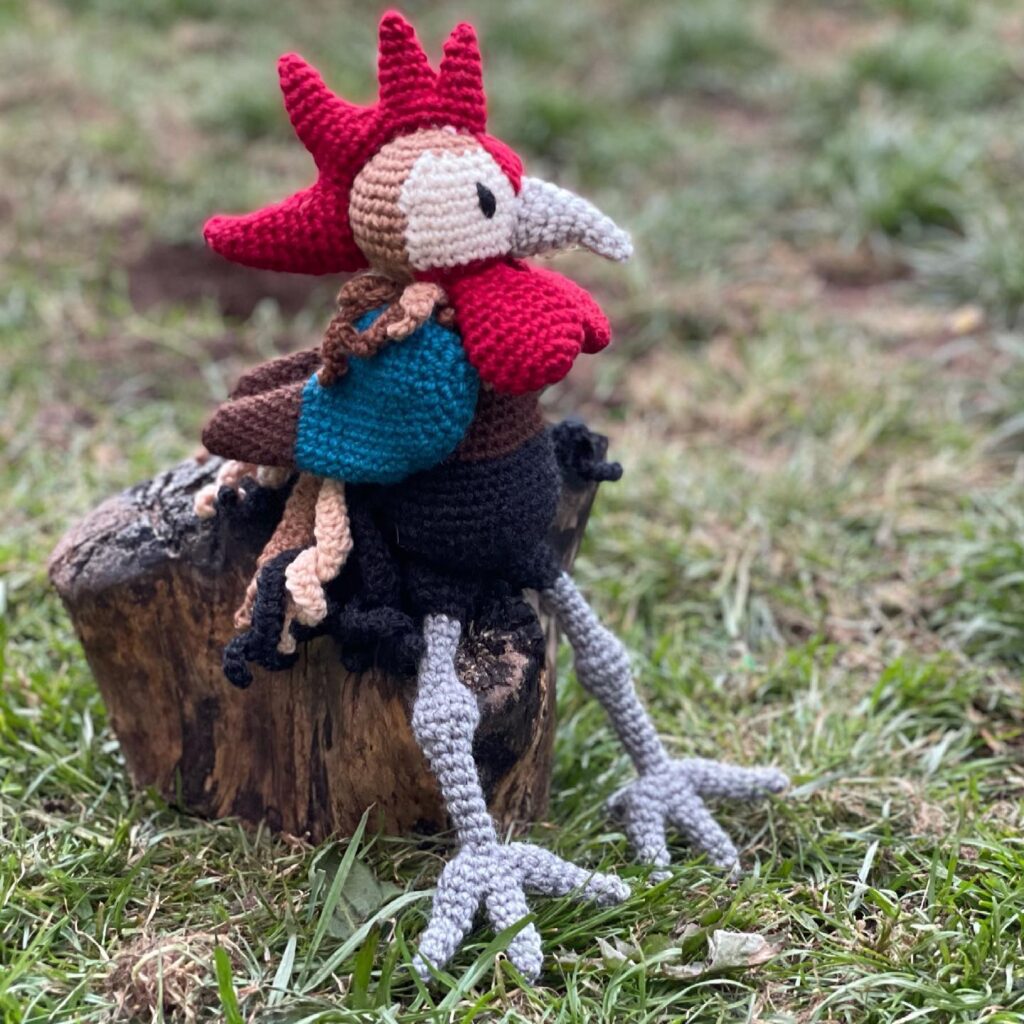
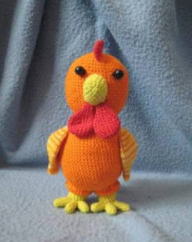
Cock size: about 25cm
Threads: cotton
Hook #3 Abbreviations:
Art. b / n – single crochet
n. is a loop
c.p. – air loop
conn. Art. – a connecting column
of 2 tbsp. b / n – increase
2 p. knit together – decrease
The head and torso are knitted in one piece
. Tie the initial chain of 4 ch with a white thread. and close it in a ring with the help of a conn. Art.
1st row: 6 tbsp. b / n for a ring from v.p.
2nd row: in each loop, 2 tbsp. b / n \u003d 12 p.
3rd row: in each 2nd p. 2 tbsp. b / n \u003d 18 p.
4th row: in every 3rd p. 2 tbsp. b / n \u003d 24 p.
5th row: in every 4th p. 2 tbsp. b / n \u003d 30 p.
6th row: in every 5th p. 2 tbsp. b / n \u003d 36 p.
7th row: in every 6th p. 2 tbsp. b / n \u003d 42 p.
8th row: in each 7th p. 2 tbsp. b / n \u003d 48 p.
9th row: in each 8th p. 2 tbsp. b / n \u003d 54 p.
10th row: in every 9th p. 2 tbsp. b / n \u003d 60 p.
from 11 to 24 row: art. b / n without increments.
25th row: 5 times 2 p. Knit together, 10 tbsp. b / n, 10 times 2 p. knit together, 10 tbsp. b / n, 5 times 2 p. knit together = 40 p.
from 26 to 27 row: art. b / n without increments.
28th row .: 2 times 2 p. Knit together, 12 tbsp. b / n, 4 times for 2 p. knit together, 12 tbsp. b / n, 2 times 2 p. knit together = 32 p.
29-30 row: Art. b / n without increments.
31st row .: in each 4th p. 2 tbsp. b / n \u003d 40 p.
32nd row: according to the figure without increments.
33rd row: in every 5th p. 2 tbsp. b / n \u003d 48 p.
34-35 row: art. b / n without increments. 36th row: in every 6th p. 2 tbsp. b / n \u003d 56 p.
37-38 row: art. b/n
39th row: in each 7th p. 2 tbsp. b / n \u003d 64 p.
40-44 row: art. b / n without increments.
45th row .: 4 tbsp. b / n in the 16th and 17th p. = 70 p. (attaching the tail).
46-51 row: art. b / n without increments.
52nd row: Knit together every 6th and 7th sts = 60 sts. 53rd row: st. b / n .
54th row: every 5th and 6th sts knit together = 50 sts.
Fill the head and partially the body with filler.
55-56 row: art. b / n .
57th row: every 4th and 5th p. knit together = 40 p. 58th row: st. b / n .
59th row.: Knit every 3rd and 4th stitches together = 30 stitches.
Continue filling the part with filler.
60th row: Art. b / n .
61st row: Knit every 2nd and 3rd stitches together = 20 stitches.
Then knit 2 stitches together in succession until the hole closes.
Wing (2 parts)
Tie with a white thread the initial chain of 4 ch. and close it in a ring with the help of a conn. Art.
1st row: bet. b / n for a ring from v.p.
2nd row: in each loop, 2 tbsp. b / n \u003d 12 p.
3rd row: in each 2nd p. 2 tbsp. b / n \u003d 18 p.
4th row: in every 3rd p. 2 tbsp. b / n \u003d 24 p.
5th row: art. b / n .
6th row: in every 4th p. 2 tbsp. b / n \u003d 30 p.
7th row: art. b / n .
8th row: in every 5th p. 2 tbsp. b / n \u003d 36 p.
9th row: art. b / n .
10th row: in every 6th p. 2 tbsp. b / n \u003d 42 p.
11th row: art. b / n .
12th row: in each 7th p. 2 tbsp. b / n \u003d 48 p.
13-15 row: Art. b / n .
16th row: every 7th and 8th p. knit together = 42 p.
17th row: art. b / n .
18th row: every 6th and 7th p. knit together = 36 p.
19th row: art. b / n .
20th row: every 5th and 6th yup. knit together = 30 p.
21st row: art. b / n .
22nd row: every 4th and 5th sts knit together = 24 sts.
23rd row: art. b / n .
24th row: every 3rd and 4th p, knit together = 18 p.
25-29 row: art. b / n .
30th row: Knit every 2nd and 3rd stitches together = 12 stitches.
Then knit 2 stitches together in succession until the hole closes.
Scallop
Knit with a red thread the initial chain of ch 23. and knit in rows in forward and reverse directions.
1st row: in the 2nd ch. from the hook to perform 1 connection. st., then * 1 st. b / n, 4 tbsp. s / n, 1 tbsp. b / n, 1 connection. Art., from * repeat 2 times
2nd row: turn with ch 1, * 1 tbsp. b / n in Art. b / n of the previous row, 1 tbsp. s / n, in the next 2 tbsp. s / n for 2 tbsp. s / n, 1 tbsp. s / n, 1 tbsp. b / n, 1 connection. Art., from * repeat 2 times
“Earring” under the beak (2 parts)
Tie the initial chain of 4 ch with a red thread. and close it in a ring with the help of a conn. Art.
1st row: 6 tbsp. b / n for a ring from v.p.
2nd row: in each loop 2 tbsp. b / n \u003d 12 p.
3rd row: art. b / n .
4th row: in every 3rd p. 2 tbsp. b / n \u003d 16 p.
5th row: art. b / n .
6th row: in every 4th p. 2 tbsp. b / n \u003d 20 p.
7th row: art. b / n .
8th row: every 4th and 5th p. knit together = 16 p.
9th row: art. b/n.
10th row: every 3rd and 4th p. knit together = 12 p.
11th row: art. b / n .
12th row: every 2nd and 3rd p. knit together = 8 p.
13-14 row: st. b / n .
After the 14th p. close the hole, for this, fold the earring and connect the loops of the front and back parts using art. b/n. cut the thread.
Beak
Tie with a yellow thread the initial chain of 4 ch. and close it in a ring with the help of a conn. Art.
1st row: 6 tbsp. b / n for a ring from v.p.
2nd row: in each 2nd p. 2 tbsp. b / n \u003d 9 p.
3rd row: in every 3rd p. 2 tbsp. b / n = 12 p.
4-8 row: in places of increases of the previous row, add 1 p. (= 3 p. in each row) = 27 p. will be after the 8th p.
8th row finish connection. Art. and cut the thread.
Tail (lower part) Tie with a white thread the initial chain of 4 ch. and close it in a ring with the help of a conn. Art. 1st row: 6 tbsp. b / n for a ring from v.p. 2nd row: in each loop, 2 tbsp. b / n \u003d 12 p. 3rd row: in each 2nd p. 2 tbsp. b / n \u003d 18 p. 4-6 row: art. b / n . 7th row: in the 1st and 10th p. 6 tbsp. b / n, then in each loop 1 tbsp. b / n \u003d 28 p. 8th row: in the 3rd and 18th p. 6 st. b / n, then in each item 1 tbsp. b / n \u003d 38 p. 9-11 row: art. b / n without increments. 12th row: 5 times 2 p. Knit together, 9 tbsp. b / n, 5 times for 2 p. knit together, 9 tbsp. b / n \u003d 28 p. 13th row: art. b / n .
14th row: every 3rd and 4th p. knit together = 21 p.
15th row: art. b / n .
After the 15th p. cut the thread.
Tail (upper part)
Until the 9th p. knit as bottom = 38 sts.
10th row: in the 5th and 25th p. 6 tbsp. b / n, then in each loop 1 tbsp. b / n \u003d 48 p.
11-12 row: art. b / n .
13th row: 7 times 2 p. Knit together, 10 tbsp. b / n, 7 times for 2 p. knit together, 10 tbsp. b / n \u003d 34 p.
14th row: art. b / n .
15th row: 4 times 2 p. Knit together, 9 tbsp. b / n, 4 times for 2 p. knit together, 9 tbsp. b / n \u003d 26 p.
16-18 row: art. b / n .
After the 18th p. cut the thread.
Leg (2 parts)
Tie with a yellow thread the initial chain of 4 ch. and close it in a ring with the help of a conn. Art.
1st row: 6 tbsp. b / n for a ring from v.p.
2nd row: in each loop, 2 tbsp. b / n \u003d 12 p.
3rd row: in every 3rd p. 2 tbsp. b / n \u003d 16 p.
4-10 row: art. b / n without increments.
From the 11th p. continue the work with a white thread.
11th row: in each 2nd p. 2 tbsp. b / n \u003d 32 p. 12-13 row: art. b/n.
After the 13th p. for lateral leg lift, continue work in rows in forward and reverse directions: turn, 1 conn. Art. in the 2nd st. b / n, 21 tbsp. b / n, turn, 1 conn. Art. in the 2nd st. b / n, 18 tbsp. b / n, finish 1 connection. Art. Cut the thread.
Finger (3 parts for each leg)
Tie the initial chain of 4 ch with yellow thread. and close it in a ring with the help of a conn. Art.
1st row: 6 tbsp. b / n for a ring from v.p.
2nd row: in each 2nd p. 2 tbsp. b / n \u003d 9 p.
3-8 row: Art. b / n without increments.
8th p. finish connection. Art. and cut the thread
Spurs (2 parts)
Run like a finger, but finish in the 5th p. conn. Art.
Assembly
Pin the wings to the body at a distance of about 0.5 cm from the head, slightly turn back and sew along the upper side and in a small area along the front side.
Loosely fill the legs with filler and sew to the body, connecting them along the inner sides (lateral leg lift – from the outside). Fill fingers and spurs with filler. Connect 3 fingers together and sew to the leg from the front side. Sew spurs along the back line of the middle of the leg.
Sew the scallop to the head in the area of the first 11 rows. Beak, filling with filler, – between the 15th and 25th rows and on both sides of it between the 21st and 22nd row, sew “earrings”.
Sew beads or buttons for the eyes to the head in the area between the 14th and 15th next to the interval of 8 p. To do this, pass a long needle through the fabric of the part from one bead (button) to another, return the needle to its starting point, pull the ends threads so that the beads (buttons) fit snugly to the head, and tie the ends.
Fold the top and bottom of the tail together and sew in place where the tail is attached.
Feel free to tag me (@freeamigurumii) in your photos on Instagram or Facebook if you’d like!
All Finished.