Hello amigurumi lovers and beautiful visitors, I wanted to share the free amigurumi patterns for you here. In my article I will share 1 pattern and how to make it for you. At the end of my article, I will share amigurumi patterns that can generate ideas for you.
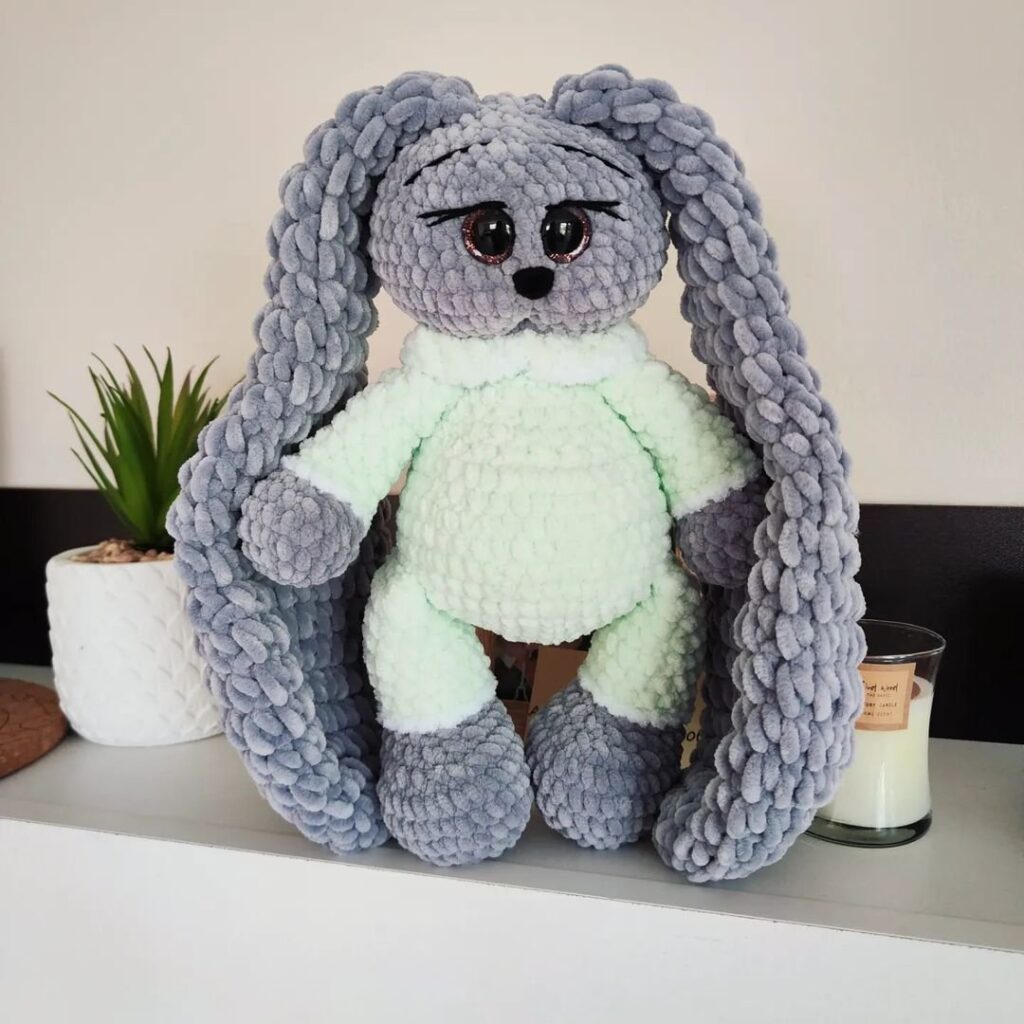
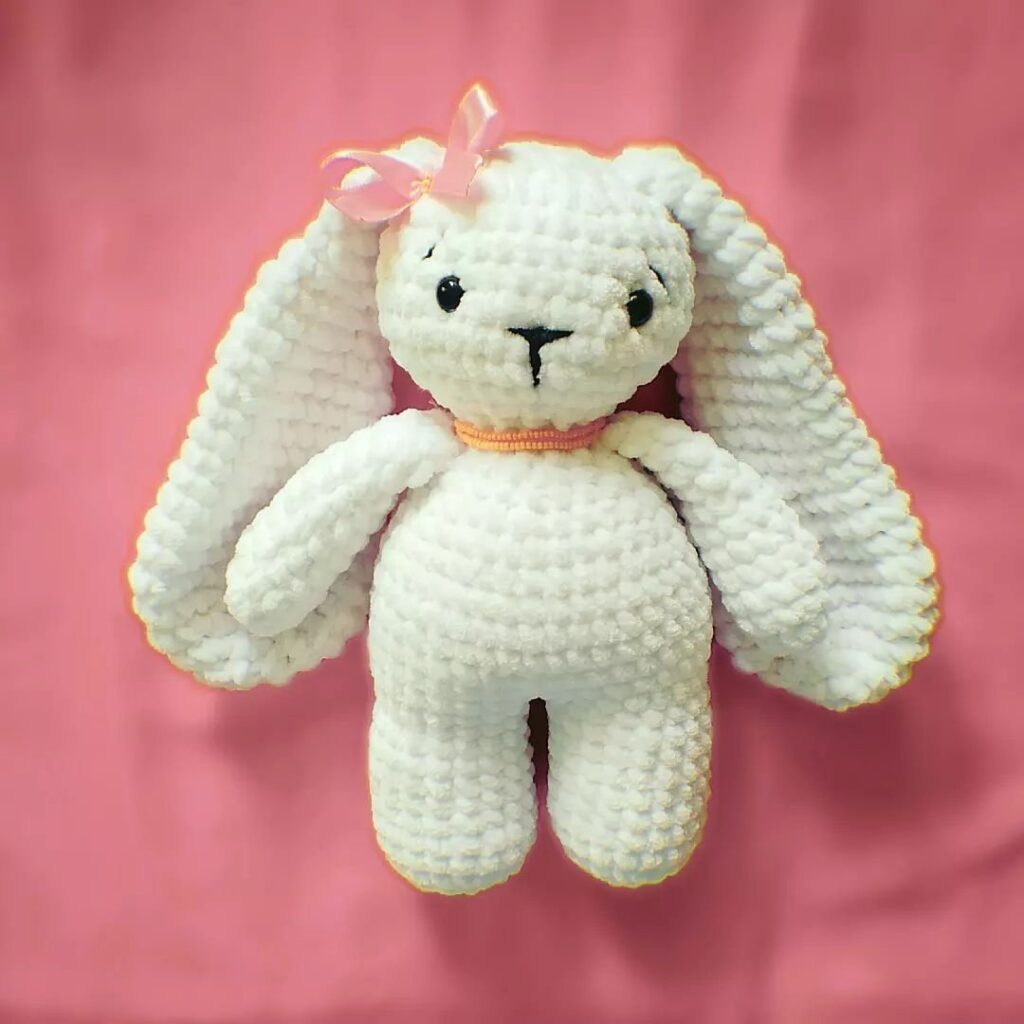
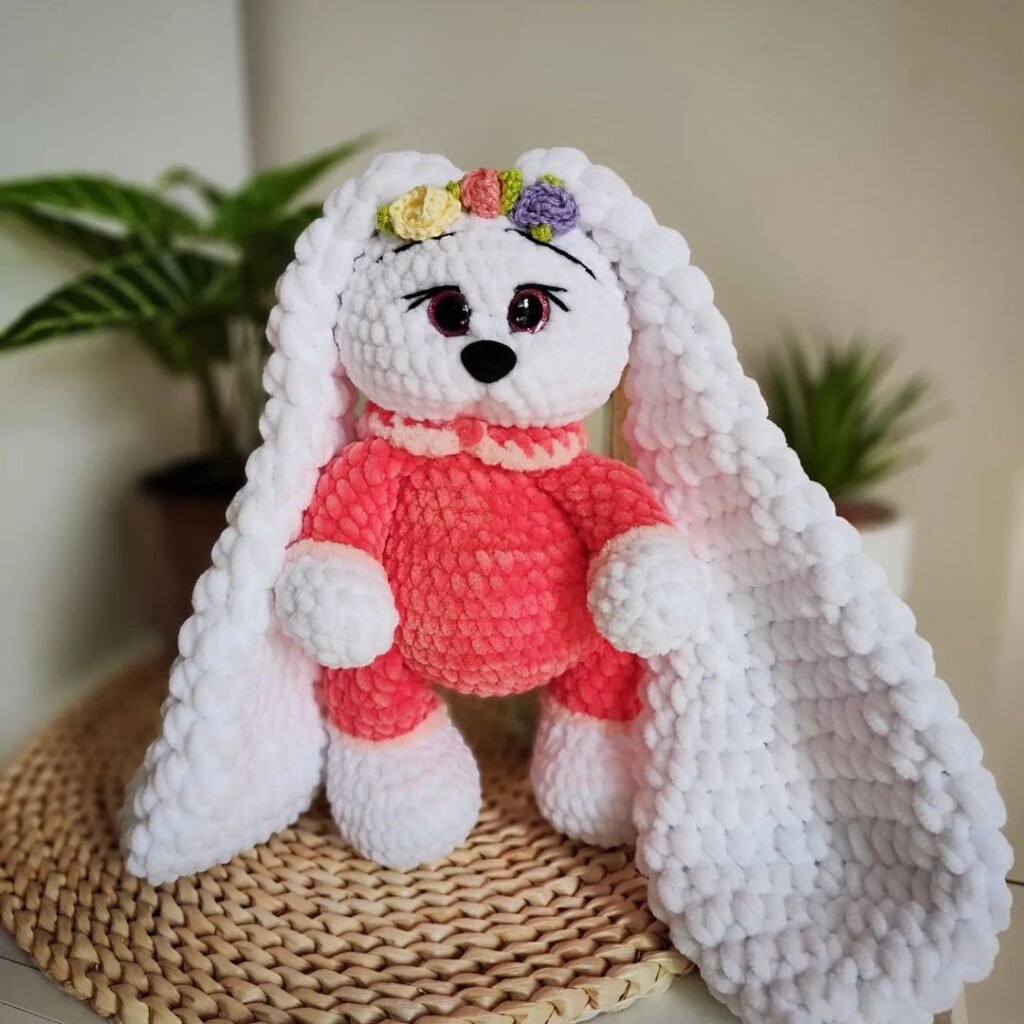
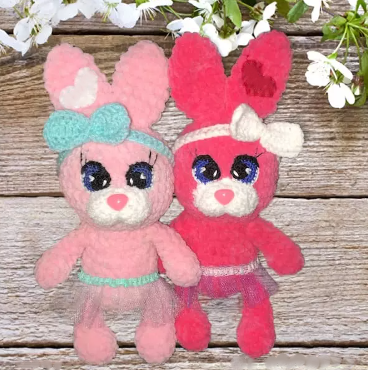
Free Amigurumi Bunny Pattern
When using the specified materials, the size of the finished toy is -25-28
Please note that the size of your toy depends on the density your crocheting and hook size. Legs and handles are crocheted. body and head crochet in one piece. The tail and ears are sewn on.
MATERIALS
Plush yarn (composition 100 g / 120 m):
1. Himalaya dolphin yarn any color: 80342 – 1.5 skeins You can take absolutely any color of yarn.
2. Hook 3.5 (or which you usually crochet)
3. Eyes 16 mm on a secure mount
4. spout 16 mm on a secure mount
5. Filler
6. Yarn Vita Soso (or equivalent) for assembly and decoration
7. Needle for stitching parts
8. Scissors
9. Markers
Abbreviations
MR: Amigurumi Magic ring
sc : Single Crochet
inc : Increase
dec : Decrease
tr : Triple Crochet/ Treble Crochet
st: Stitch
dc : Double Crochet
hdc: Half Double Crochet
slst : Slip Stitch
ch : Chain
..in : make increase into same stitch as many as the number which is given in front of “inc” abbreviation (exp; 3inc, 4inc..).
FLO : Crochet into front loops only
BLO : Crochet into back loops only
LOWER LEGS (2 PIECES)
1. 12 ch, 2nd st from hook 10 sc, 3 sc in 1 st, 9 sc, inc (24)
2. inc, 9sc, 3inc, 9sc, 2inc (30)
3-4. 2 rows 30 sc (30)
Make sure that the decreases in the next row go exactly in the middle. If it does not turn out evenly, then dissolve and move the beginning of the row to the left or right.
5. 7 sc, 8 dec, 7 sc (22)
6. 5 sc, 6 dec, 5 sc (16)
7. 4 sc, 4 dec, 4 sc (12)
8-17. 10 rows 12 sc (12)
18. Fold in half and crochet behind both sides 6 sc (6)
Cut the yarn and fasten off. We will tie the paws into the body.
UPPER LEGS (2 PIECES)
Fill only the bottom of the foot.
1. 6 sc in MR (6)
2. 6 inc (12)
3. (sc, inc) repeat 6 times (18)
4-6. 3 rows 18 sc (18)
7. 6 sc, 3 dec, 6 sc (15)
8. 15 sc (15)
9. (3 sc, dec) repeat 3 times (12)
10-17. 8 rows 12 sc (12)
18. Fold in half and crochet behind both sides 6 sc (6)
Cut the yarn and fasten off. We will tie the paws into the body.
EARS (2 PIECES)
Do not stuff the ears.
1. 6 sc in MR (6)
2. 6 inc (12)
3. (2 sc, inc) repeat 4 times (16)
4. 16 sc (16)
5. (3 sc, inc) repeat 4 times (20)
6. (4 sc, inc) repeat 4 times (24)
7. (3 sc, inc) repeat 6 times (30)
8-13. 6 rows 30 sc (30)
14. (3 sc, dec) repeat 6 times (24)
15-17. 3 rows 24 sc (24)
18. (2 sc, dec) repeat 6 times (18)
19-21. 3 rows 18 sc (18)
22. (sc, dec) repeat 6 times (12)
23-25. 3 rows 12 sc (12)
26. Fold in half and crochet behind both sides 6 sc(6)
Cut the yarn, fasten and hide.
TAIL
Stuff when sewing.
1. 6 sc in MR (6)
2. 6 inc (12)
3-4. 2 rows 12 sc (12)
Cut the yarn, fasten and hide.
BODY
Stuff tightly as you crochet.
1. 6 sc in MR (6)
2. 6 inc (12)
3. (sc, inc) repeat 6 times (18)
4. (2 sc, inc) repeat 6 times (24)
5. (3 sc, inc) repeat 6 times (30)
6. (4 sc, inc) repeat 6 times (36)
7-8. 2 rows 36 sc (36)
In the 9th row we crochet the lower paws. The marker is on the back.
9. 6 sc on the left leg with the body, 12 sc in front, 6 sc on the right leg with the body, 12 sc (36)
10-12. 3 rows 36 sc (36)
In the 13th row we form a tummy. The cuts go down the belly.
13. 6 sc, 6 dec, 18 sc (30)
14-16. 3 rows 30 sc (30)
17. (3 sc, dec) repeat 6 times (24)
18-21. 4 rows 24 sc (24)
In the 22nd row we crochet our arms. Make sure your arms are symmetrical.
22. 6 sc on the left hand with the body, 6 sc, 6 sc on the right hand with the body, 6 sc (24)
23. (2 sc, dec) repeat 6 times (18)
24. 18 sc (18)
We do not cut the yarn, we begin to crochet the head. Stuff the neck tightly.
HEAD
Stuff tightly as you crochet.
25. 18 inc (36)
26. (5 sc, inc) repeat 6 times (42)
27-33. 7 rows 42 sc (42)
34. (5 sc, dec) repeat 6 times (36)
35. (4 sc, dec) repeat 6 times (30)
36-37. 2 rows 30 sc (30)
Insert the spout between 32-33 rows. Insert eyes between 34-35 rows, between eyes 4-5 sc.
38. (3 sc, dec) repeat 6 times (24)
39. (2 sc, dec) repeat 6 times (18)
40. (sc, dec) repeat 6 times (12)
41. 6 dec, hole close.
Cut the yarn, fasten and hide.
ASSEMBLY AND DESIGN
Sew the ears between 38-39 rows in the position you like.
The tail is sewn between 7-10 rows.
We do eye tightening. We mark the tightening points with pins. We introduce the yarn from the bottom of the head, between 25-26 rows and output at point 1, insert at point 2 and output from the bottom of the head, tighten and make a knot. Repeat the same with the second eye. Repeat tightening several times.
HEAD DECORATION
We mark the points of the eyelashes with pins. We insert the needle from behind the head and exit at point 1, enter at point 2 and withdraw at point 3. Enter at point 2 and withdraw at point 4. Enter at point 2 and withdraw at the second eye. We repeat the same .in with the second eye. Next, we bring the needle to point 5. This will be the mouth.
We enter at point 6. We also mark the points of the eyebrows with pins.
Output At point 7. Enter At point 8 AND OUTPUT at the second eye At point . ENTER At point 10 AND BRING THE HEADS OUT, tighten AND make a knot. Need to cut and hide.
Feel free to tag me (@freeamigurumii) in your photos on Instagram or Facebook if you’d like!
All Finished.