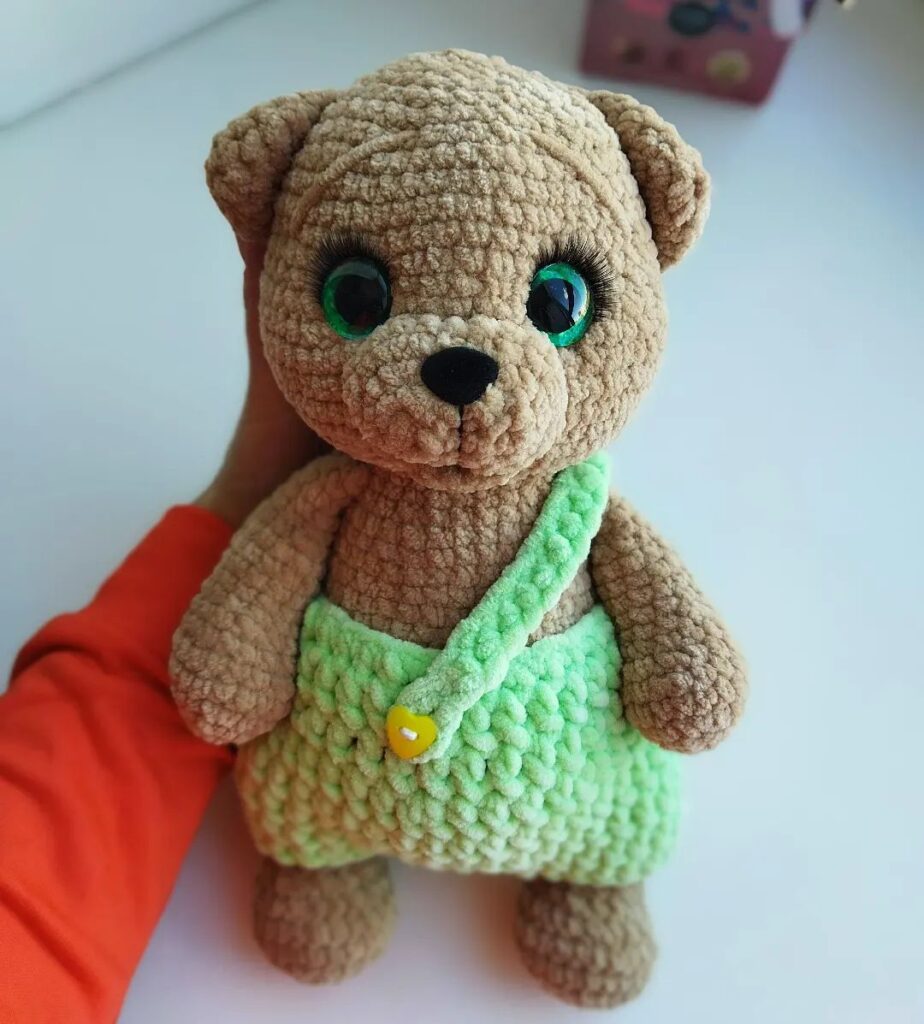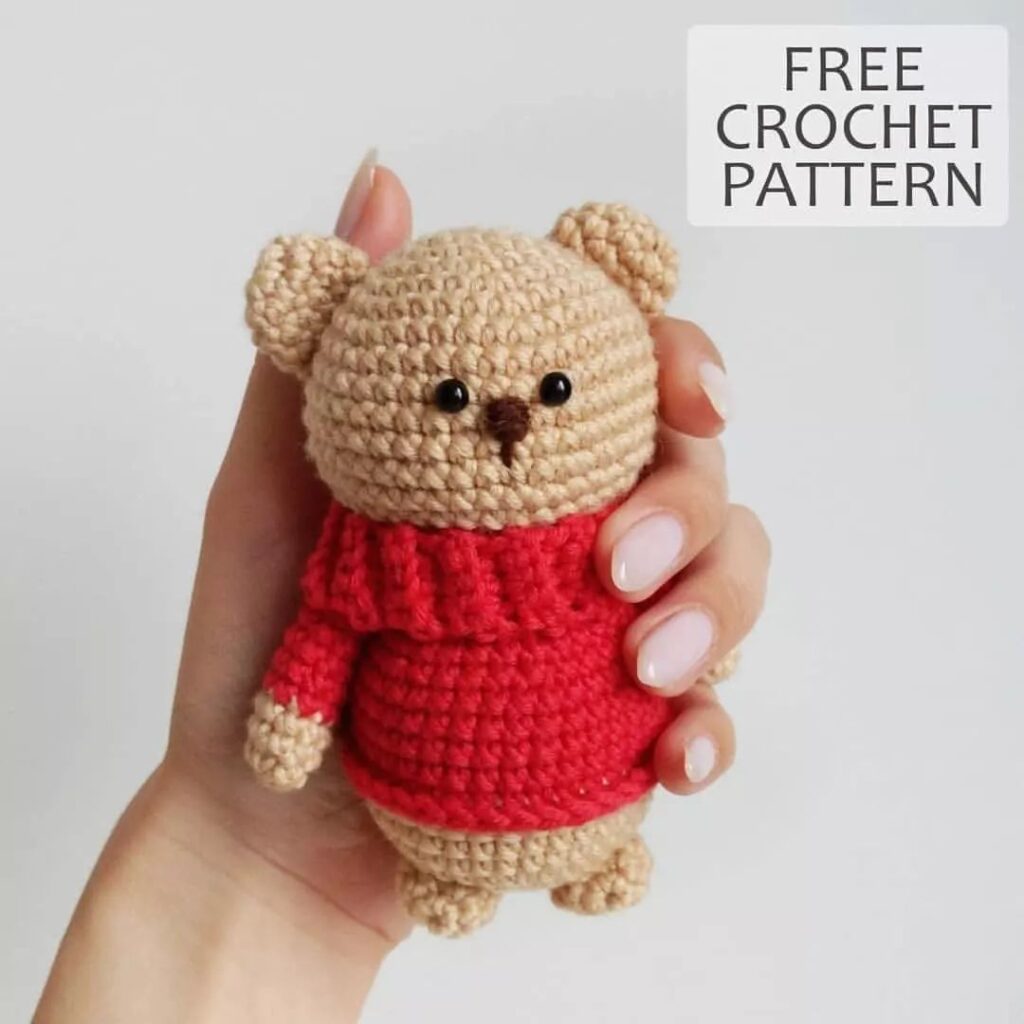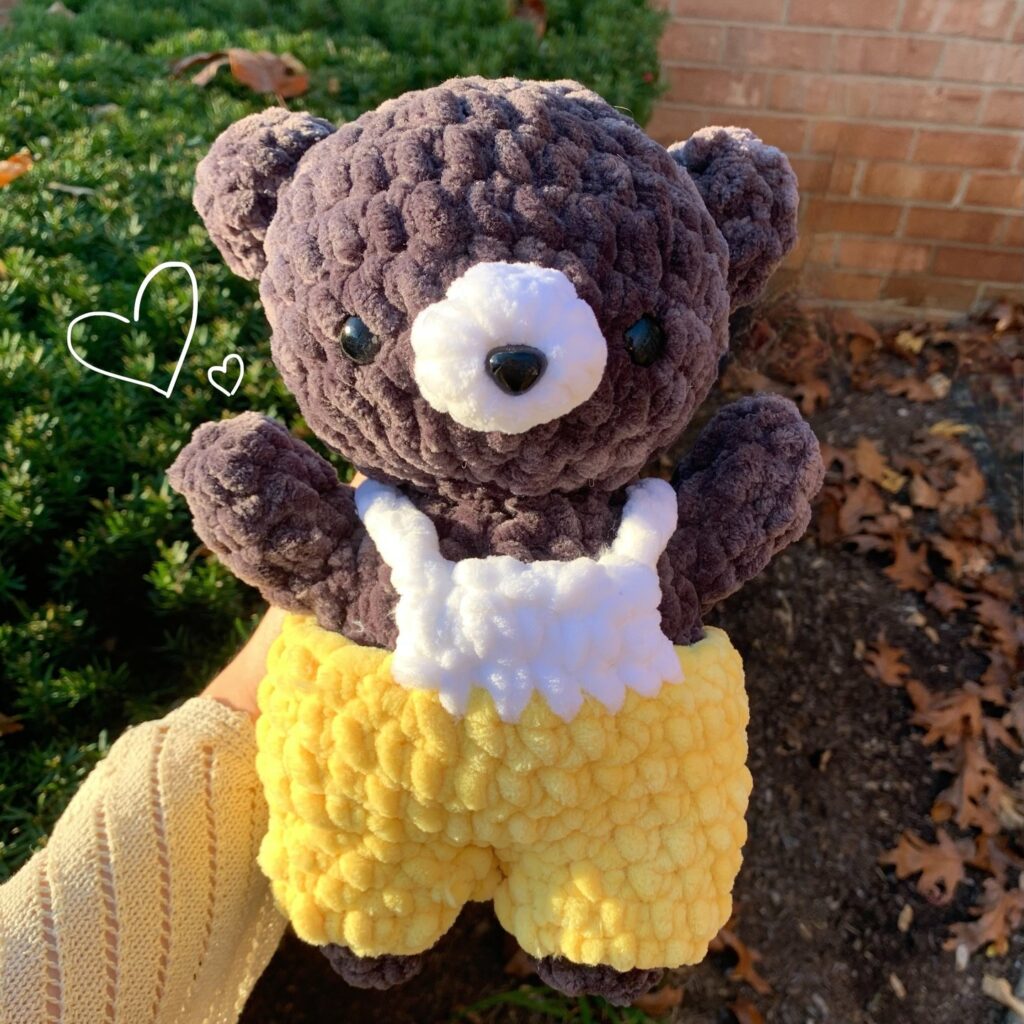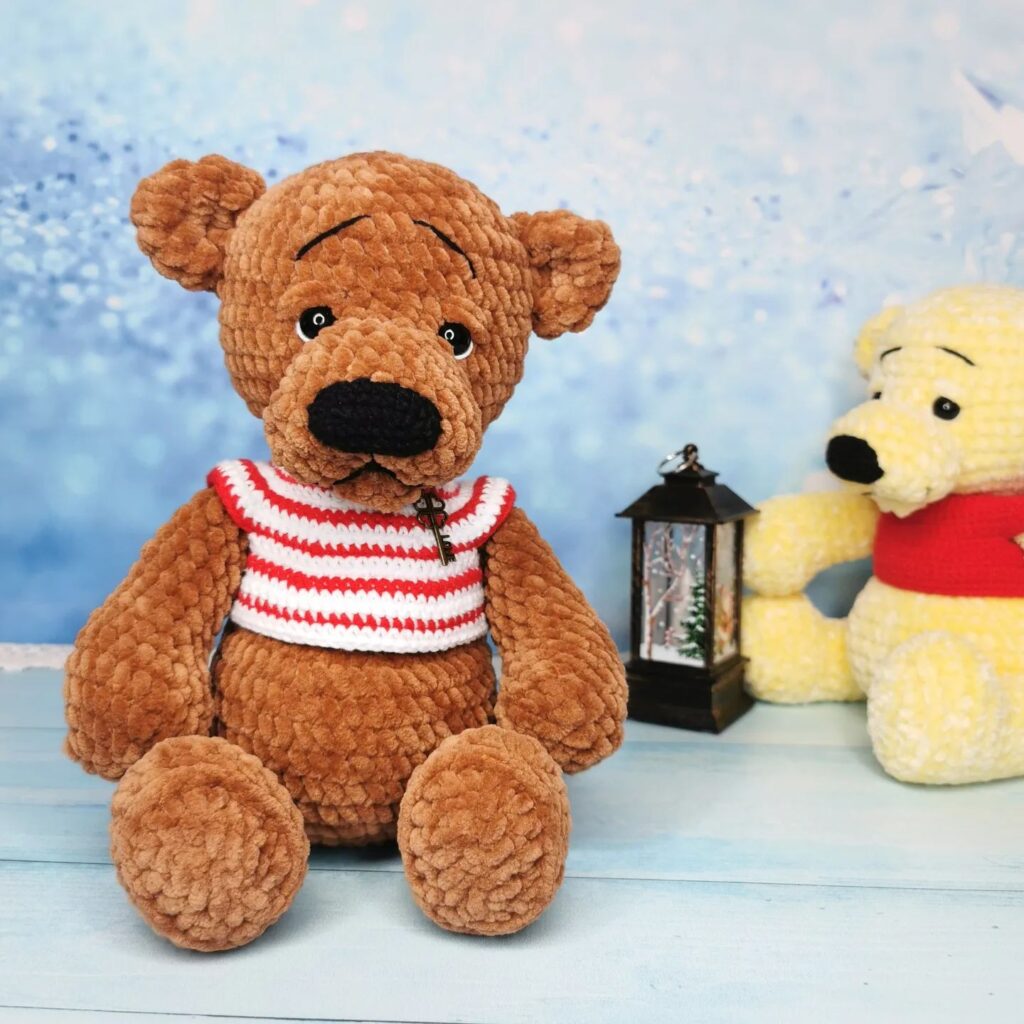
Hello amigurumi lovers and beautiful visitors, I wanted to share the free amigurumi patterns for you here. In my article I will share 1 pattern and how to make it for you. At the end of my article, I will share amigurumi patterns that can generate ideas for you.
Necessary materials:
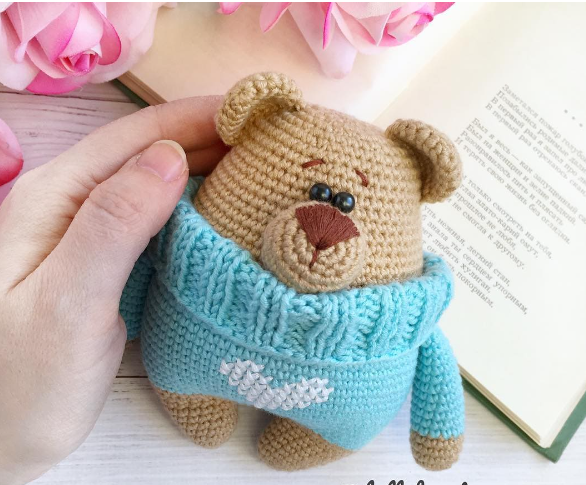
- Gazza Baby Cotton (60% cotton, 40% acrylic) in beige for the body and blue for the sweater
- Hook 1.5 mm
- Knitting needles 2.5 mm for knitting sweater collars
- Two beads 6 mm for the eyes
- Needle for sewing details and embroidery
- Brown floss for embroidering the nose and eyebrows and white for embroidering a pattern on a sweater
- holofiber
You can dispose of the finished toy at your own discretion: love, hug, play, give, sell.
When showing the finished work on the Internet, please indicate the author of the description of Lullaby toys.
Legend:
ss – connecting column
vp – air loop
sbn – single crochet
pr – increase (2 sbn in one loop)
dec – decrease (2 sbn knit together)
faces – front loop
out – purl loop
Hands (2 parts)
Beige:
1: 6 sc in the amigurumi ring (6)
2: (pr) * 6 (12)
3: (3 sc, inc) * 3 (15)
4-5: 15 sc (2 rows )
Change the color to blue:
6-16: 15 sc (11 rows)
17: (3 sc, dec) * 3 (12)
Stuff loosely with filler. Do not fill the last 2-4 rows.
Fold in half and knit for both sides 6 sc.
Fasten the thread and cut. Leave the long end of the thread in case you sew on your hands, and do not knit.
Legs, body and head are knitted in one piece.
Legs (2 parts)
Beige:
1: 6 sc in the amigurumi ring (6)
2: (pr) * 6 (12)
3: 5 sc, 2 inc, 5 sc (14)
4: 14 sc (14)
5: 6 sbn, 2 inc, 6 sbn (16)
6: 16 sbn (16)
7: 7 sbn, 2 inc, 7 sbn (18)
8: 18 sbn (18)
Cut and fasten the thread at the first leg, thread at the second leg do not cut.
We connect the legs and continue to knit the body.
We stuff the part as we knit.
Body-Head
9: Ch 5 on the second leg, sl-st in the last column of the row of the first leg, 8 sc, 2 inc, 8 sc, 5 sc in a chain of air loops, 8 sc, 2 inc, 8 sc, 5 sc in the remaining loops chains of air loops (50)
10: (4 sc, inc) * 10 (60)
11: 20 sc, (inc, 2 sc) * 5, inc, 24 sc (66)
Change color to blue:
12: (10 sbn, inc) * 6 (72)
13-20: 72 sbn (8 rows)
We begin to make reductions. Decreases go strictly on the sides.
21: 14 sc, dec, 36 sc, dec, 18 sc (70)
22-23: 70 sc (70)
24: 14 sc, dec, 35 sc, dec, 17 sc (68)
25-26: 68 sc ( 2 rows)
27: in this row we knit hands, it all depends on your knitting density, I have this: 12 sb, we knit the first hand (2 sb, dec, 2 sb), 29 sb, we knit the second hand (2 sb, dec, 2 sb) , 15 sc (66)
Change color to beige:
28: behind the back half loops (9 sc, dec) * 6 (60)
29-34: 60 sc (6 rows)
35: 4 sc, dec, (8 sc, dec) * 5, 4 sc (54)
36-37: 54 sc (2 rows)
38: (7 sc, dec) * 6 (48)
39-42: 48 sc (4 rows)
43: 3 sc, dec, (6 sc, dec) * 5, 3 sc (42)
44: (5 sc, dec) * 6 (36)
45: 2 sc, dec, (4 sc, dec) * 5, 2 sc (30)
46: (3 sc, dec) * 6 (24)
47: 1 sc, dec, (2 sc, dec) * 5, 1 sc (18)
48: (1 sc, dec) * 6 (12)
49: (dec) * 6 (6)
Fasten the thread, cut off.
Close the remaining loops, hide the thread.
Muzzle
Beige:
1: 6 sc in the amigurumi ring (6)
2: (pr) * 6 (12)
3: (1 sc, inc) * 6 (18)
4: (2 sc, inc) * 6 (24)
5-6: 24 sbn (2 rows)
Fasten the thread, cut off, leaving the long end of the thread for sewing.
Sew the muzzle, place the lower edge of the muzzle between the 27th and 28th row (color change).
Ears (2 parts)
Beige (do not stuff):
1: 6 sc in the amigurumi ring (6)
2: (pr) * 6 (12)
3: (1 sc, inc) * 6 (18)
4-6: 24 sbn (3 rows)
Fold the part in half and knit for both sides 12 sbn.
Fasten the thread, cut off, leaving the long end of the thread for sewing.
Weater collar
Cast on 68 sts on needles and knit 12 rows in ribbing (knit 2, purl 2).
Cut the thread and sew the edges of the collar.
Sew the gate to the front half loops of the 28th row.
You may need to decrease or add the number of loops and rows needed to knit the collar.
It all depends on your knitting density.
Heart embroidery pattern
We begin to embroider the pattern from the 16th row (5th row after the color change) strictly in the middle. I have the beginning of embroidery on the 33rd sc from the beginning of the row.
Feel free to tag me (@freeamigurumii) in your photos on Instagram or Facebook if you’d like!
All Finished.