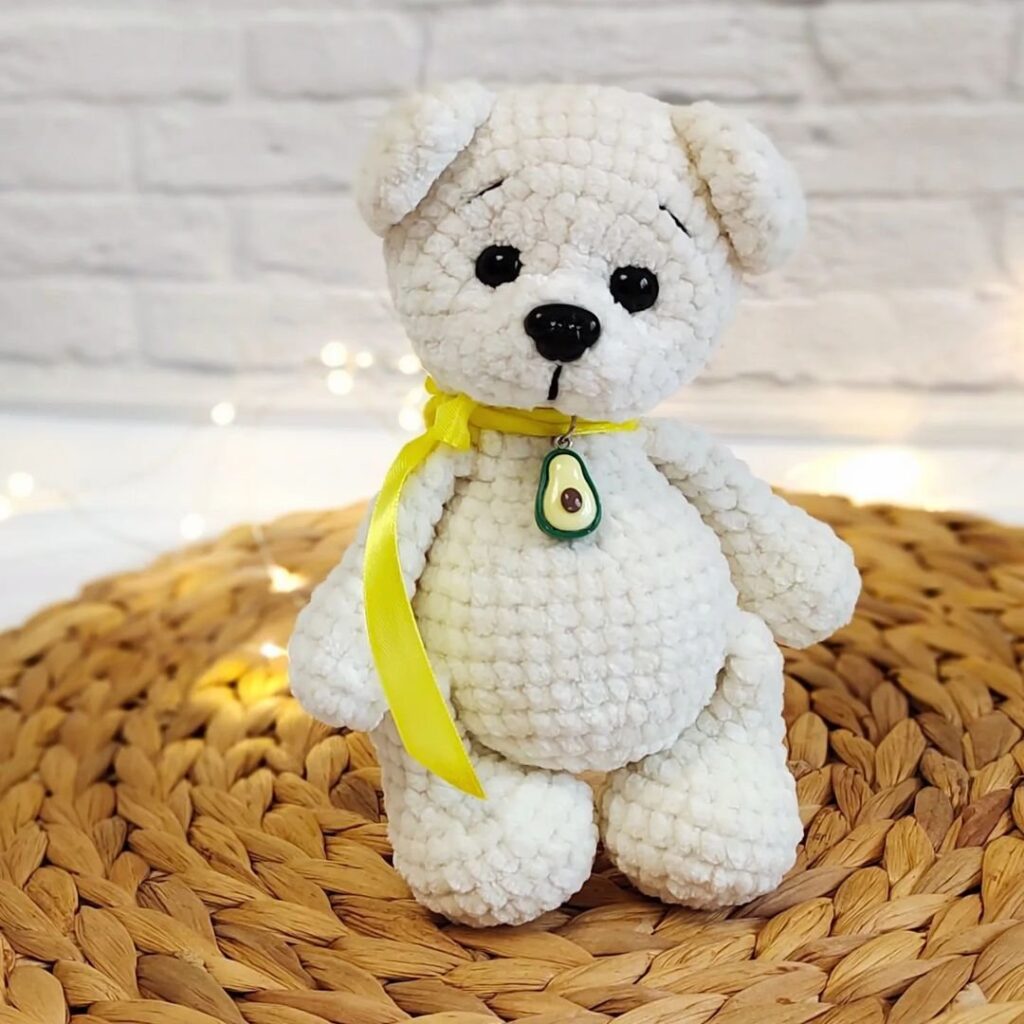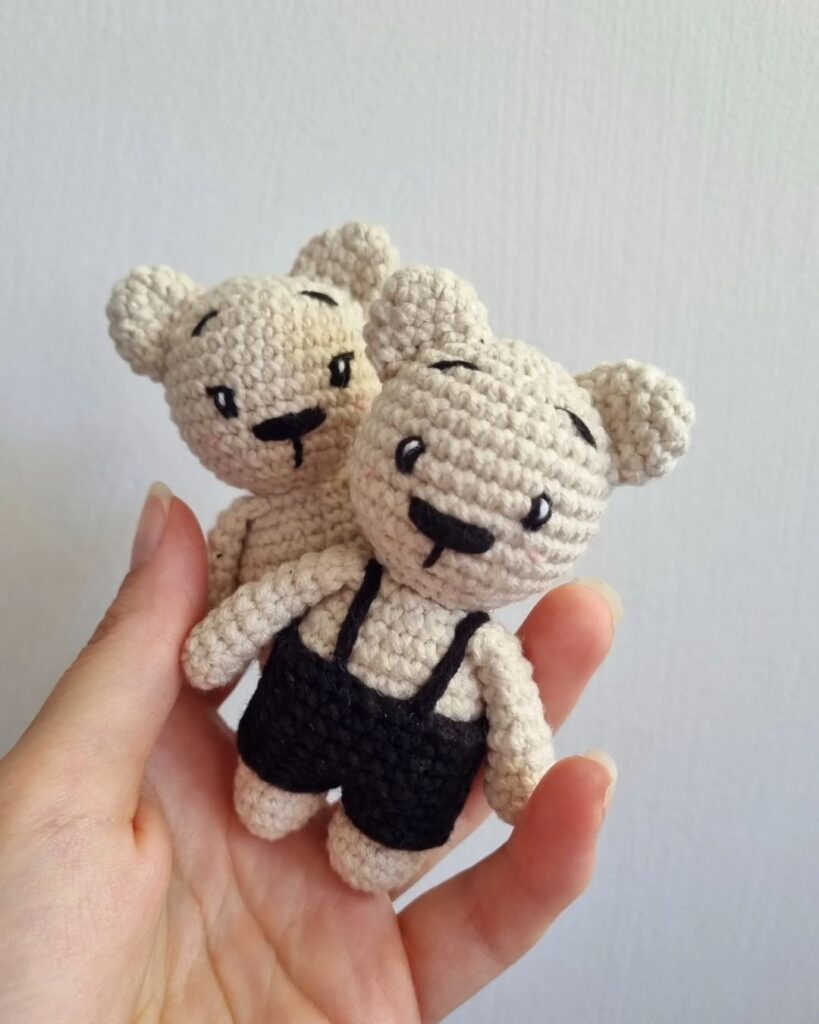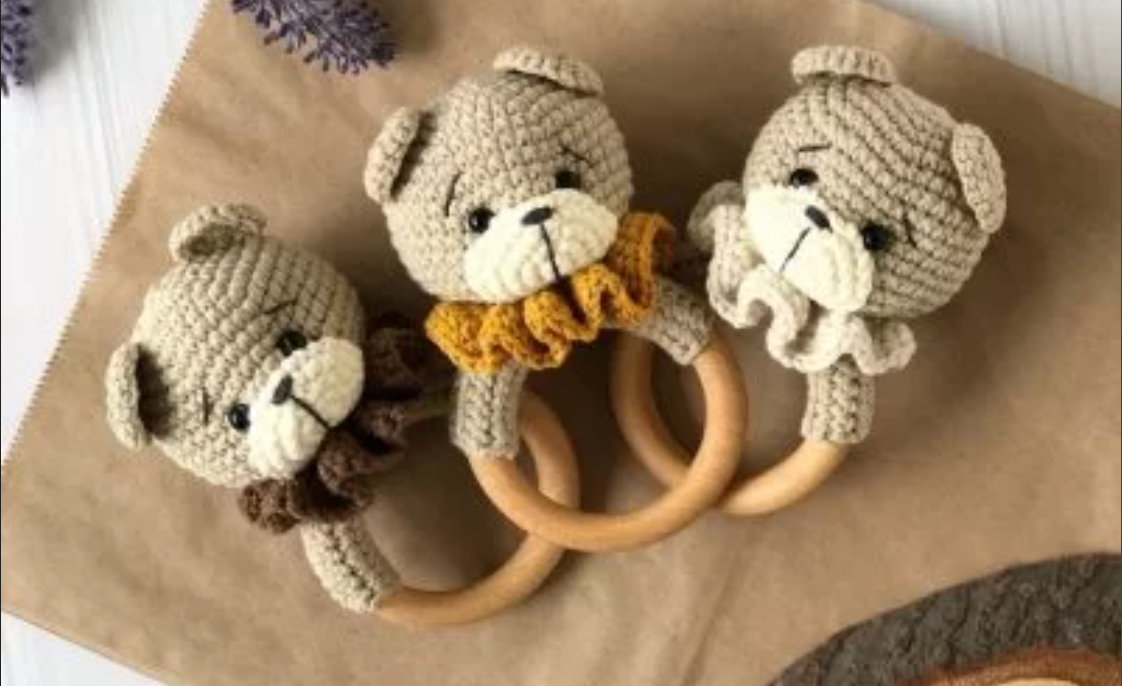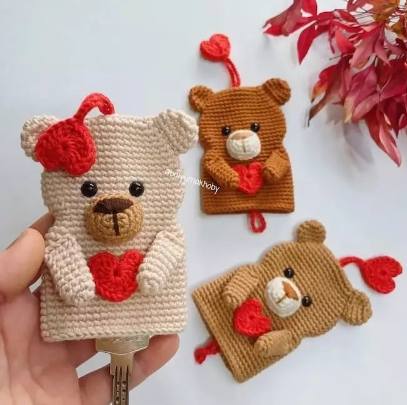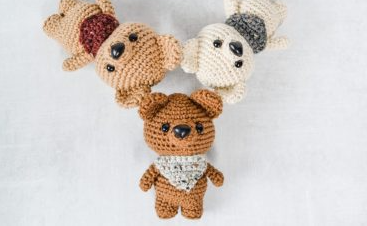
Hello amigurumi lovers and beautiful visitors, I wanted to share the free amigurumi patterns for you here. In my article I will share 1 pattern and how to make it for you. At the end of my article, I will share amigurumi patterns that can generate ideas for you.
Techniques
- Magic Circle
- Single Crochet
- Single Crochet Increase
- Single Crochet Decrease (I like to use an invisible decrease)
- Slip Knot and Chain
- Fastening Off
- Attaching Parts
Abbreviations
- sc – single crochet
- st/sts – stitch(es)
- inc – increase (add 2 stitches into a stitch)
- dec – decrease (join 2 stitches into 1)
- ch – chain
- R1- round 1
- ( ) – repeat this group of stitches
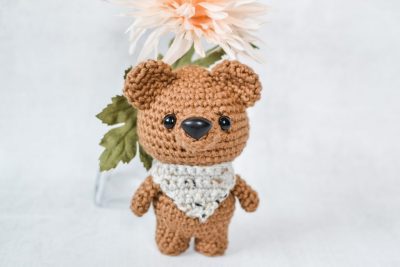
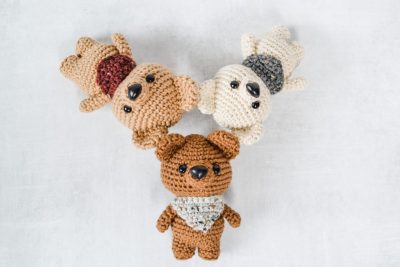
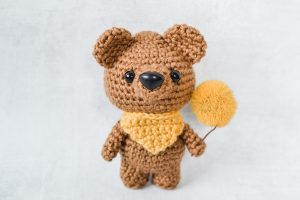
MUZZLE
Using color brown
Note before you begin: Don’t pull the magic circle tight. The safety nose will be placed in the middle of the magic circle, later in the pattern.
R1: 3 sc into a magic circle {3 sts}Alternate way to begin: chain 2, sc 3 times in 2nd chain from hook {3 sts}

R2: (inc) 3 times {6 sts}
R3: (inc, sc in next st) 3 times {9 sts}

R4: (inc, sc in next 2 sts) 3 times {12 sts}
Do a seamless join on an open piece:
Cut the working yarn, leaving a tail. Pull the yarn through the last stitch (do not fasten off).

Thread the remaining yarn into a yarn needle and insert the needle under both loops of the stitch to the left of the last stitch – from outside to inside.
Move back to the stitch to the right (the last crocheted stitch). Insert the needle through the middle of the V from outside to inside.

Faux stitch created for a seamless look.
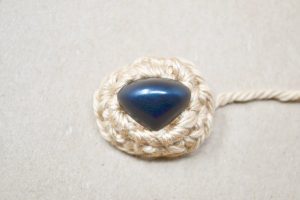
Insert a 18mm safety nose in the center of the muzzle and secure the nose.
Set aside until assembly.
HEAD
Using color brown
R1: 6 sc into a magic circle {6 sts}Alternate way to begin: chain 2, sc 6 times in 2nd chain from hook {6 sts}

R2: (inc, sc in next st) 3 times {9 sts}
R3: (inc, sc in next 2 sts) 3 times {12 sts}
R4: (inc, sc in next 3 sts) 3 times {15 sts}

R5: (inc, sc in next 4 sts) 3 times {18 sts}
R6: (inc, sc in next 2 sts) 6 times {24 sts}
R7: (inc, sc in next 3 sts) 6 times {30 sts}
R8: (inc, sc in next 4 sts) 6 times {36 sts}Mark Rd 11 with a stitch marker – this is where you’ll place the eyes later in the pattern.

R9-11: sc in next 36 sts {36 sts}
R12: (inc, sc in next 5 sts) 6 times {42 sts}
R13-14: sc in next 42 sts {42 sts}
R15: (dec, sc in next 5 sts) 6 times {36 sts}
R16: (dec, sc in next 4 sts) 6 times {30 sts}
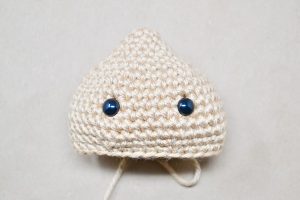
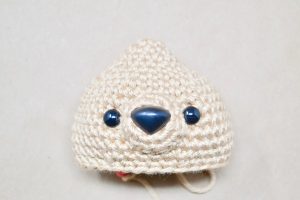
Place 9mm eyes between R11 and R12, leaving 5 stitches between the eyes. Do not secure just yet.

Sew the muzzle on between R9 and R10 and R14 and R15.

The nose should be in line with the eyes.

Secure the eyes.
R17: (dec, sc in next 3 sts) 6 times {24 sts}
R18: (dec, sc in next 2 sts) 6 times {18 sts}
Begin to stuff the head and continue as you crochet.
R19: (dec, sc in next st) 6 times {12 sts}
R20: (dec) 6 times {6 sts}
Fasten off and leave a long piece of yarn to sew the head shut.
Weave the rest of the yarn into the head.
Set aside until assembly.
EARS
Make 2
Using color brown
R1: 5 sc into a magic circle {5 sts}Alternate way to begin: chain 2, sc 5 times in 2nd chain from hook {5 sts}
R2: (inc) 5 times {10 sts}
R3: (inc, sc in next st) 5 times {15 sts}
R4: sc in next 15 sts {15 sts}
R5: (dec, sc in next 3 sts) 3 times {12 sts}

Fasten off and leave a long tail.
Sew each ear shut and set aside until assembly.
FOOT 1
Using color brown
R1: 5 sc into a magic circle {5 sts}Alternate way to begin: chain 2, sc 5 times in 2nd chain from hook {5 sts}
R2: (inc) 5 times {10 sts}
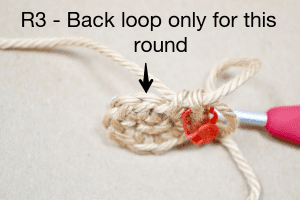
R3: sc back loop only in next 10 sts {10 sts}
R4-5: sc in next 10 sts {10 sts}

Fasten off and leave a long tail. Set the foot aside.
FOOT 2 AND BODY
Using color brown
R1: 5 sc into a magic circle {5 sts}Alternate way to begin: chain 2, sc 5 times in 2nd chain from hook {5 sts}
R2: (inc) 5 times {10 sts}
R3: sc back loop only in next 10 sts {10 sts}
R4-5: sc in next 10 sts {10 sts}

Instead of fastening off, grab Foot 1 and place it next to Foot 2.

Single crochet directly into Foot 1. Start in the stitch next to the fastened off stitch.

Continue to go around until you reach the end of Foot 1.

Sc around Foot 2 until you reach the stitch marker.
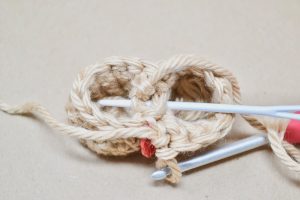
Using the fastened off yarn from Foot 1 and sew the hole, in the middle of the feet, closed. If you followed the explanation above, you’ve completed Round 6.
R6: sc in next 20 sts around foot 1 & 2 {20 sts}Tip: The first stitch of R7 may look small, do not skip it.
R7: sc in next 20 sts {20 sts}
R8: (inc, sc in next 3 sts) 5 times {25 sts}
R9: (inc, sc in next 4 sts) 5 times {30 sts}

R10-12: sc in next 30 {30 sts}
R13: (dec, sc in next 4 sts) 5 times {25 sts}
R14: (dec, sc in next 3 sts) 5 times {20 sts}
Begin to stuff the feet and body and continue as you crochet.
R15: (dec, sc in next 2 sts) 5 times {15 sts}
R16: (dec, sc in next 3 sts) 3 times {12 sts}

Fasten off and leave a long tail for sewing. Set aside until assembly.
ARMS
Make 2
Using color brown
R1: 3 sc into a magic circle {3 sts}Alternate way to begin: chain 2, sc 3 times in 2nd chain from hook {3 sts}
R2: (inc) 3 times {6 sts}
R3-8: sc in next 6 sts {6 sts}

No need to stuff. Fasten off and leave a long tail for sewing. Sew arm closed. Set aside until assembly.
BANDANA
Using Color of ChoiceWork the bandana in turned rows. Chain 1 does not count as a stitch, place first sc into the first stitch.
Make a slipknot and chain 3

R1: sc in the 2nd chain from the hook, sc in next st, chain 1, turn {2 sts}

R2: inc in next 2 sts, chain 1, turn {4 sts}
R3: inc, sc in next 2 sts, inc, chain 1, turn {6 sts}
R4: inc, sc in next 4 sts, inc, chain 1, turn {8 sts}
R5: inc, sc in next 6 sts, inc, chain 1, turn {10 sts}
R6: inc, sc in next 8 sts, inc, chain 1, turn {12 sts}
R7: inc, sc in next 10 sts, inc, chain 1, turn {14 sts}
Fasten off and leave an extra long tail.
Weave in the end from R1. Set aside until assembly.
ASSEMBLY
I recommend pinning the parts before assembly.

Attach the ears between R3 and R4 and R9 and R10, one on each side of the head.

Attach the body between R18 and R19 of the head.

Attach the arms between R15 and R16 of the body, one on each side.
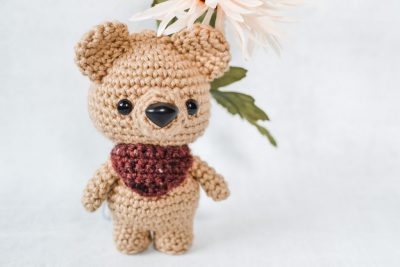
Attach the bandana by using the long tail and sewing it to the corner piece of the opposite side of the bandana. Make a knot and cut off the excess yarn.
Weave in all the excess pieces of yarn into the body.
Please be aware that amigurumi contains small pieces and can be dangerous to children.
Feel free to tag me (@freeamigurumii) in your photos on Instagram or Facebook if you’d like!
All Finished.